5.8+
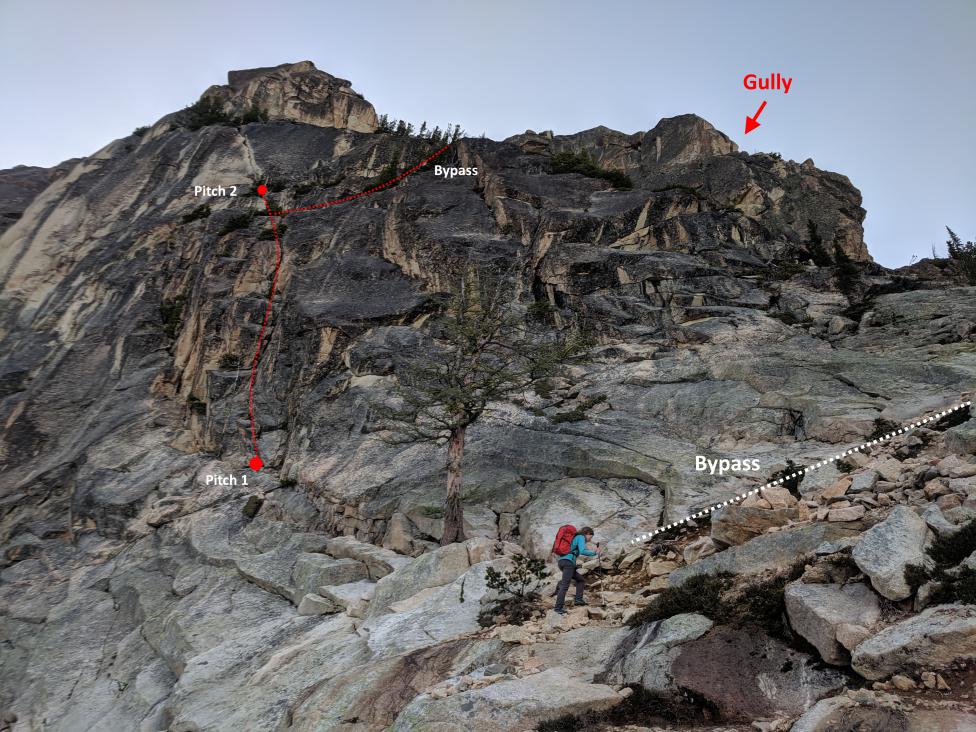
Climb cracks straight up through an awkward bulge, up to a big belay ledge at the base of the wavy crack.
- Anchor
- gearGood ledge
trad · South Early Winters Spire
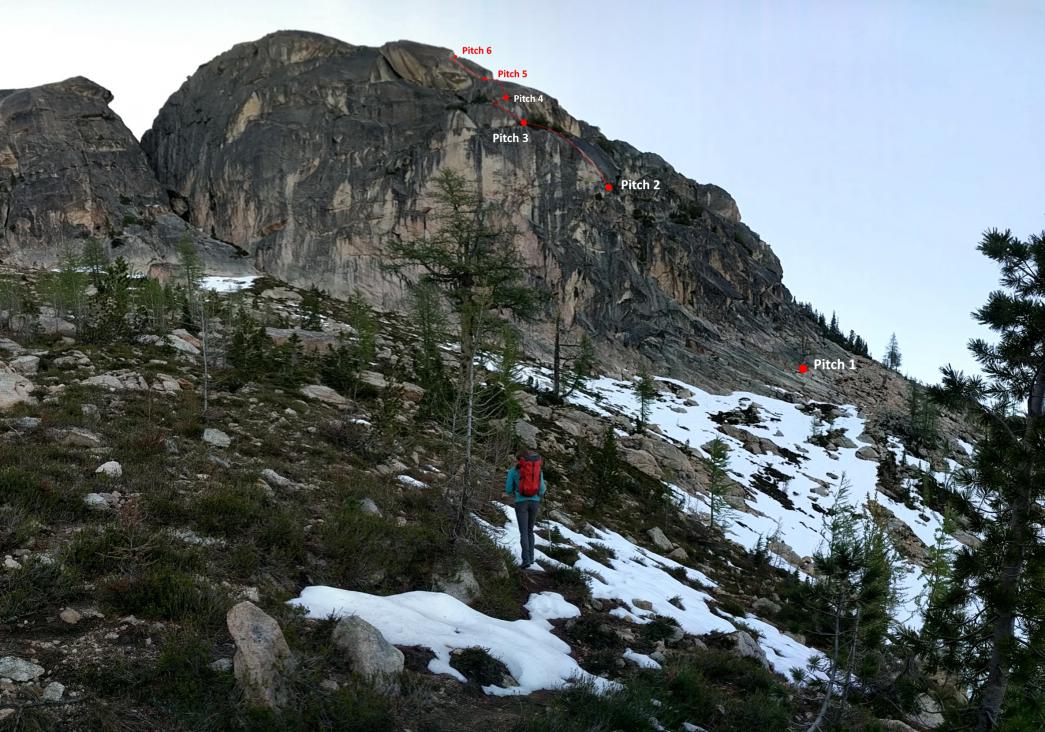
A classic 800 ft granite climb in Washington Pass, with the iconic bear hug pitch, the intimidating nervous nelly pitch, and the shark fin descent!
The Southwest Rib of South Early Winters Spire is one of the classic moderate alpine rock routes in the Pacific Northwest. First ascended in 1968, it features clean granite, intuitive gear placements, and exceptional views of Liberty Bell Mountain and the Methow Valley.
Because of its easy access from Washington Pass and high-quality rock, it gets heavy traffic on summer weekends. Plan for an early start to avoid waiting at belay ledges, and be mindful of lingering snow on the descent trail through early July.
From the Blue Lake Trailhead off Highway 20:
Parking: Northwest Forest Pass required.
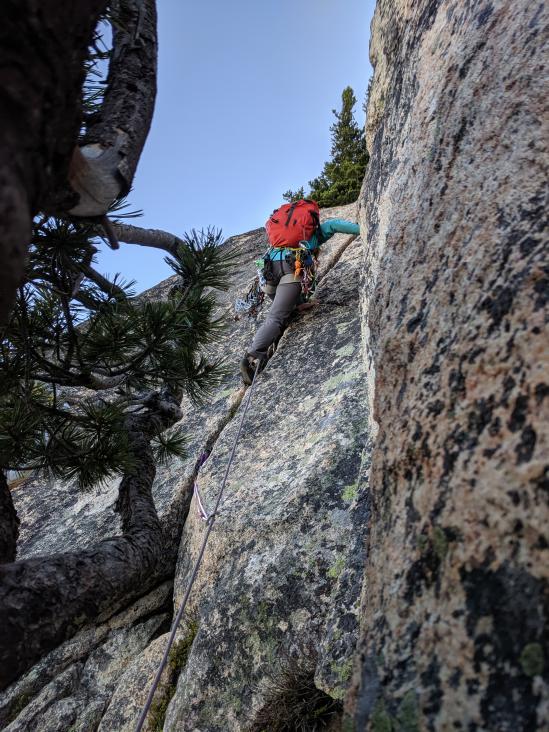
Climb cracks straight up through an awkward bulge, up to a big belay ledge at the base of the wavy crack.
Belaying from the tree ledges, start up some easy 5th class climbing.
Then the "wavy crack" starts. It is a wide, left-leaning crack and it is awkward. This is the toughest part of the whole climb. End on the dirt at the top left and belay off a tree.
#2-#4 were used.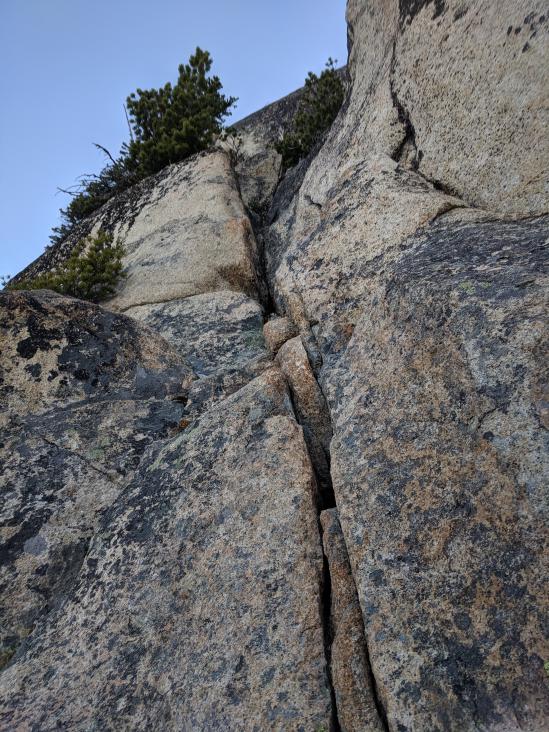
Continue up and left from the tree up the crack.
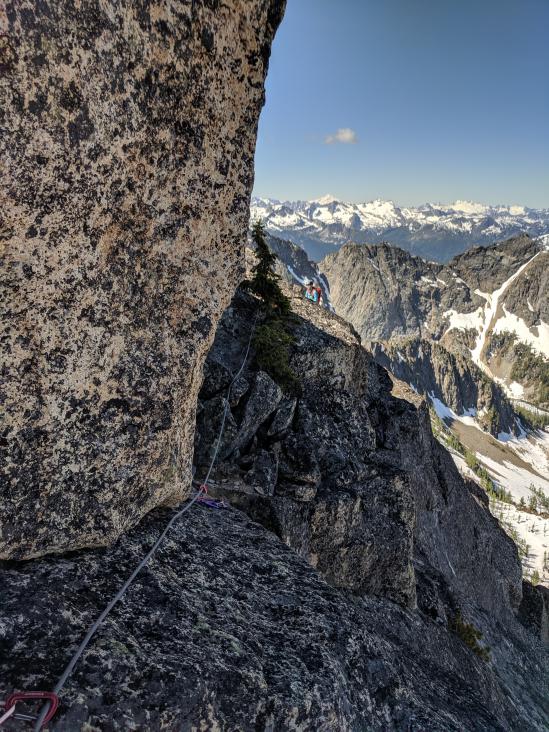
When you reach the trees, traverse right and slightly up around a bulge to the base of the Nervous Nelly pitch.
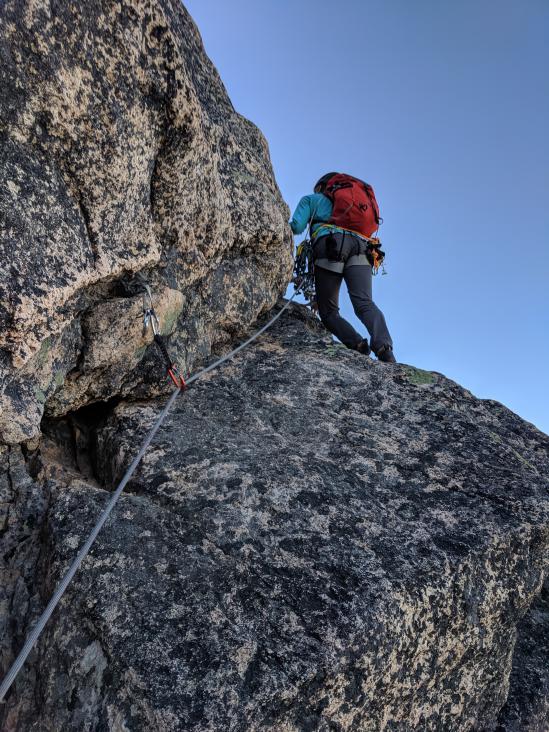
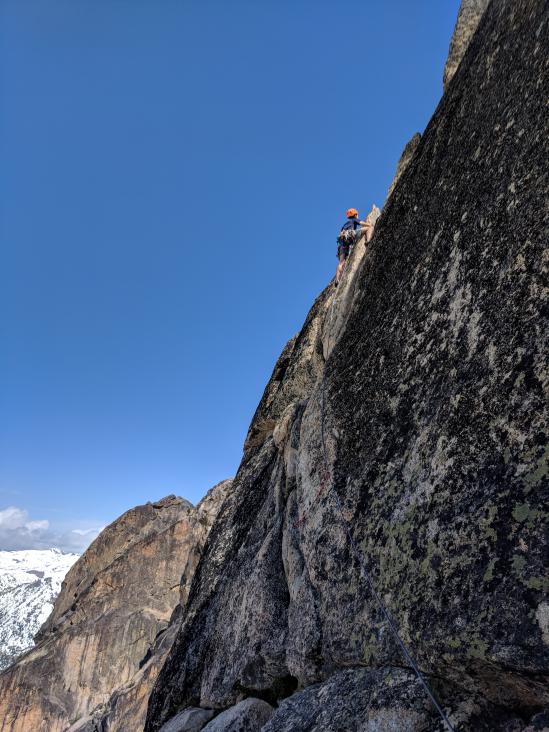
Continue up mostly unprotectable slab, following the easiest path.
About 30 feet up you run into the crux. Foot and hand holds disappear. There is a crack over to the right but no obvious way to reach it.
After lots of hunting, you will find a tiny foothold nub far to the right, which you can just barely reach by extending your leg out, and some handholds on the left that you can lean out to the right on.
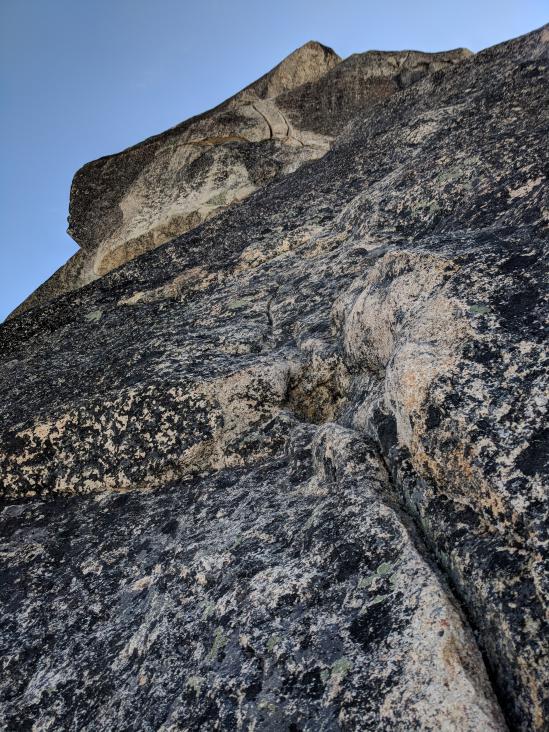
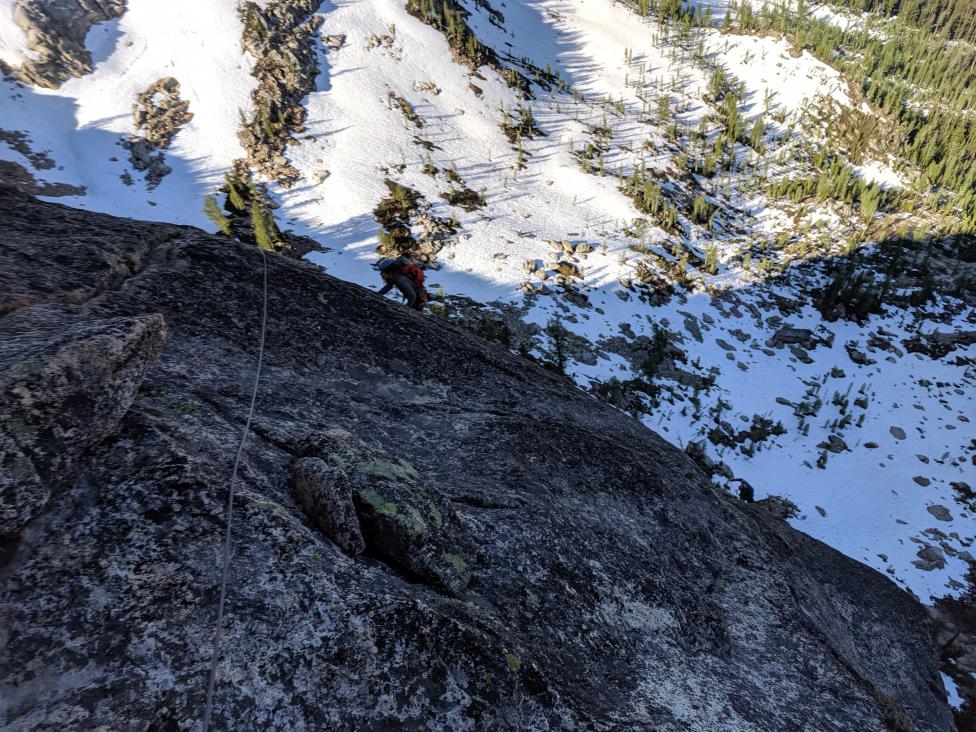
The famous Bear Hug pitch! Climb the obvious dual widths. You can just barely place a #4 at the beginning, and the toughest moves are right there. A #5 would protect nicely but is ultimately not needed. Once past the opening moves it feels more secure, which is good, since without a #5 you cannot get any gear in until you reach the top.
From the top, traverse right for 15 feet to a nice blocky flat area and belay.
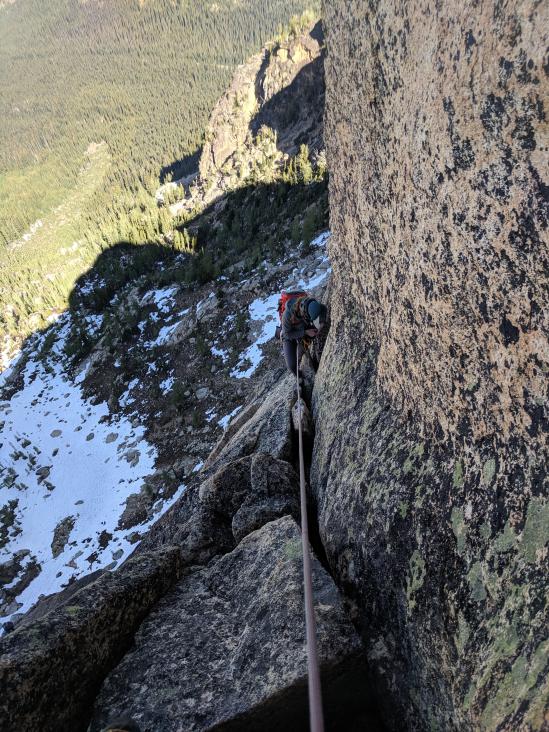
Scramble or simul-climb the class 4 terrain, following the easiest path to the base of the next pitch.
Start your belay as close to the base as possible, as this is a rope stretcher! Climb the slab, clipping the bolt.
Continue up easy slab for the full 200 feet, staying on top of the ridge in general. In one section it is easier to traverse right and around than to climb an unprotectable slab ridge.
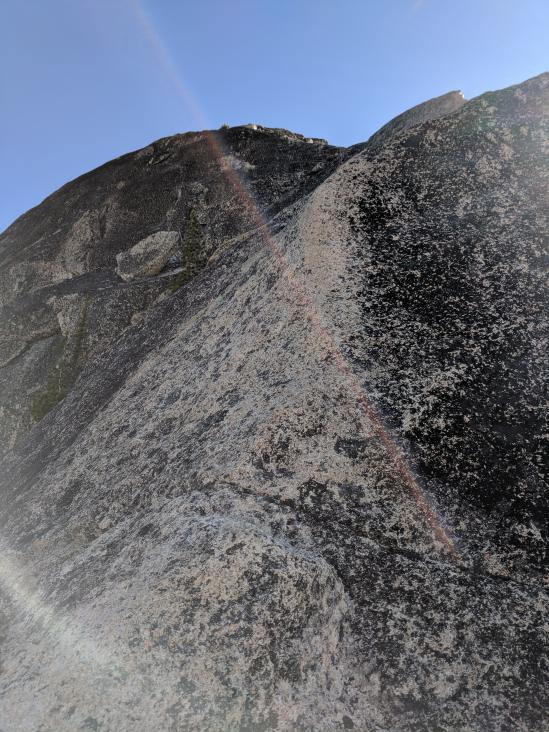
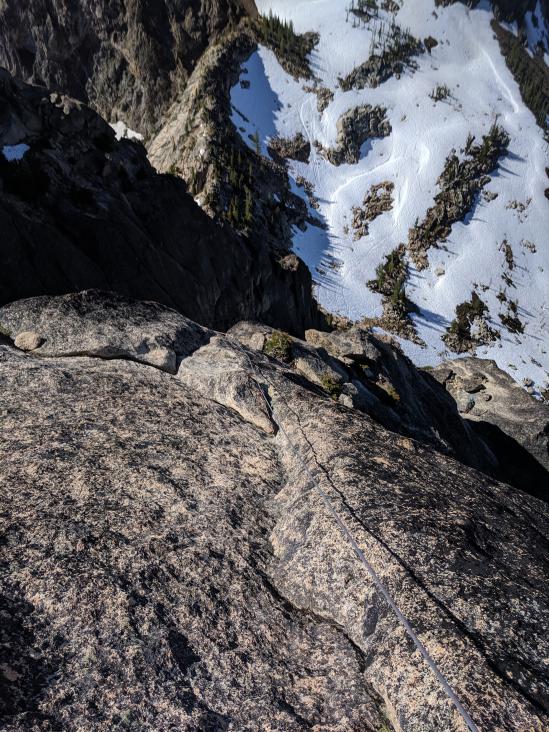
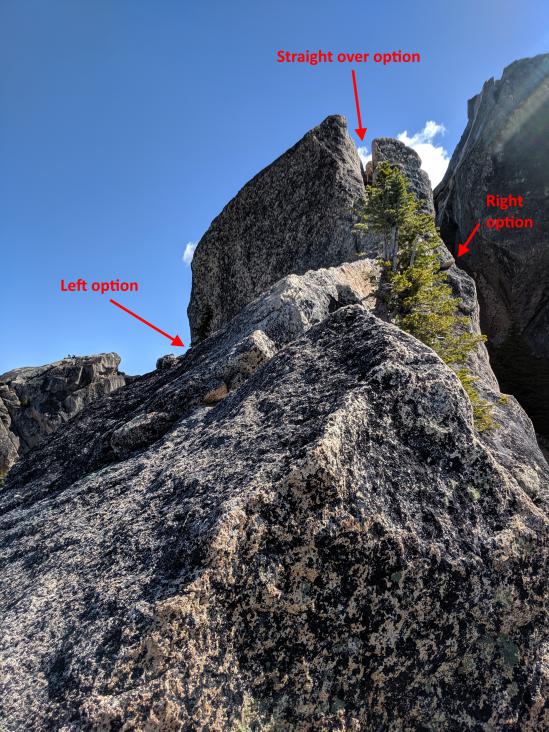
The "bunny ears" offer a number of options:
The left option is the one we have always taken. After going around the left, immediately go right and up over a little ridge nook (about 9 feet) and belay.
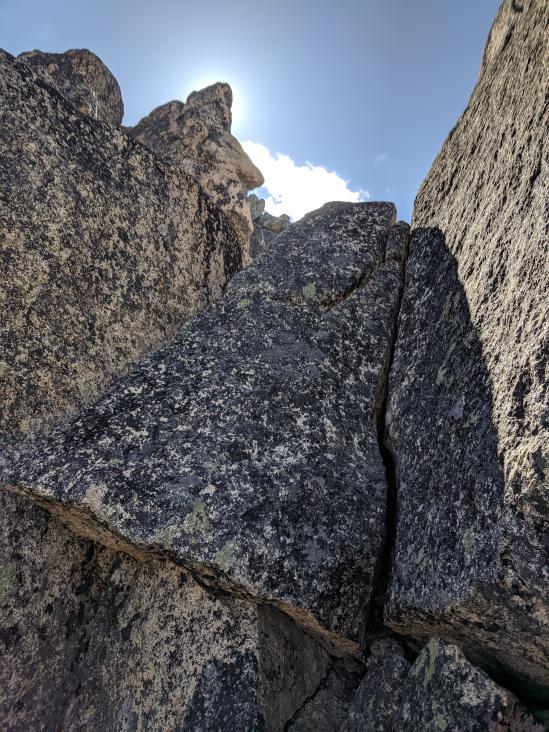
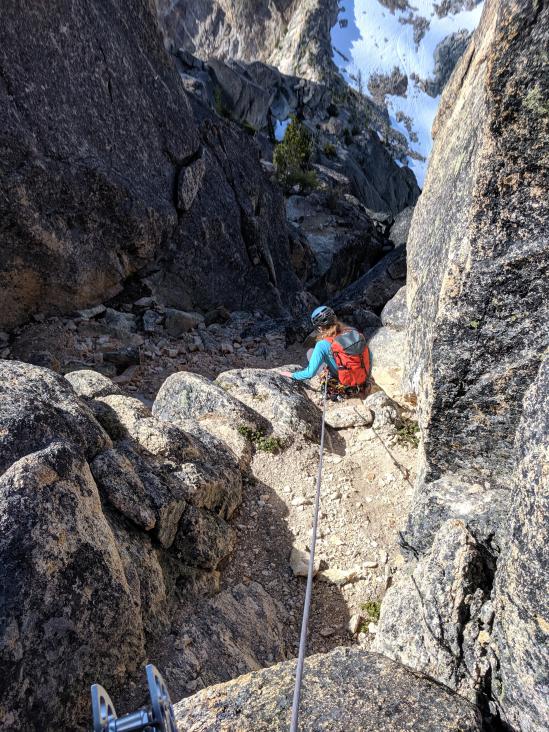
Downclimb into the gully. It is nice to be roped up for this because of all the loose dirt.
Once in the gully, walk up to the top of the col to the base of the last pitch.
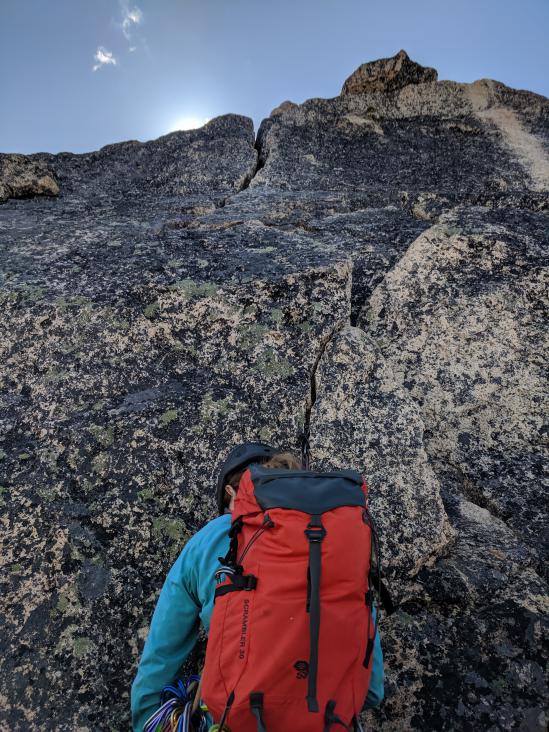
Climb the easy crack system up to the summit. There is one tricky move, and the rest is nice and easy!
Scramble down the 5.5 South Arete route, optionally belaying across the exposed "shark fin" move (it has one bolt).
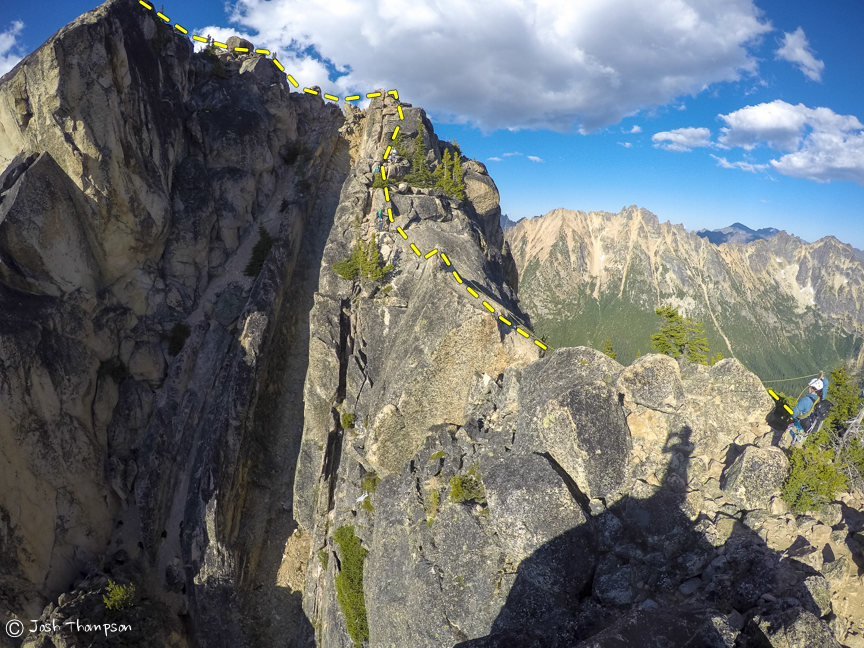
Continue downclimbing till the terrain steepens, and find a hidden bolted anchor. The anchor is skiiers left as you descend, on a big ledge skiiers left of the ridge / cliff face. You may notice some old slings around trees where people used to rappel before the bolted anchors were added, but there's bolted anchors now!
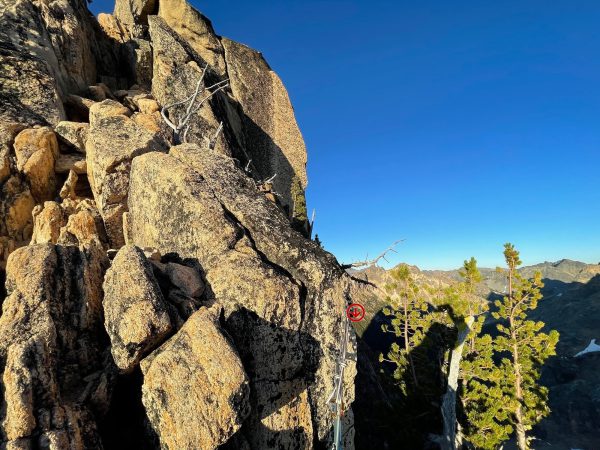
From the anchor, 3 rappels with a single 60m rope gets you to the ground!
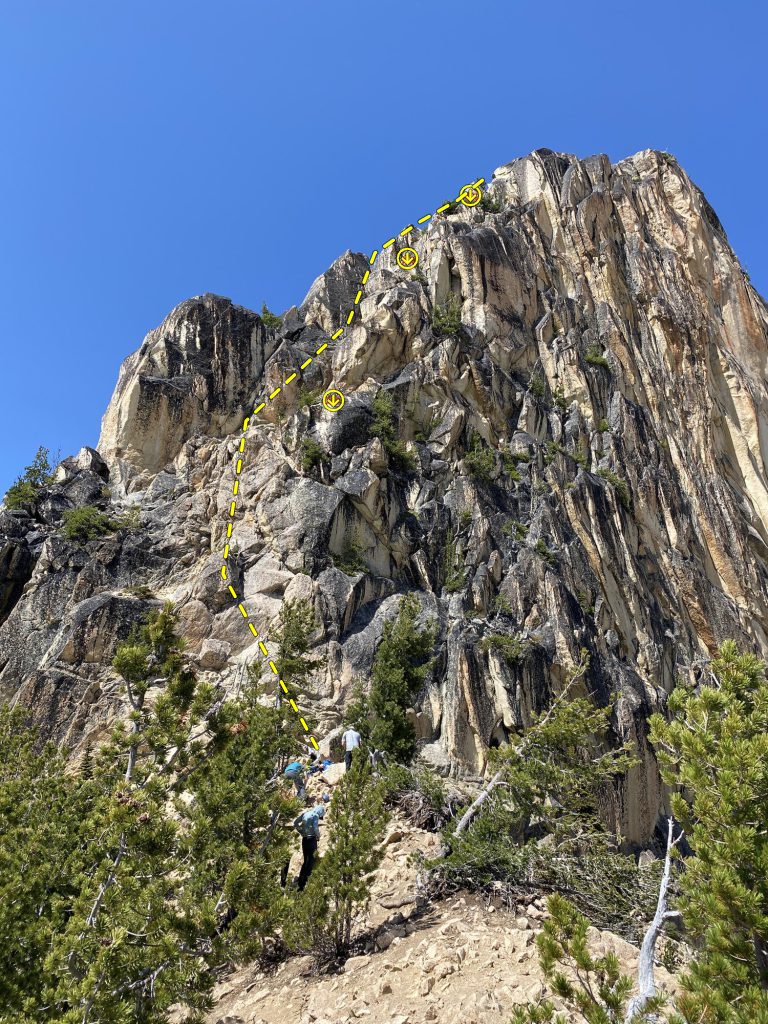
From there, walk back around on the climbers trail to the base of the route!
Climbing is dangerous and can result in injury or death. This guide is an informal reference that may be inaccurate or out of date. Route conditions, anchors, fixed gear, trails, and access change, and maps and GPX files are approximate. It is not a substitute for experience, current local information, or sound judgment, and you use it entirely at your own risk. Roam Climbs accepts no liability for any harm arising from its use. See the full disclaimer and terms of use.