McTech Arete

trad · Crescent Spire

McTech Arete

At a glance
Grade
5.10-
Length
640 ft · 6 pitches
Approach
225 min
3.7 mi · +3,990 ft
Descent
7 rappels with a single 60 m rope, about 1 hour, plus 30 minutes back to camp
Ropes
Single 60m rope
Gear
#0.2 - 4, with triples #0.4 - 0.75, and doubles #1 - #2, 6-8 alpine draws, nuts optional, crack gloves, no radio needed
Last updated
October 4, 2026
MapApproachPitchesDescent
Export GPX

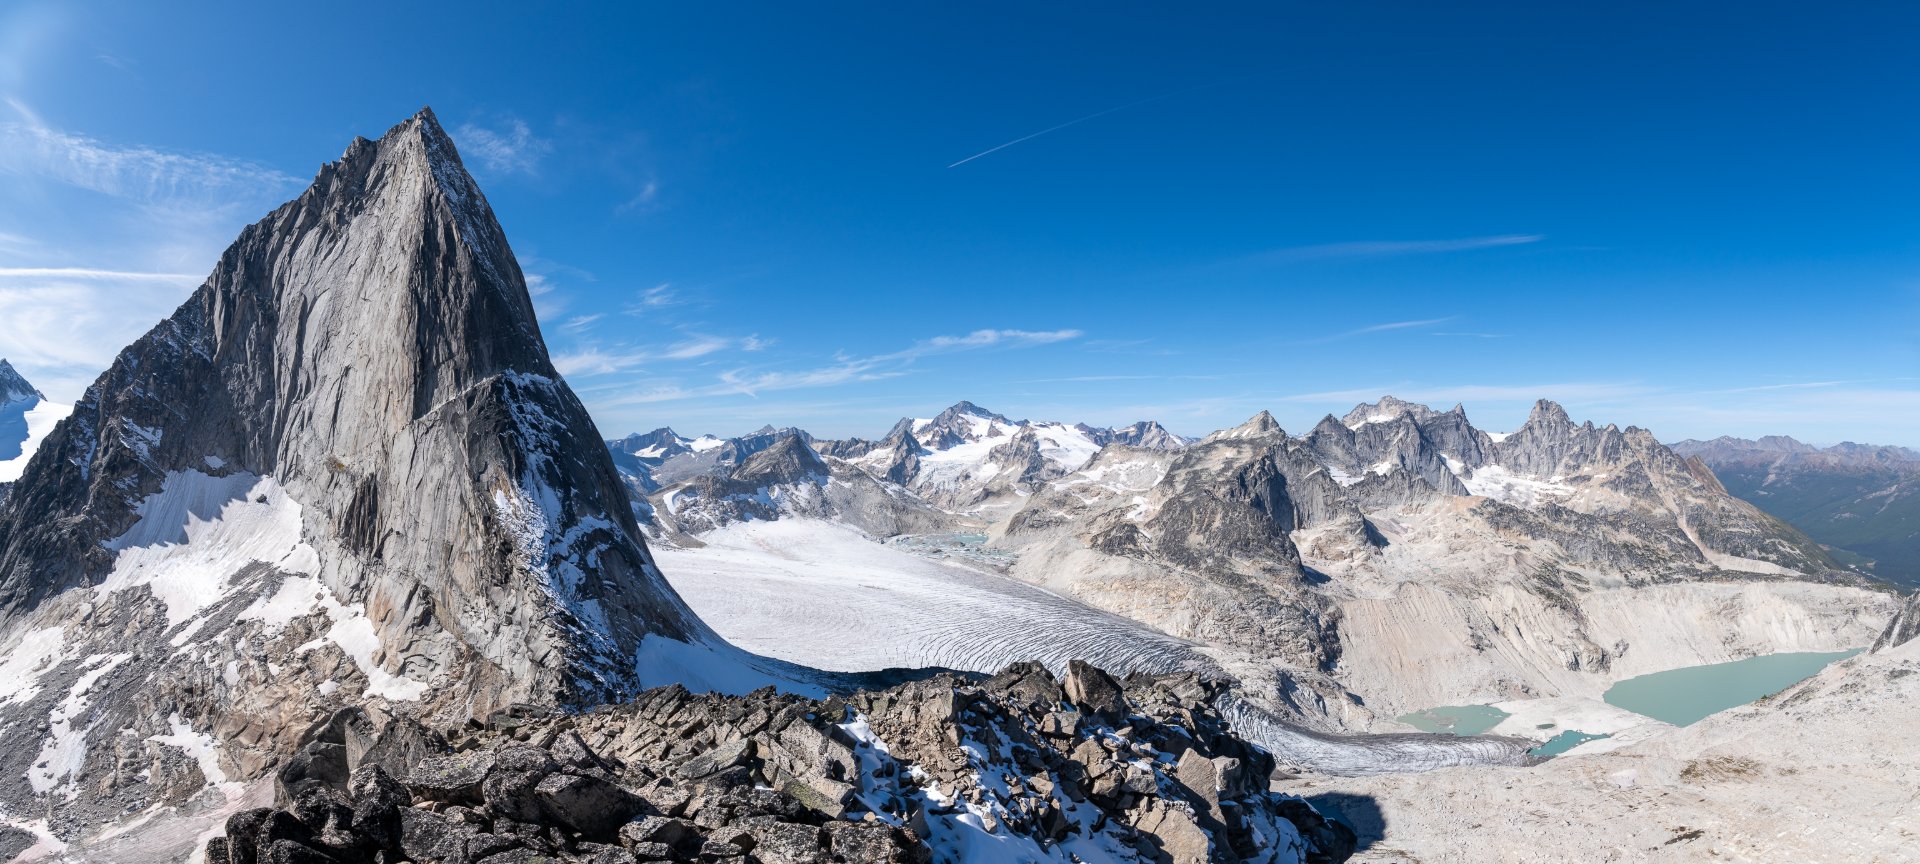
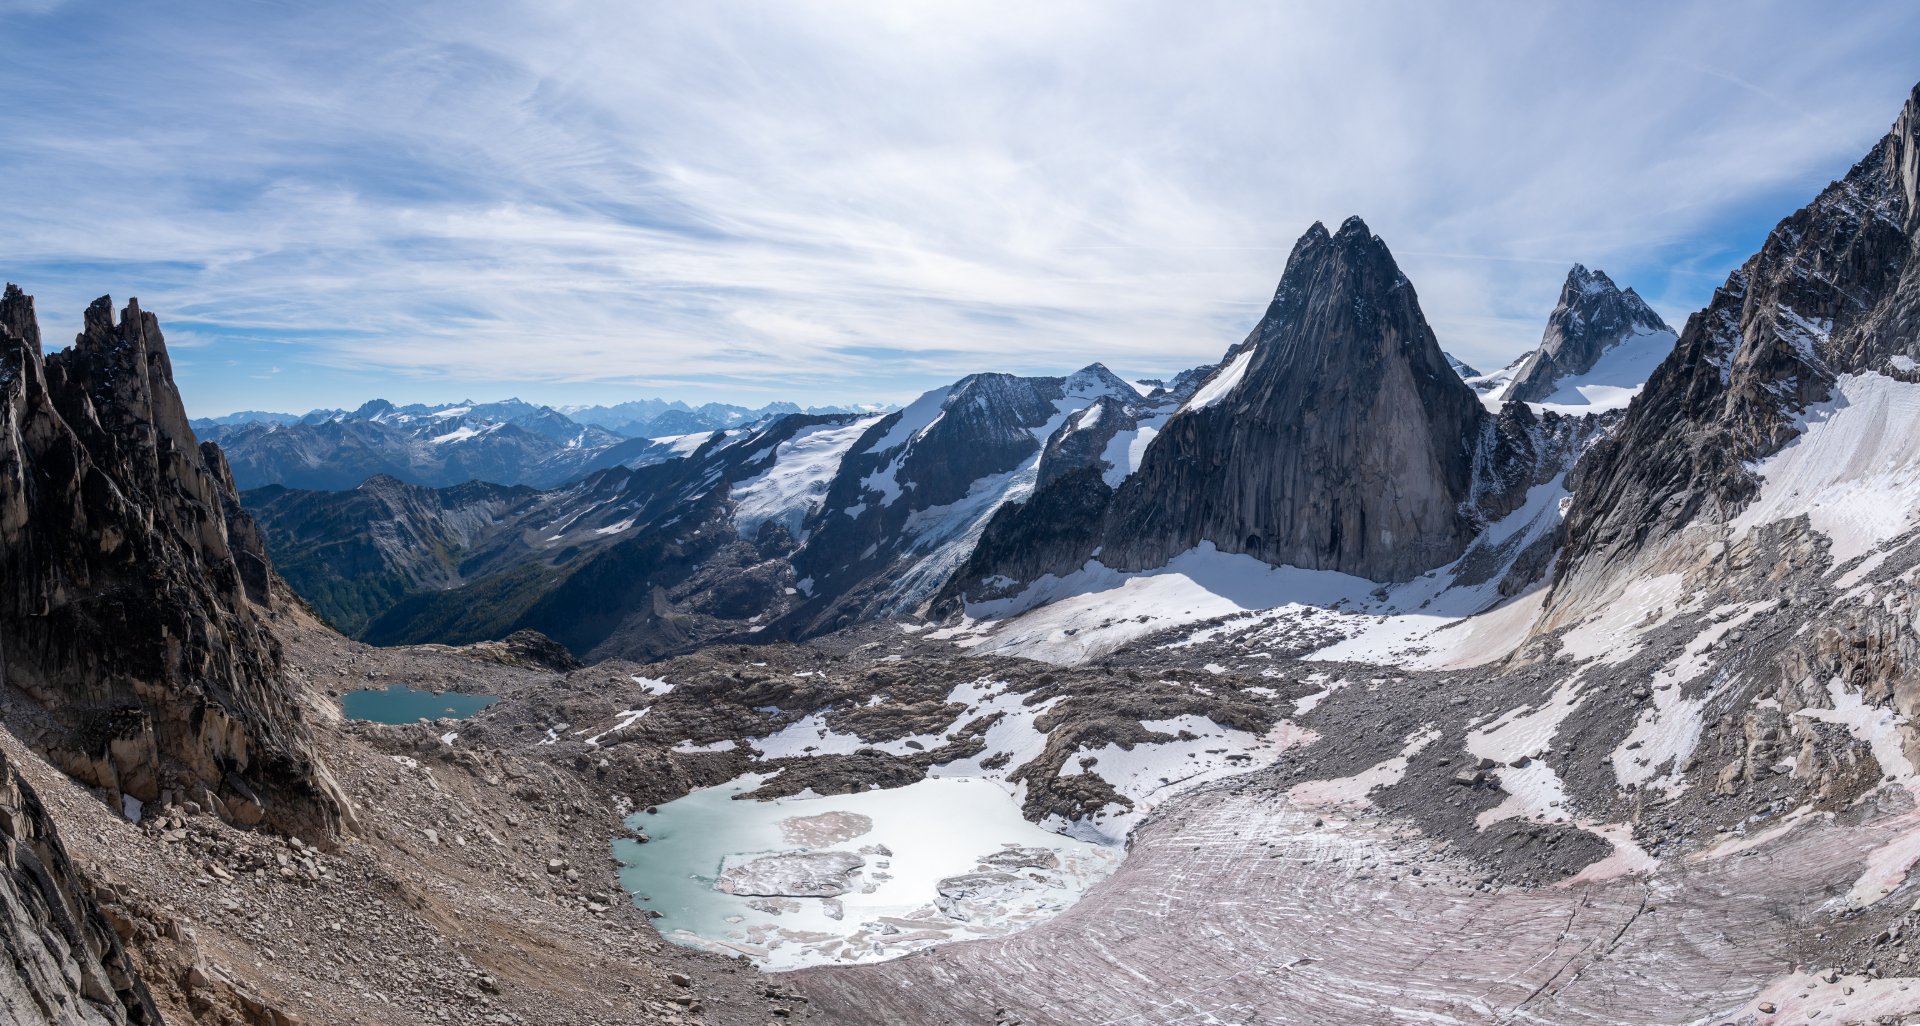
A classic 6-pitch 5.10- trad route on Crescent Spire in the Bugaboos, with splitter granite cracks, bolted rappels, and a short approach from Applebee Camp.

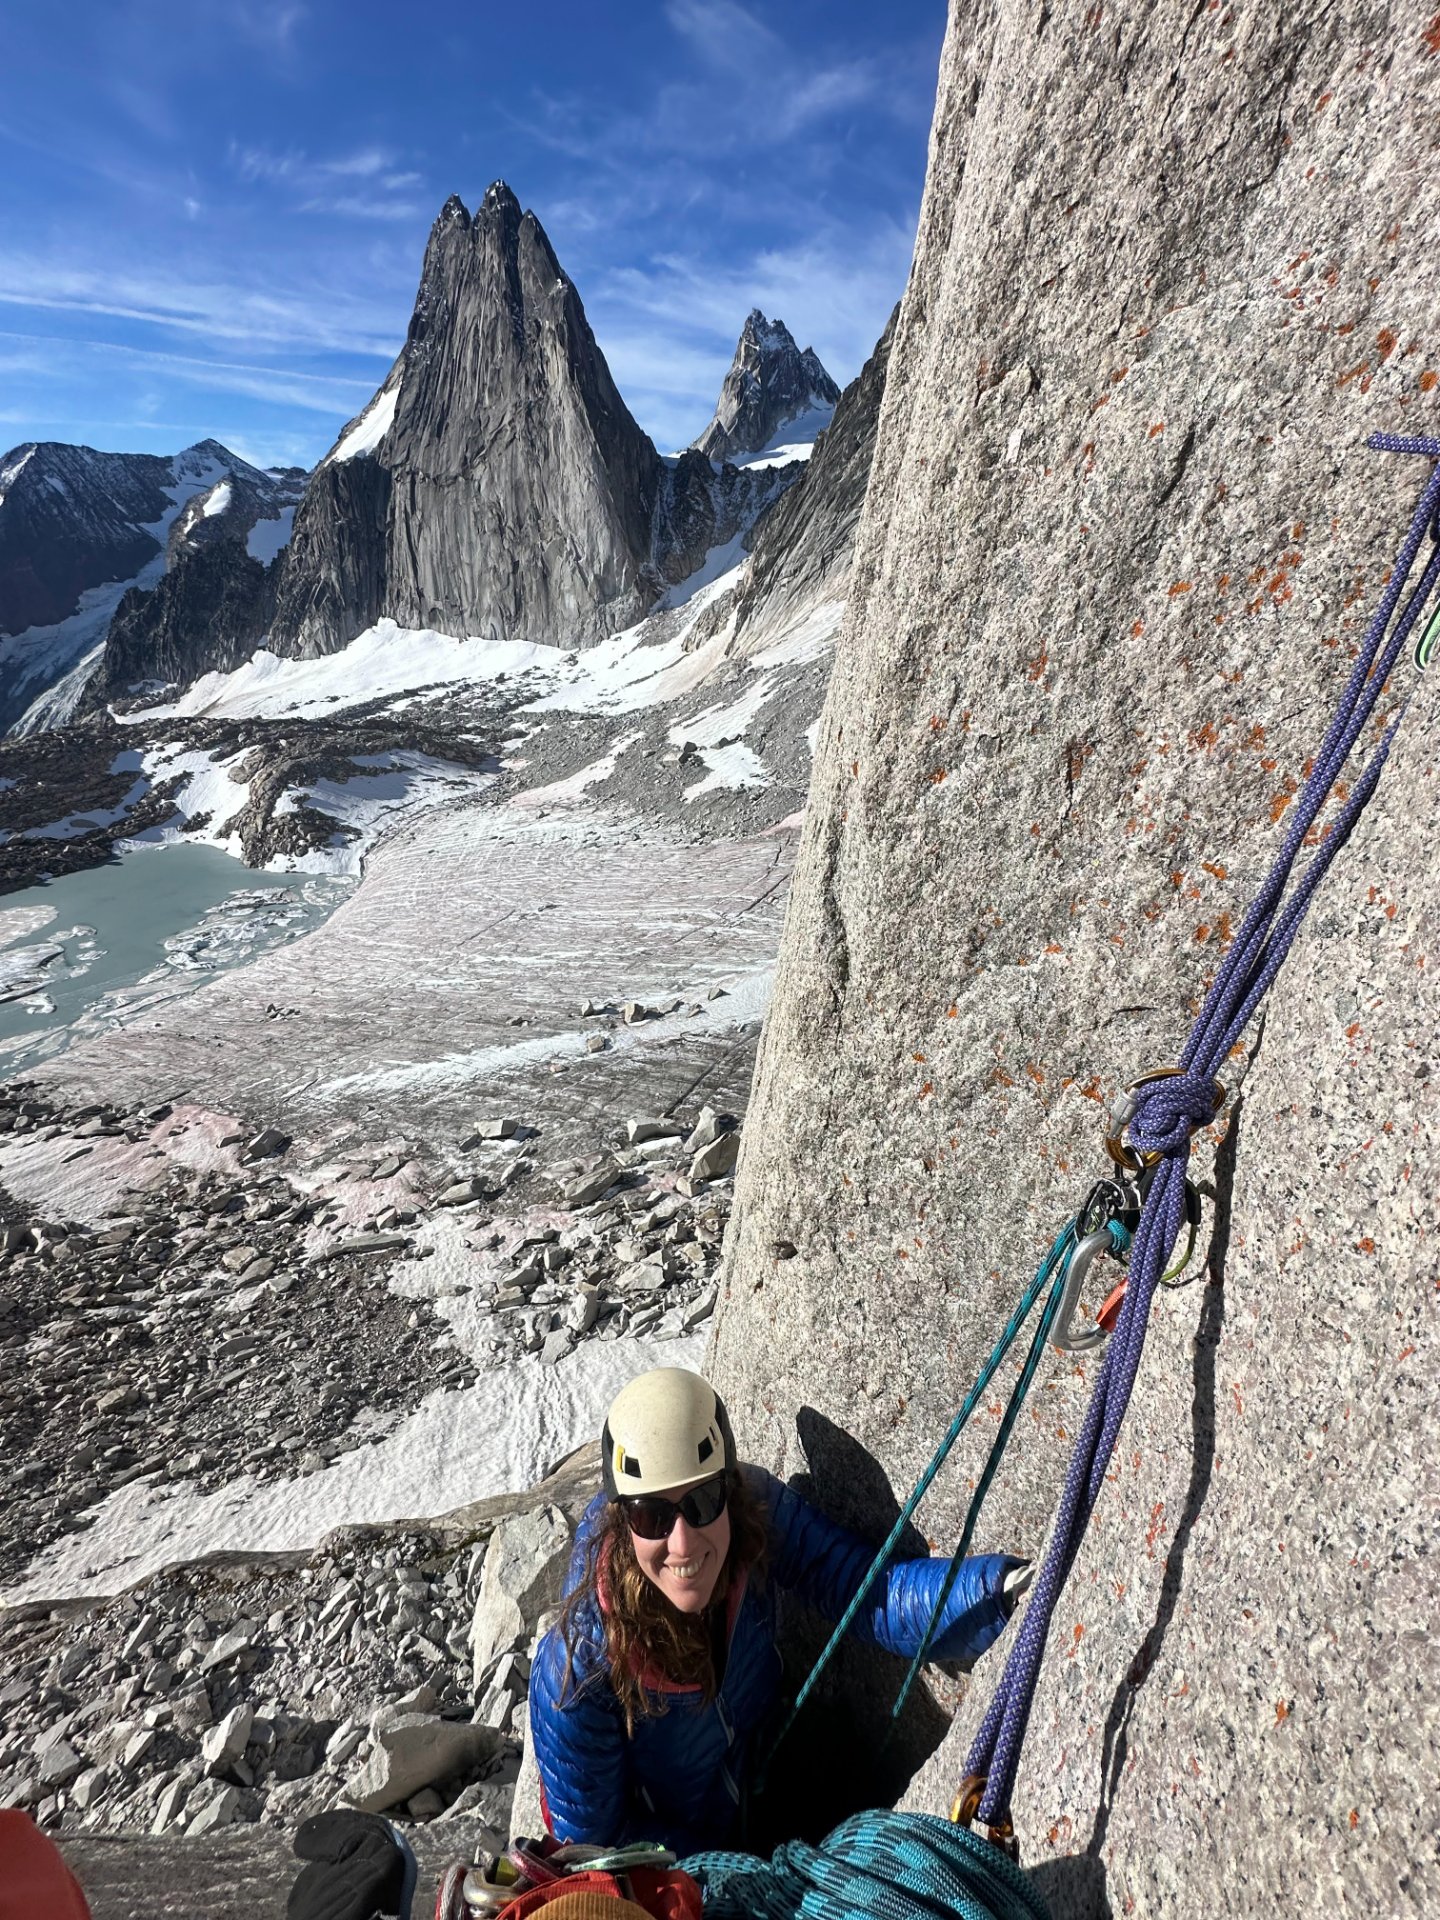
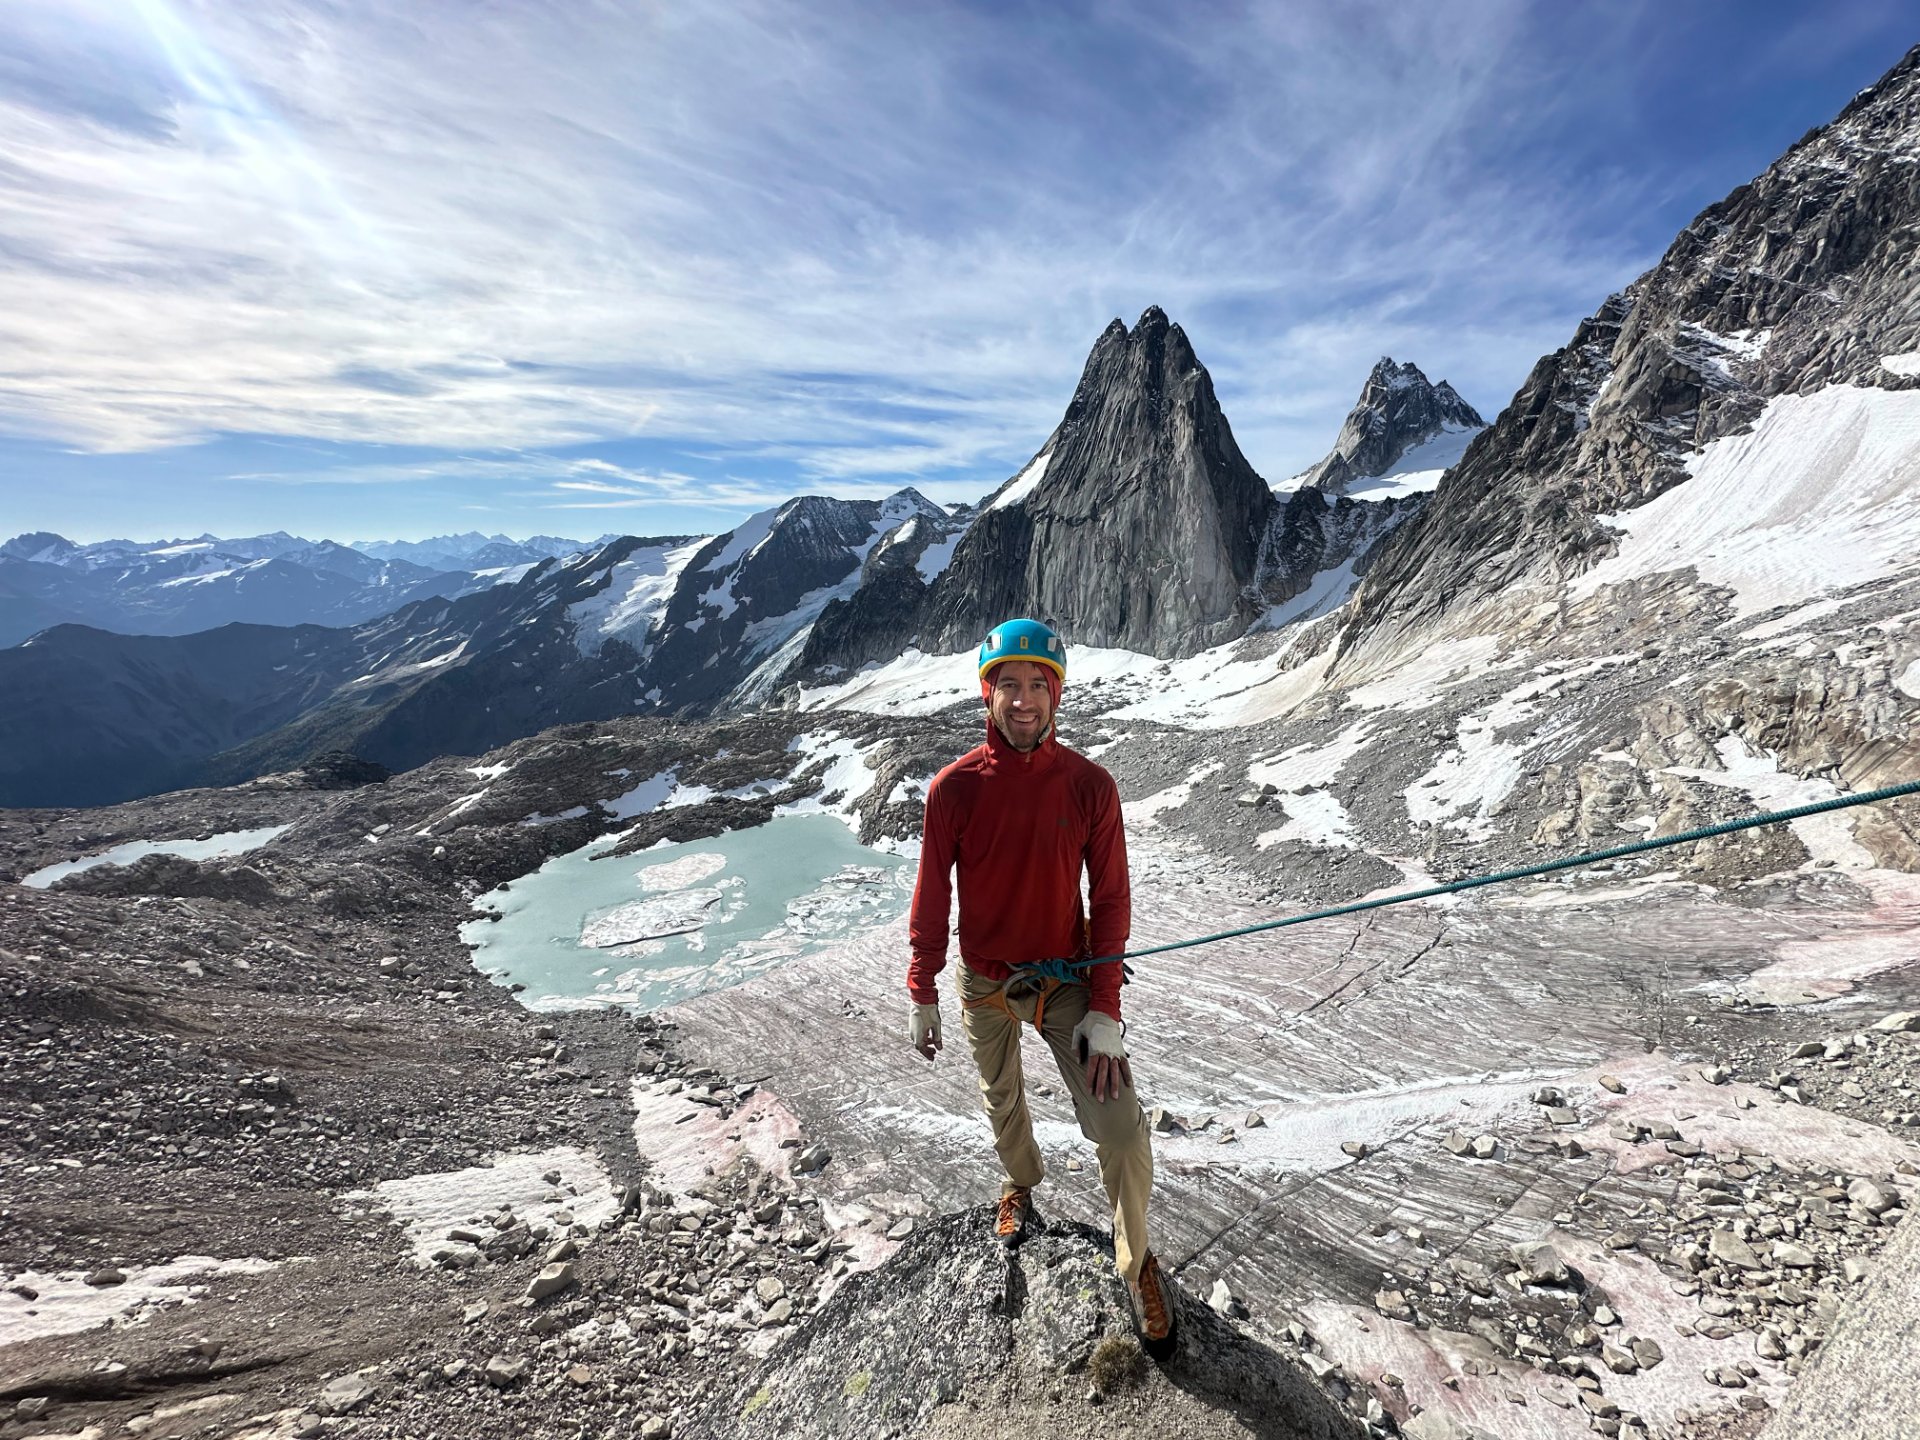
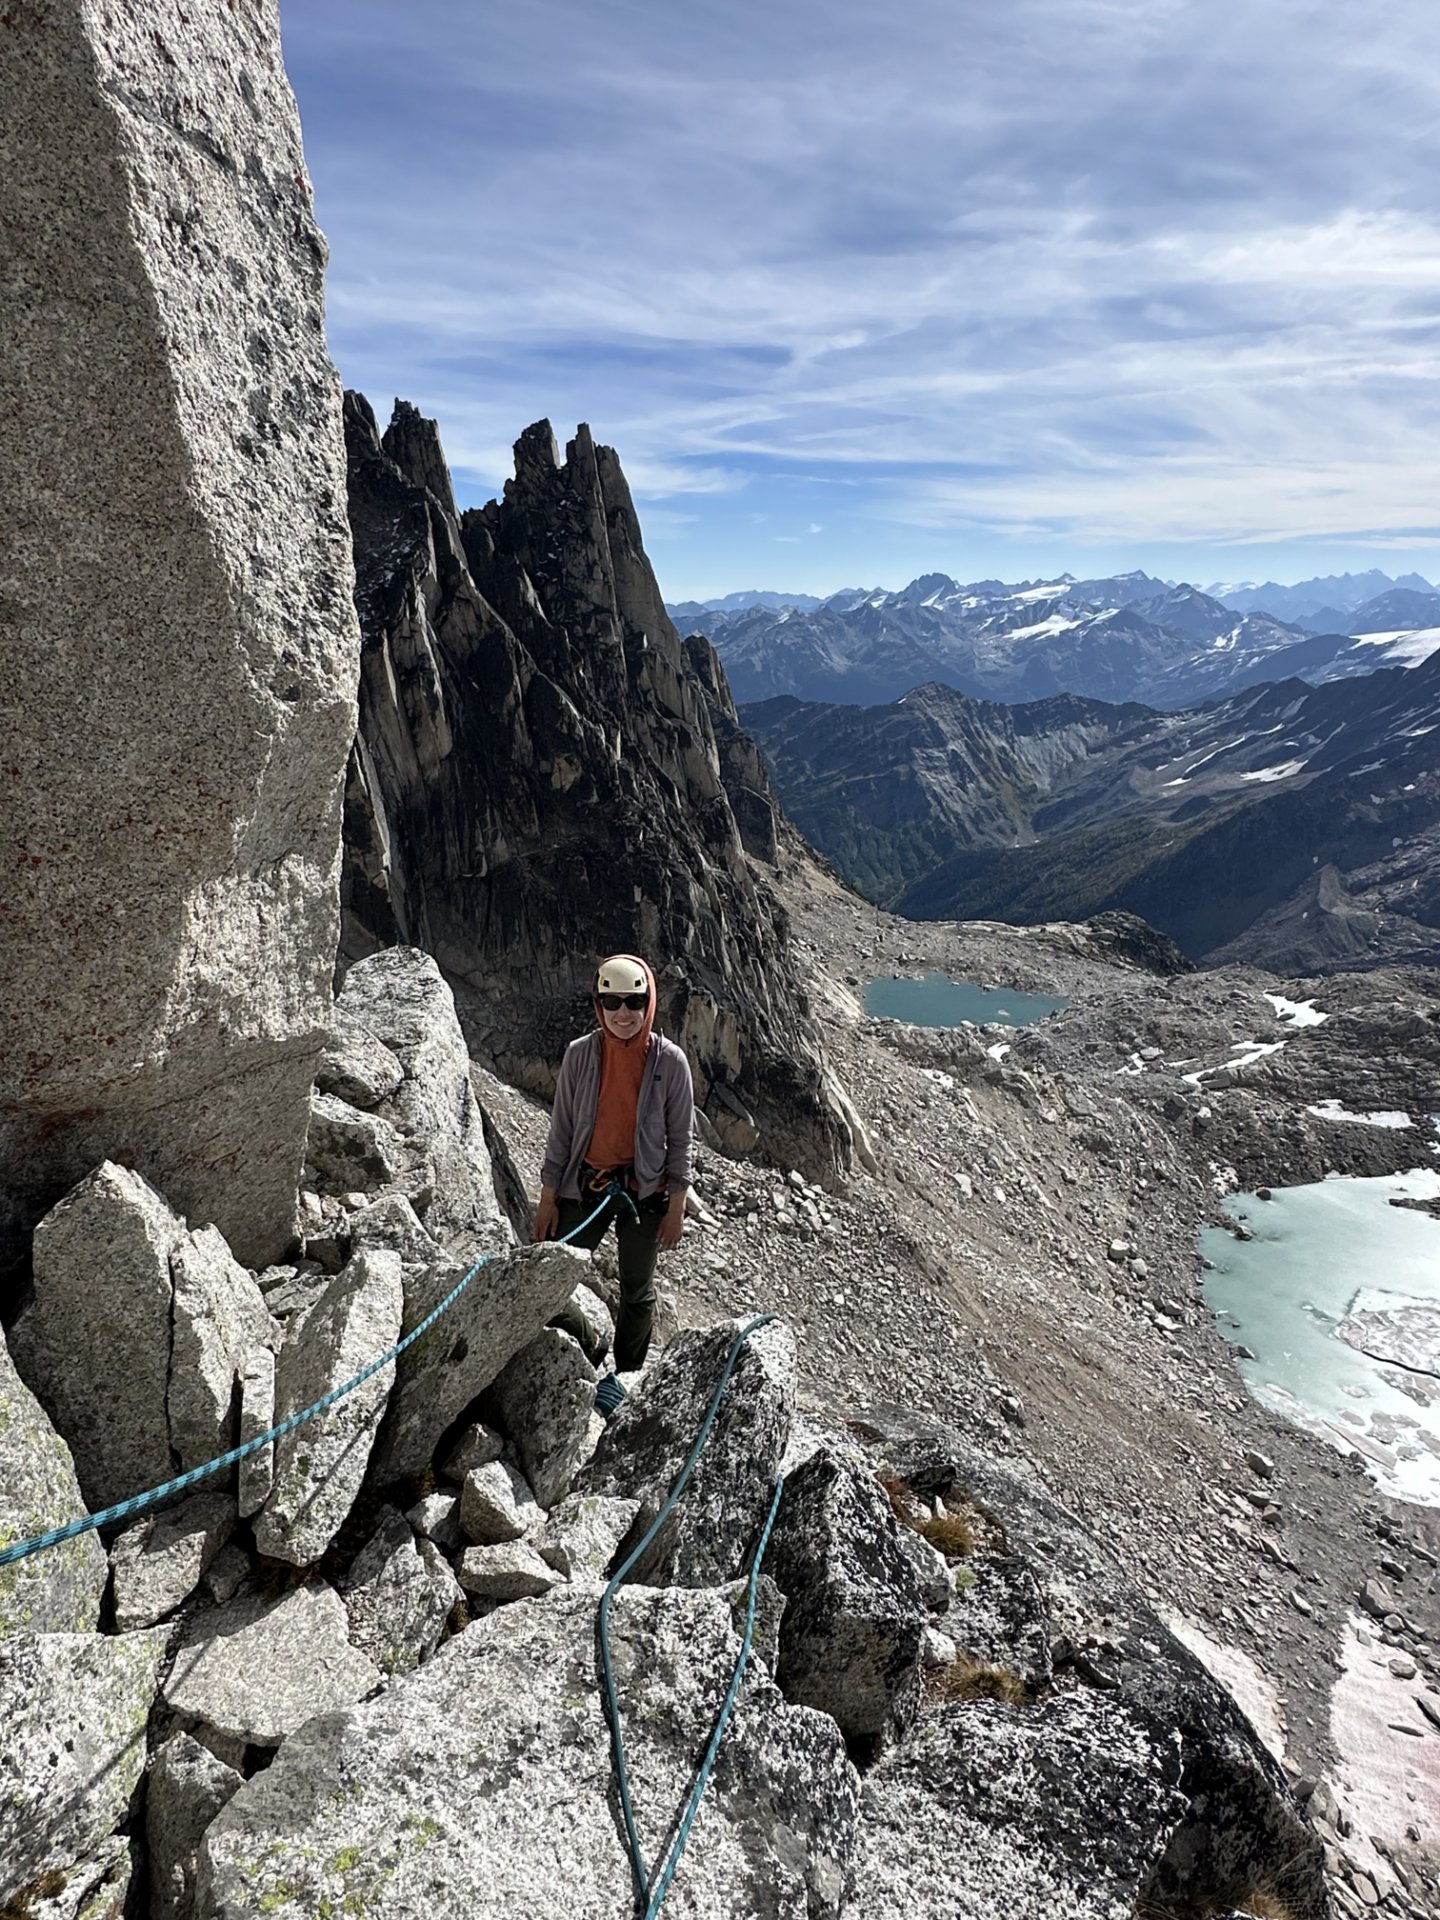
McTech Arete is a 6-pitch trad route on Crescent Spire in the Bugaboos, graded 5.10-. It is widely regarded as a classic, especially for its splitter granite crack climbing. It is also a popular short-weather-window or rest-day alpine objective, since it is close to Applebee Camp and has bolted rappel anchors.

The best climbing is generally reported on pitches 1, 2, 4, and 5, with pitches 2 and 4 especially praised. The views from the top of pitch 6 are fantastic.

The route is popular and often crowded.

Gear notes

  • A single 60 m rope is sufficient for the rappels.
  • If you like to sew up pitch 2, bring extra finger-size cams, especially #0.4-#0.75.
  • The #4 is useful multiple times.
  • Nuts are optional. A few parties placed some, but most don't bring them.
  • Crack gloves are useful.
  • Microspikes and ice axes are seasonally necessary. They weren't needed in September 2026.
225 min 3.7 mi +3,990 ft Conrad Kain Hut Trailhead

Park at the Conrad Kain Hut Trailhead.

To Applebee Camp

3.0 miles and 3,179 ft of gain one way, about 3 hours if backpacking.

From camp to the climb

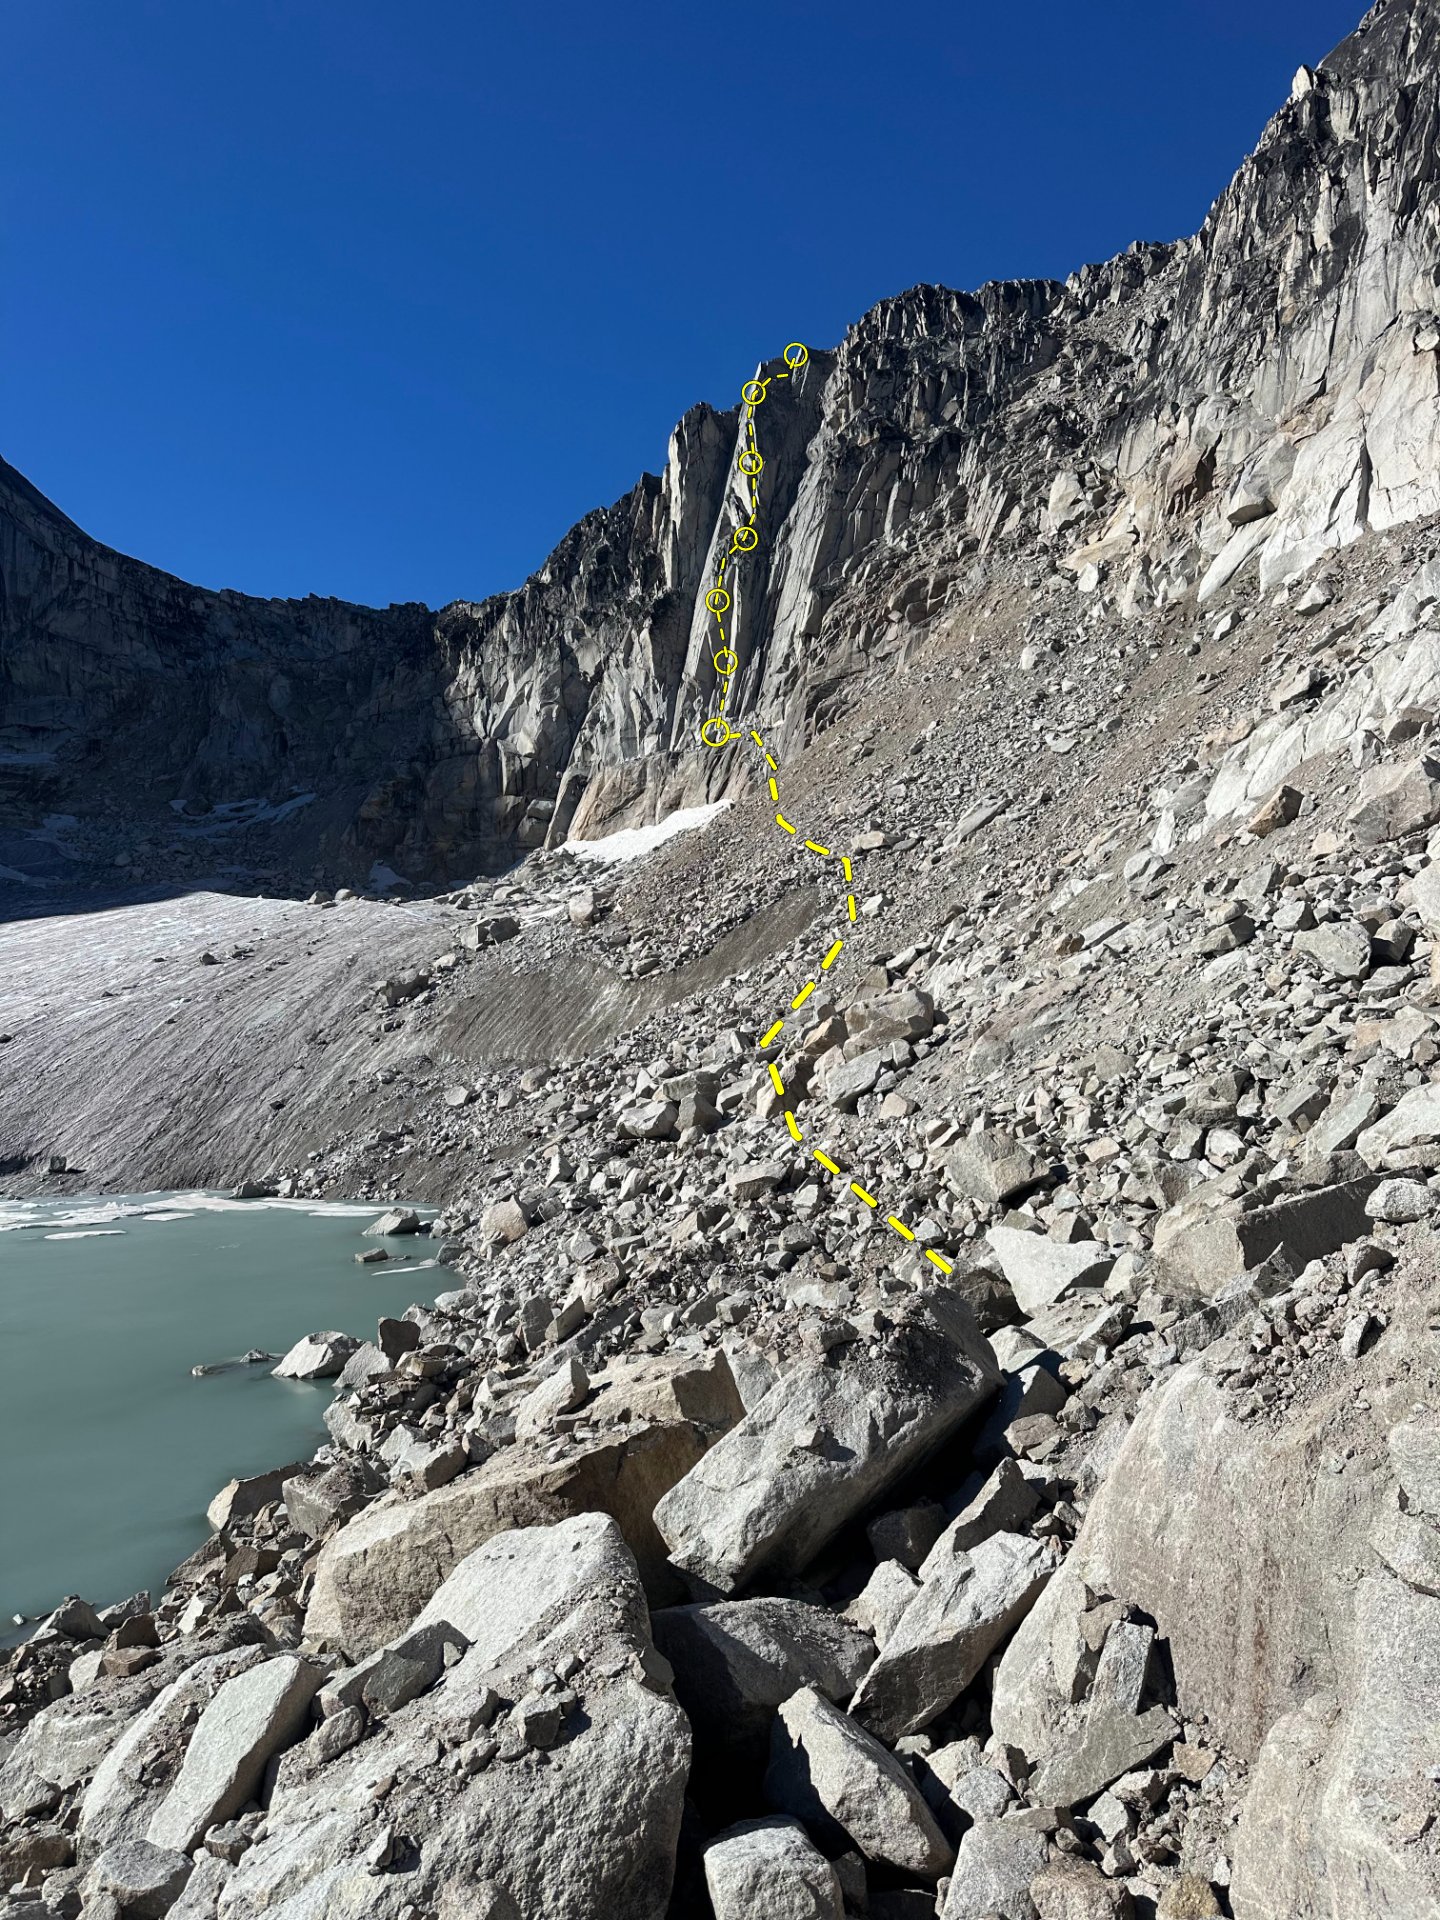
About 45 minutes from Applebee Camp, 0.6 miles and 417 ft of gain one way. The route is over loose boulders, and does get steep at the end.

Topo of approach

Pitch by pitch

P1

5.9

95 ft

Climb flakes to a small corner roof, then step left into another crack and continue up a short chimney to a belay on top of a pillar.

There is also a well-liked direct roof variation that many climbers prefer, it's pretty fun! It goes straight up the roof crack at about 5.10a on perfect hands.

Build a gear anchor on top of the pillar. Some climbers link pitches 1 and 2.
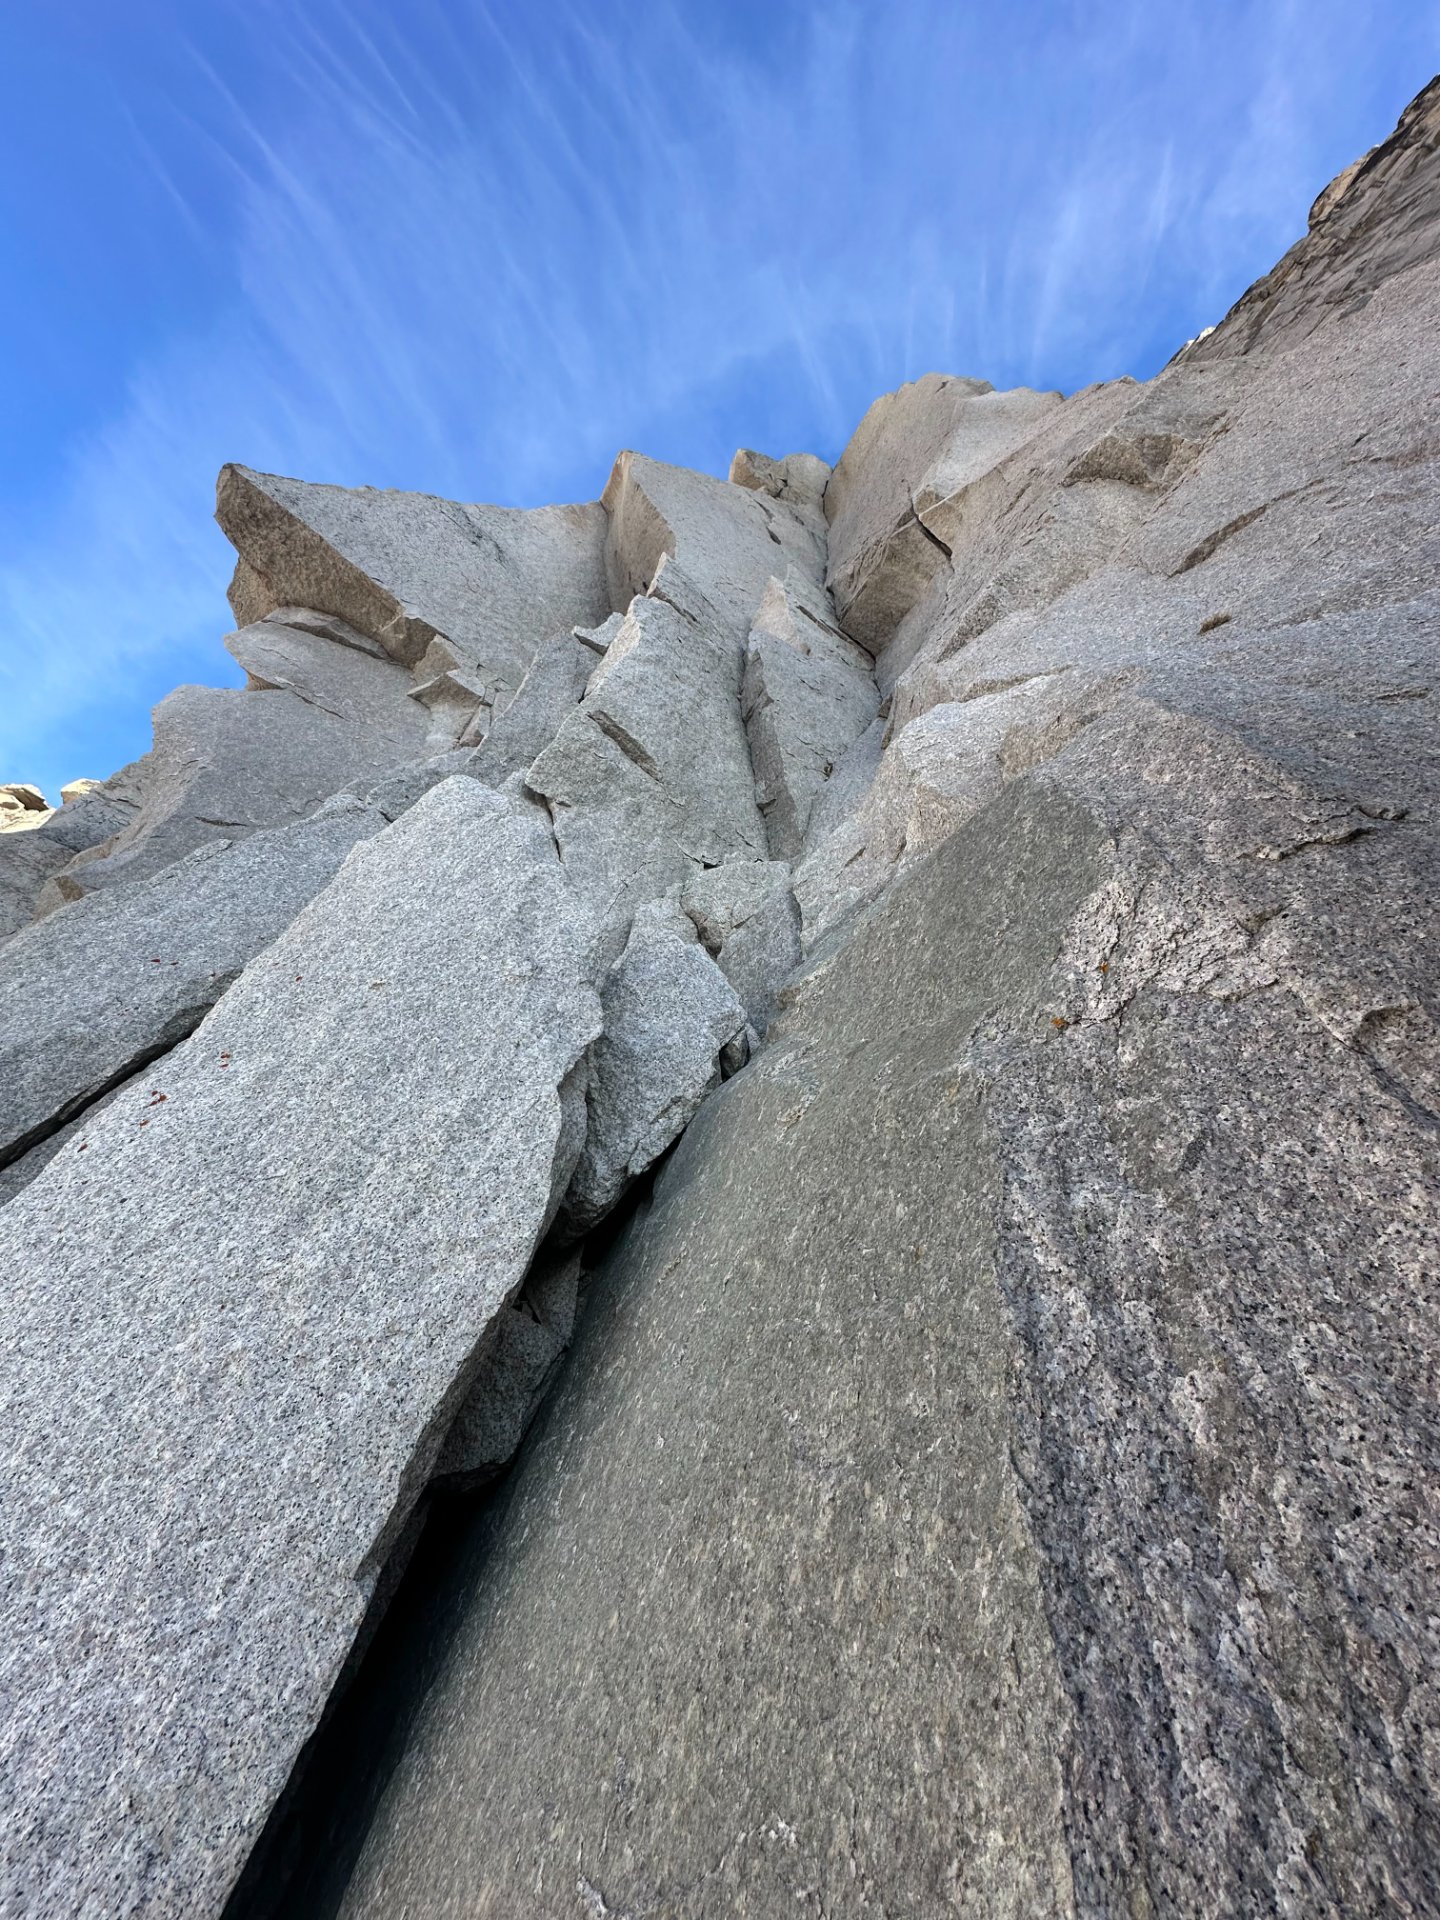
Anchor
gearSmall, slightly uncomfortable spot on top of a pillar
P2

5.10-

95 ft

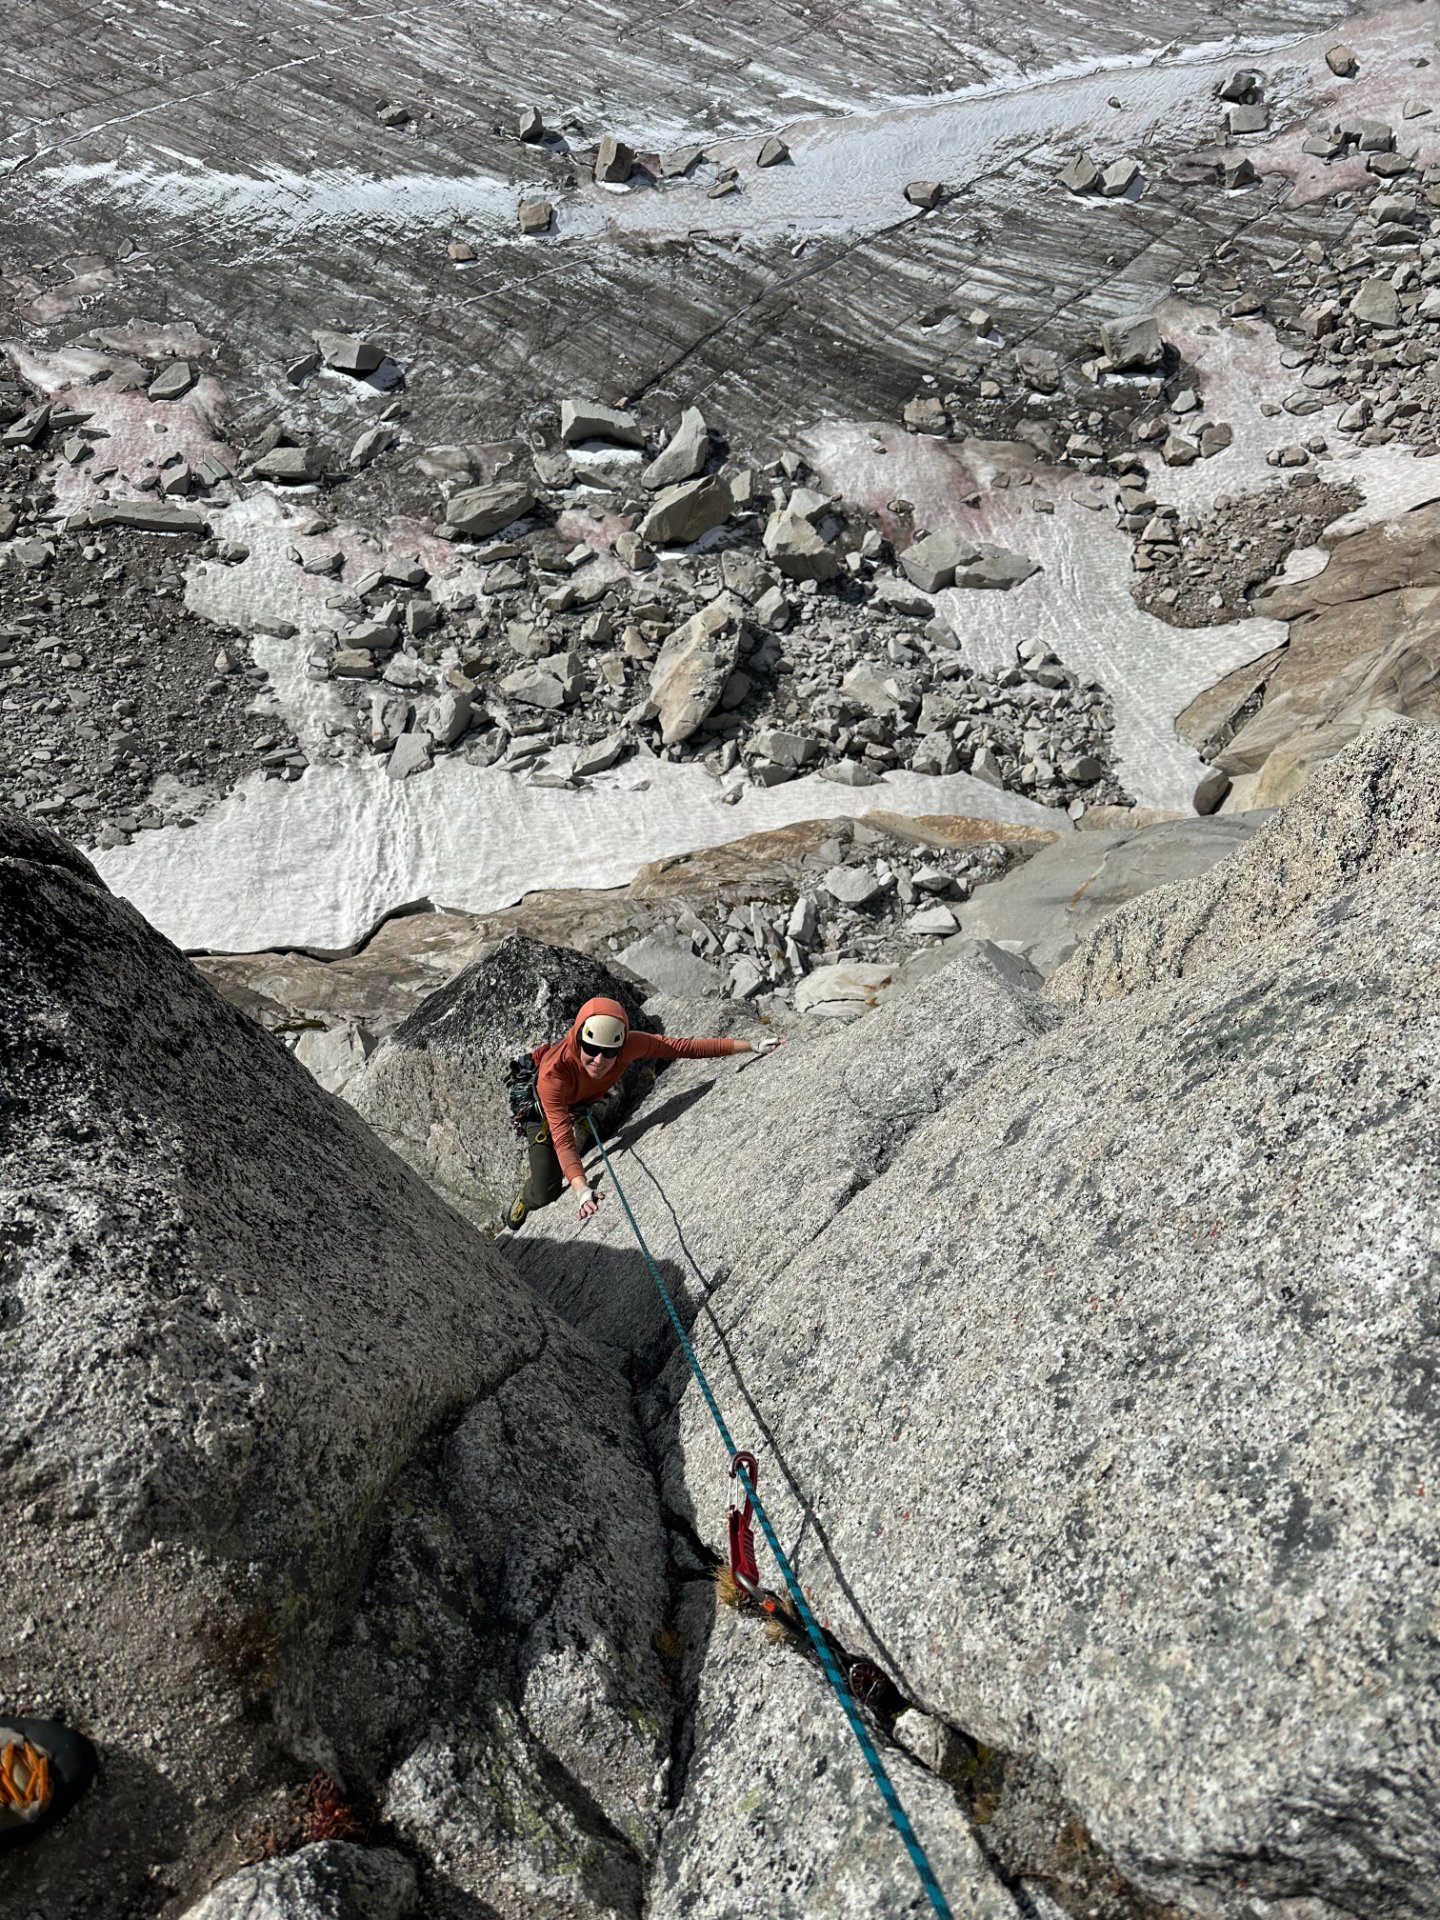
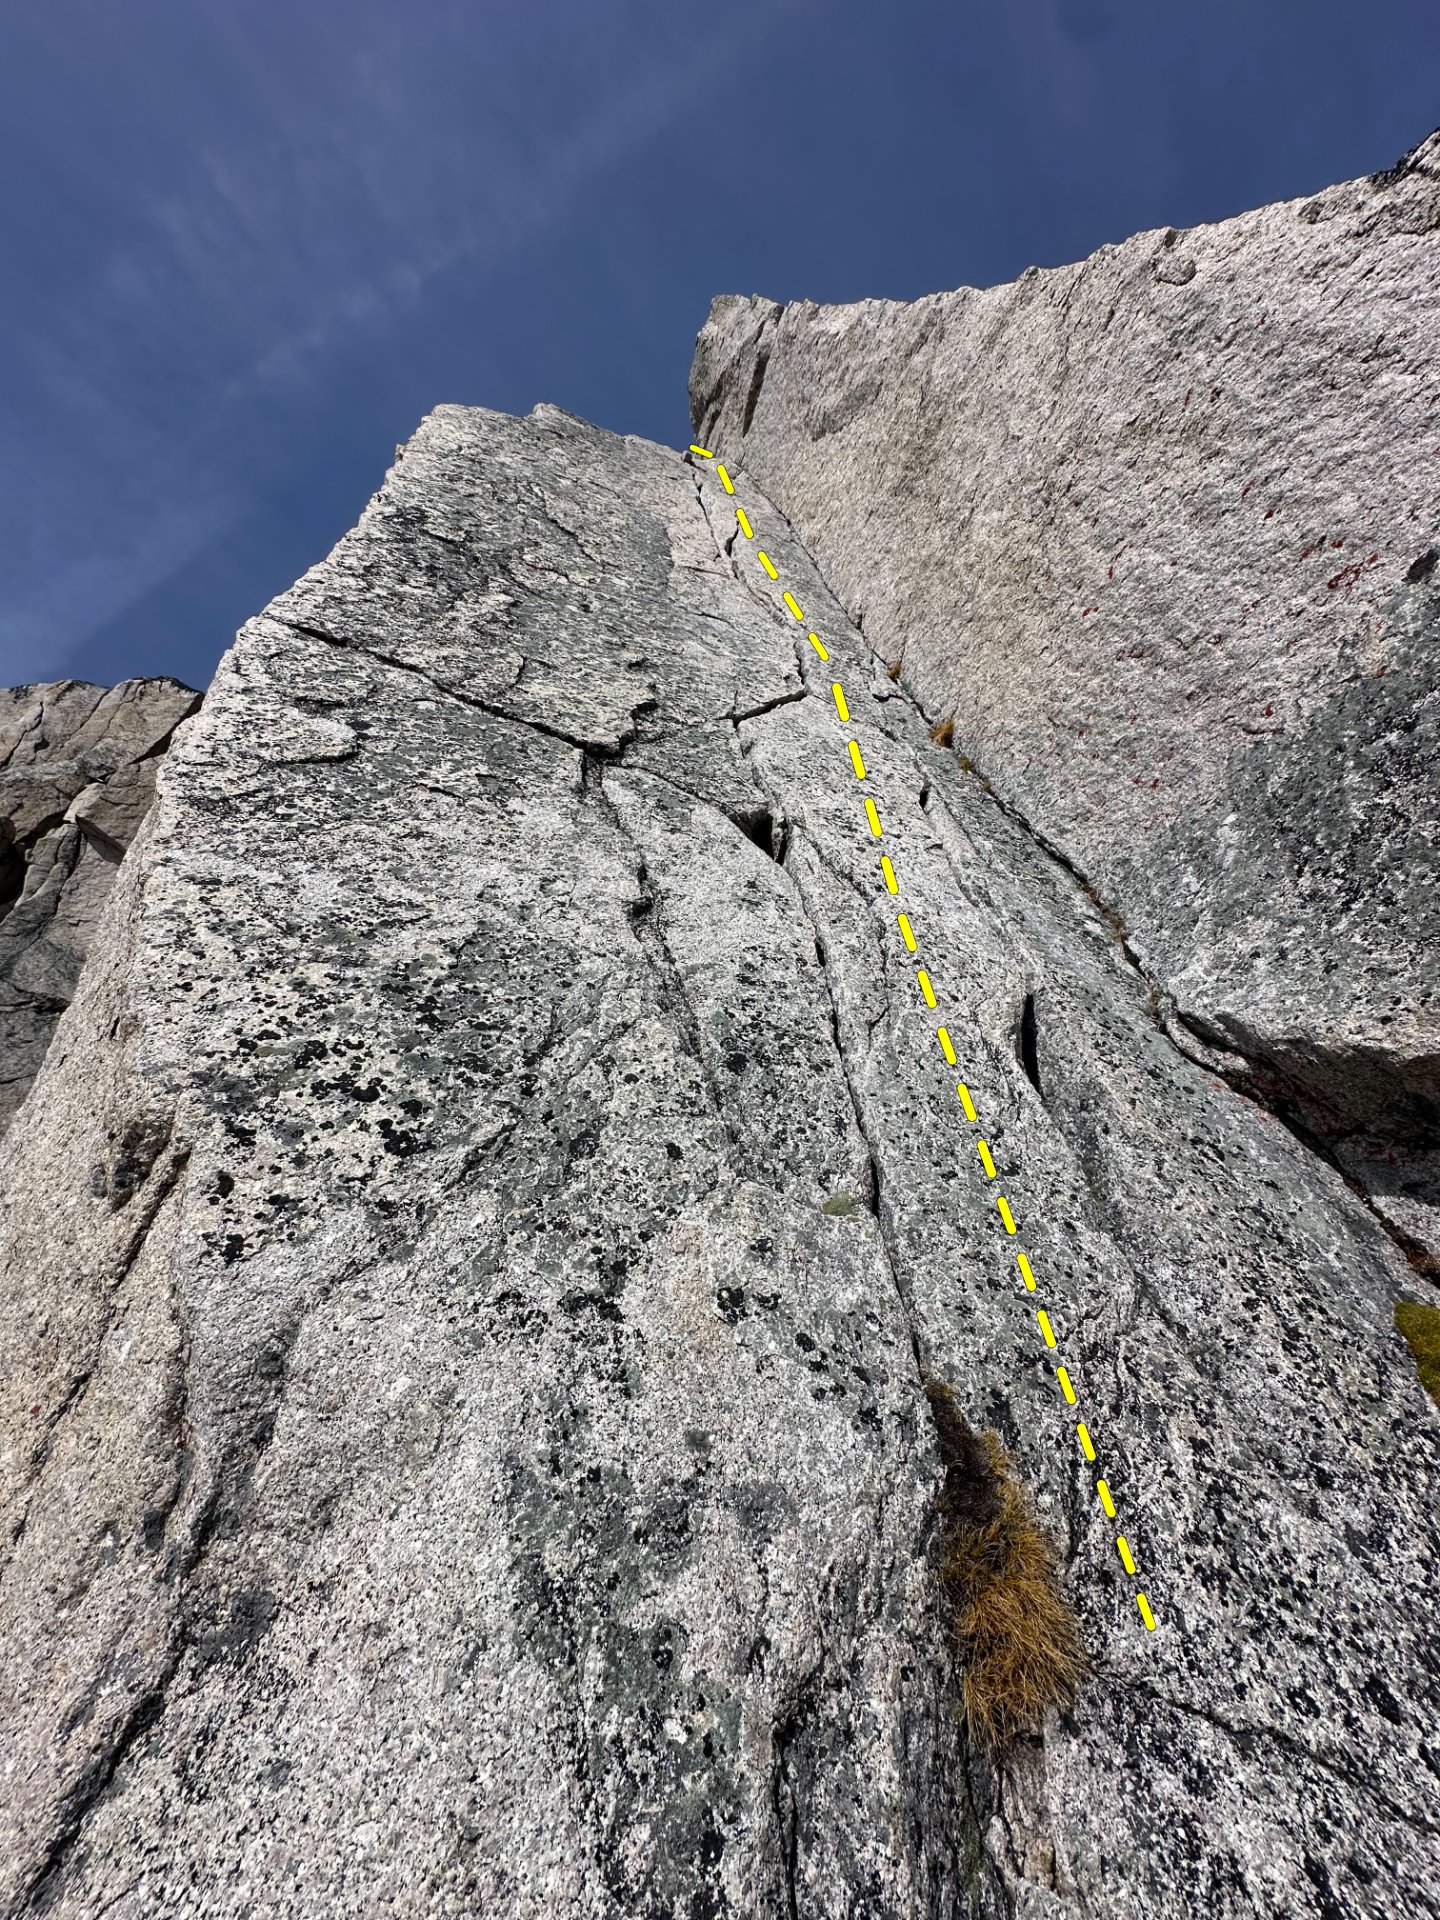
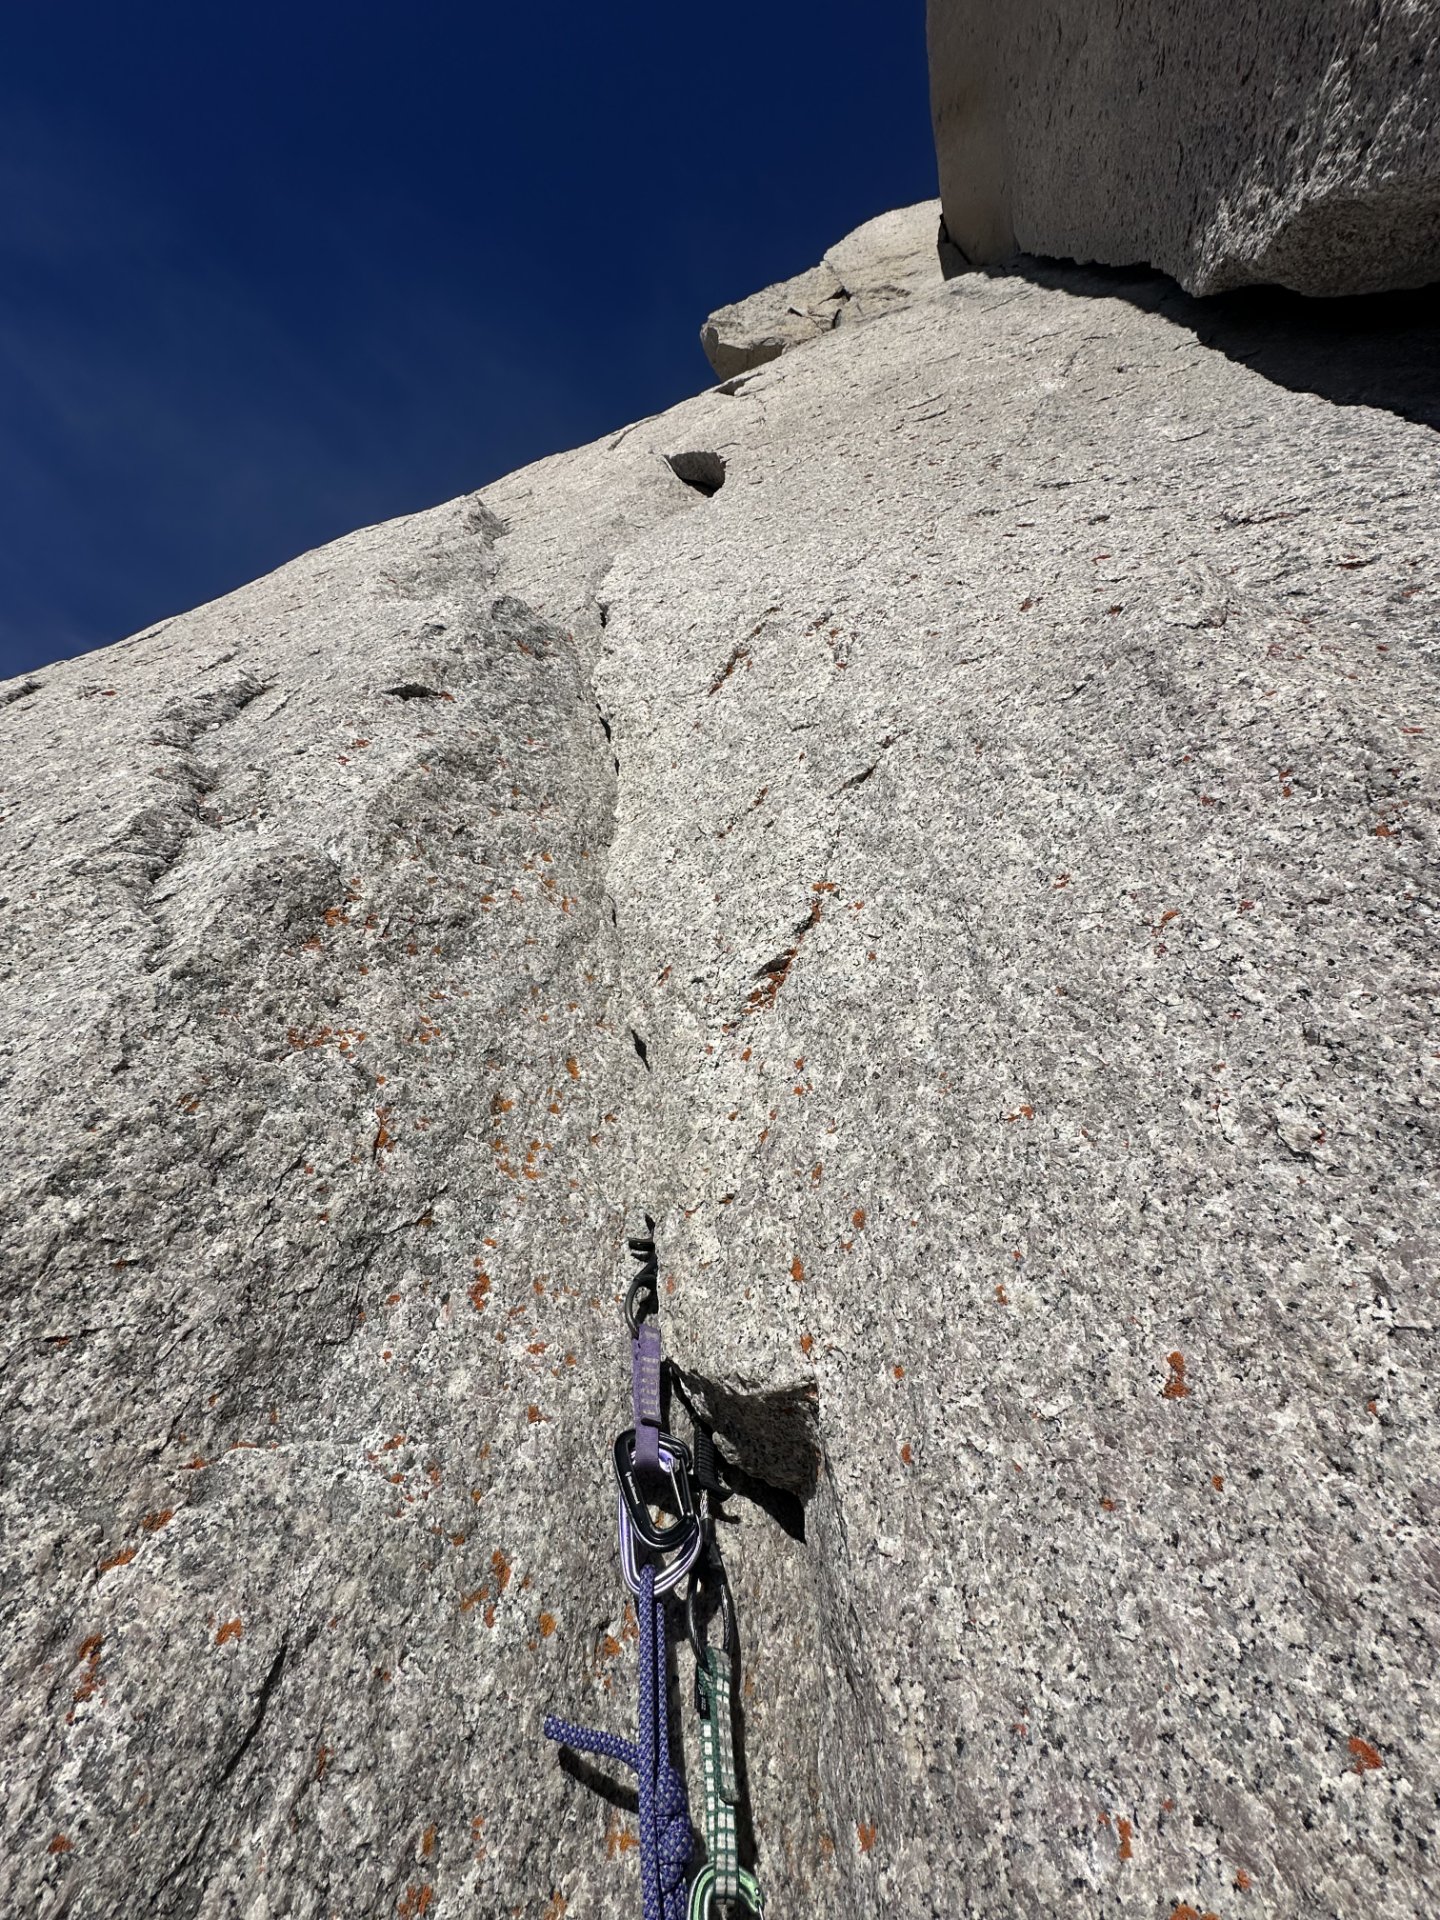
A sustained finger crack pitch, if you like finger cracks, you'll love this pitch. From the belay, move left into the face finger crack crack, continue up the steep vertical finger crack to the top, belaying on a ledge with a chain anchor.

This pitch tends to eat #0.5 and #0.75 cams. Triples of both are nice to have.

Anchor
boltsChains on a ledge
P3

5.4

100 ft

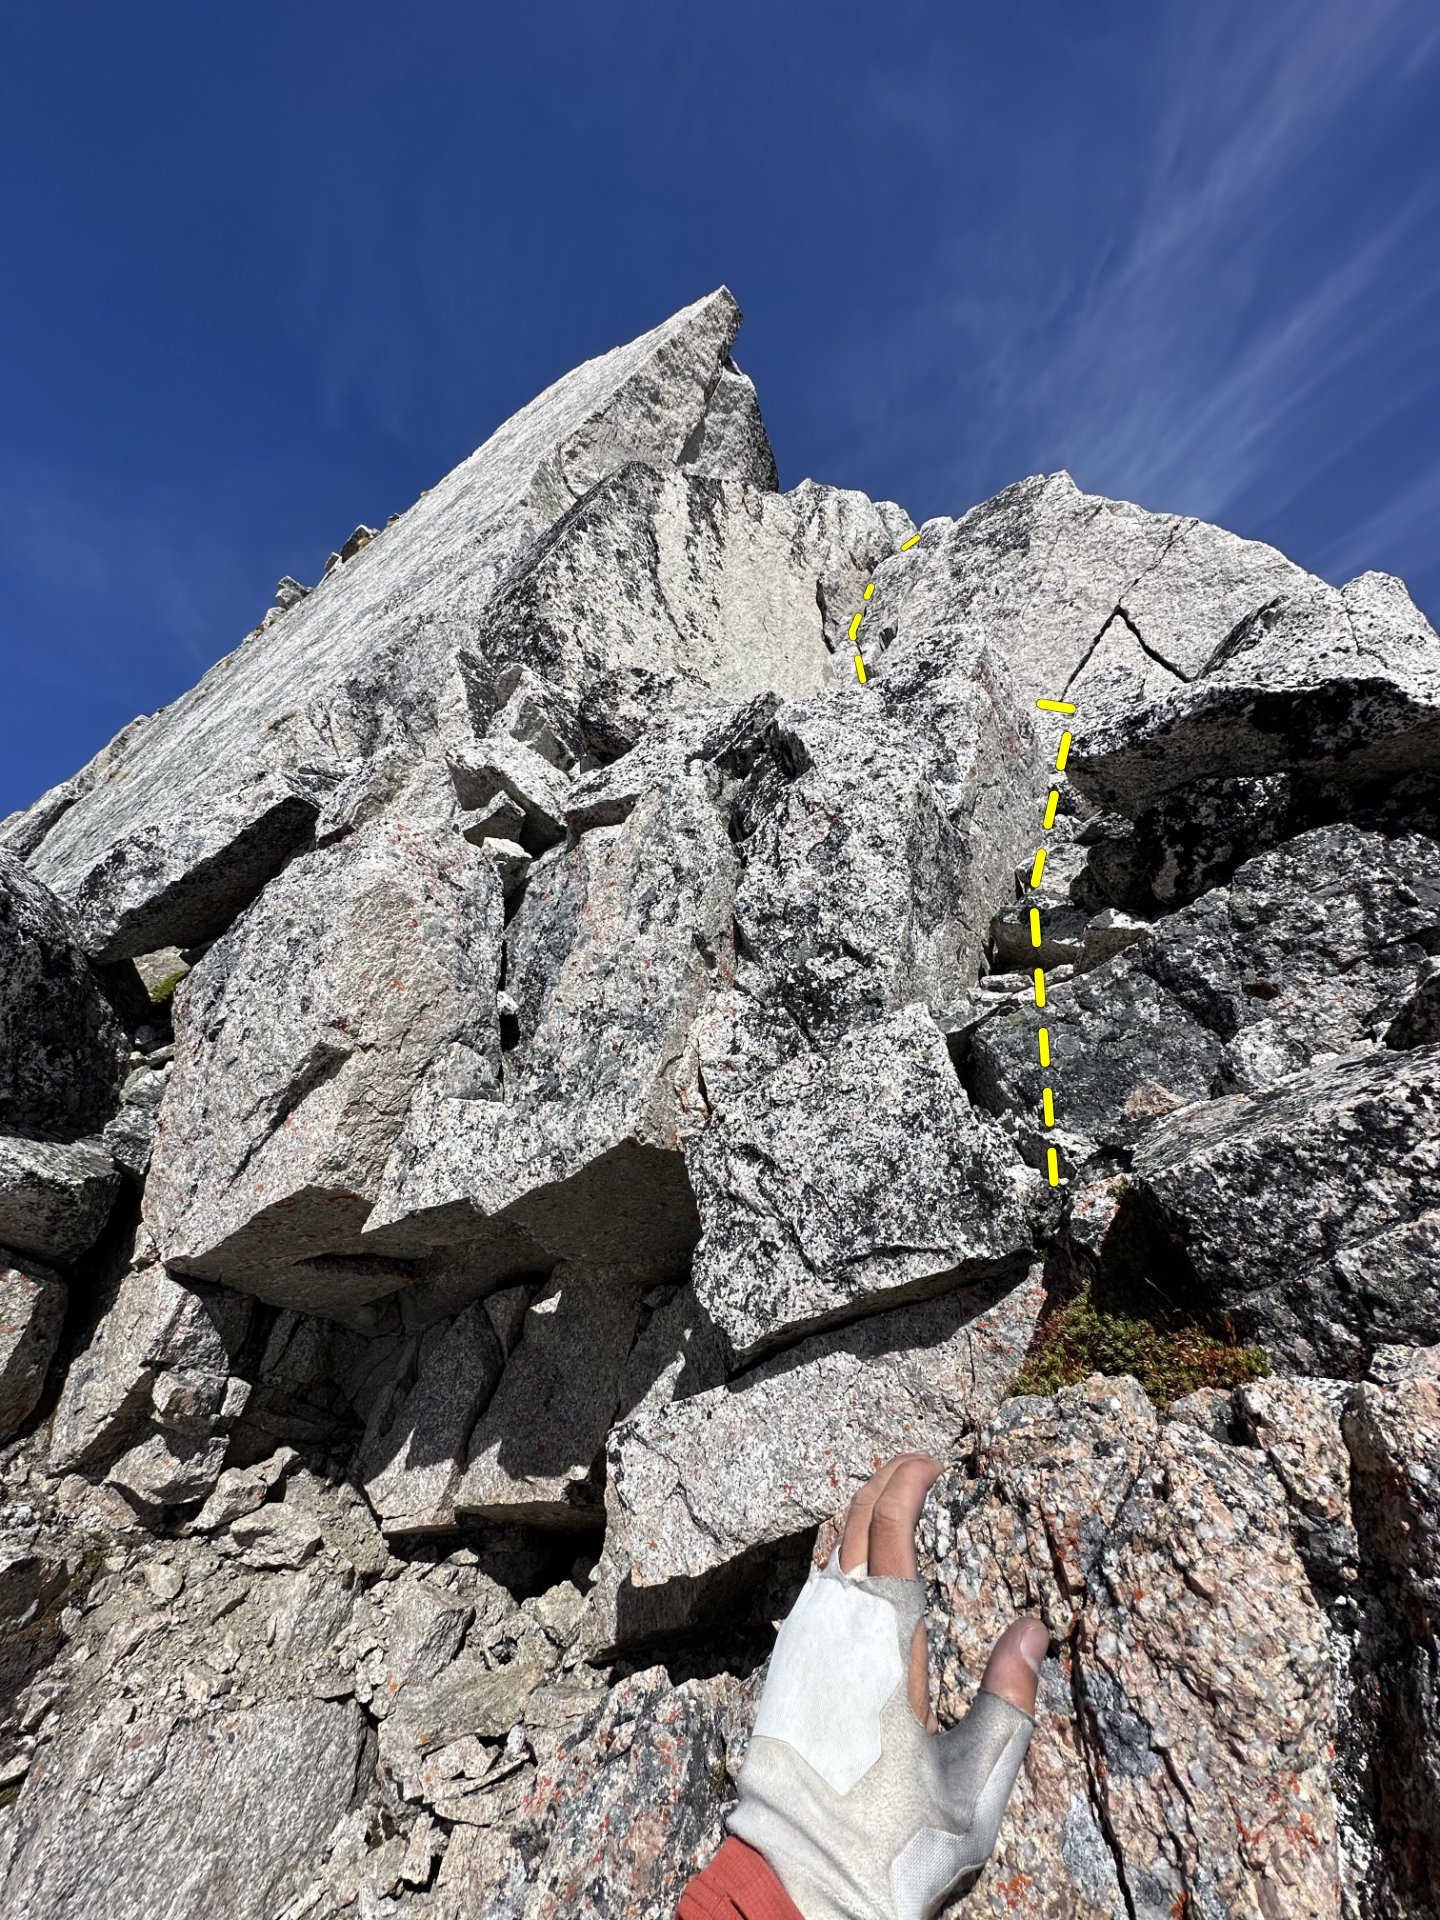
An easier pitch heading up through corners and easier terrain to another anchor, trending up and right. This is generally considered the least memorable pitch, more of a transition than a destination.

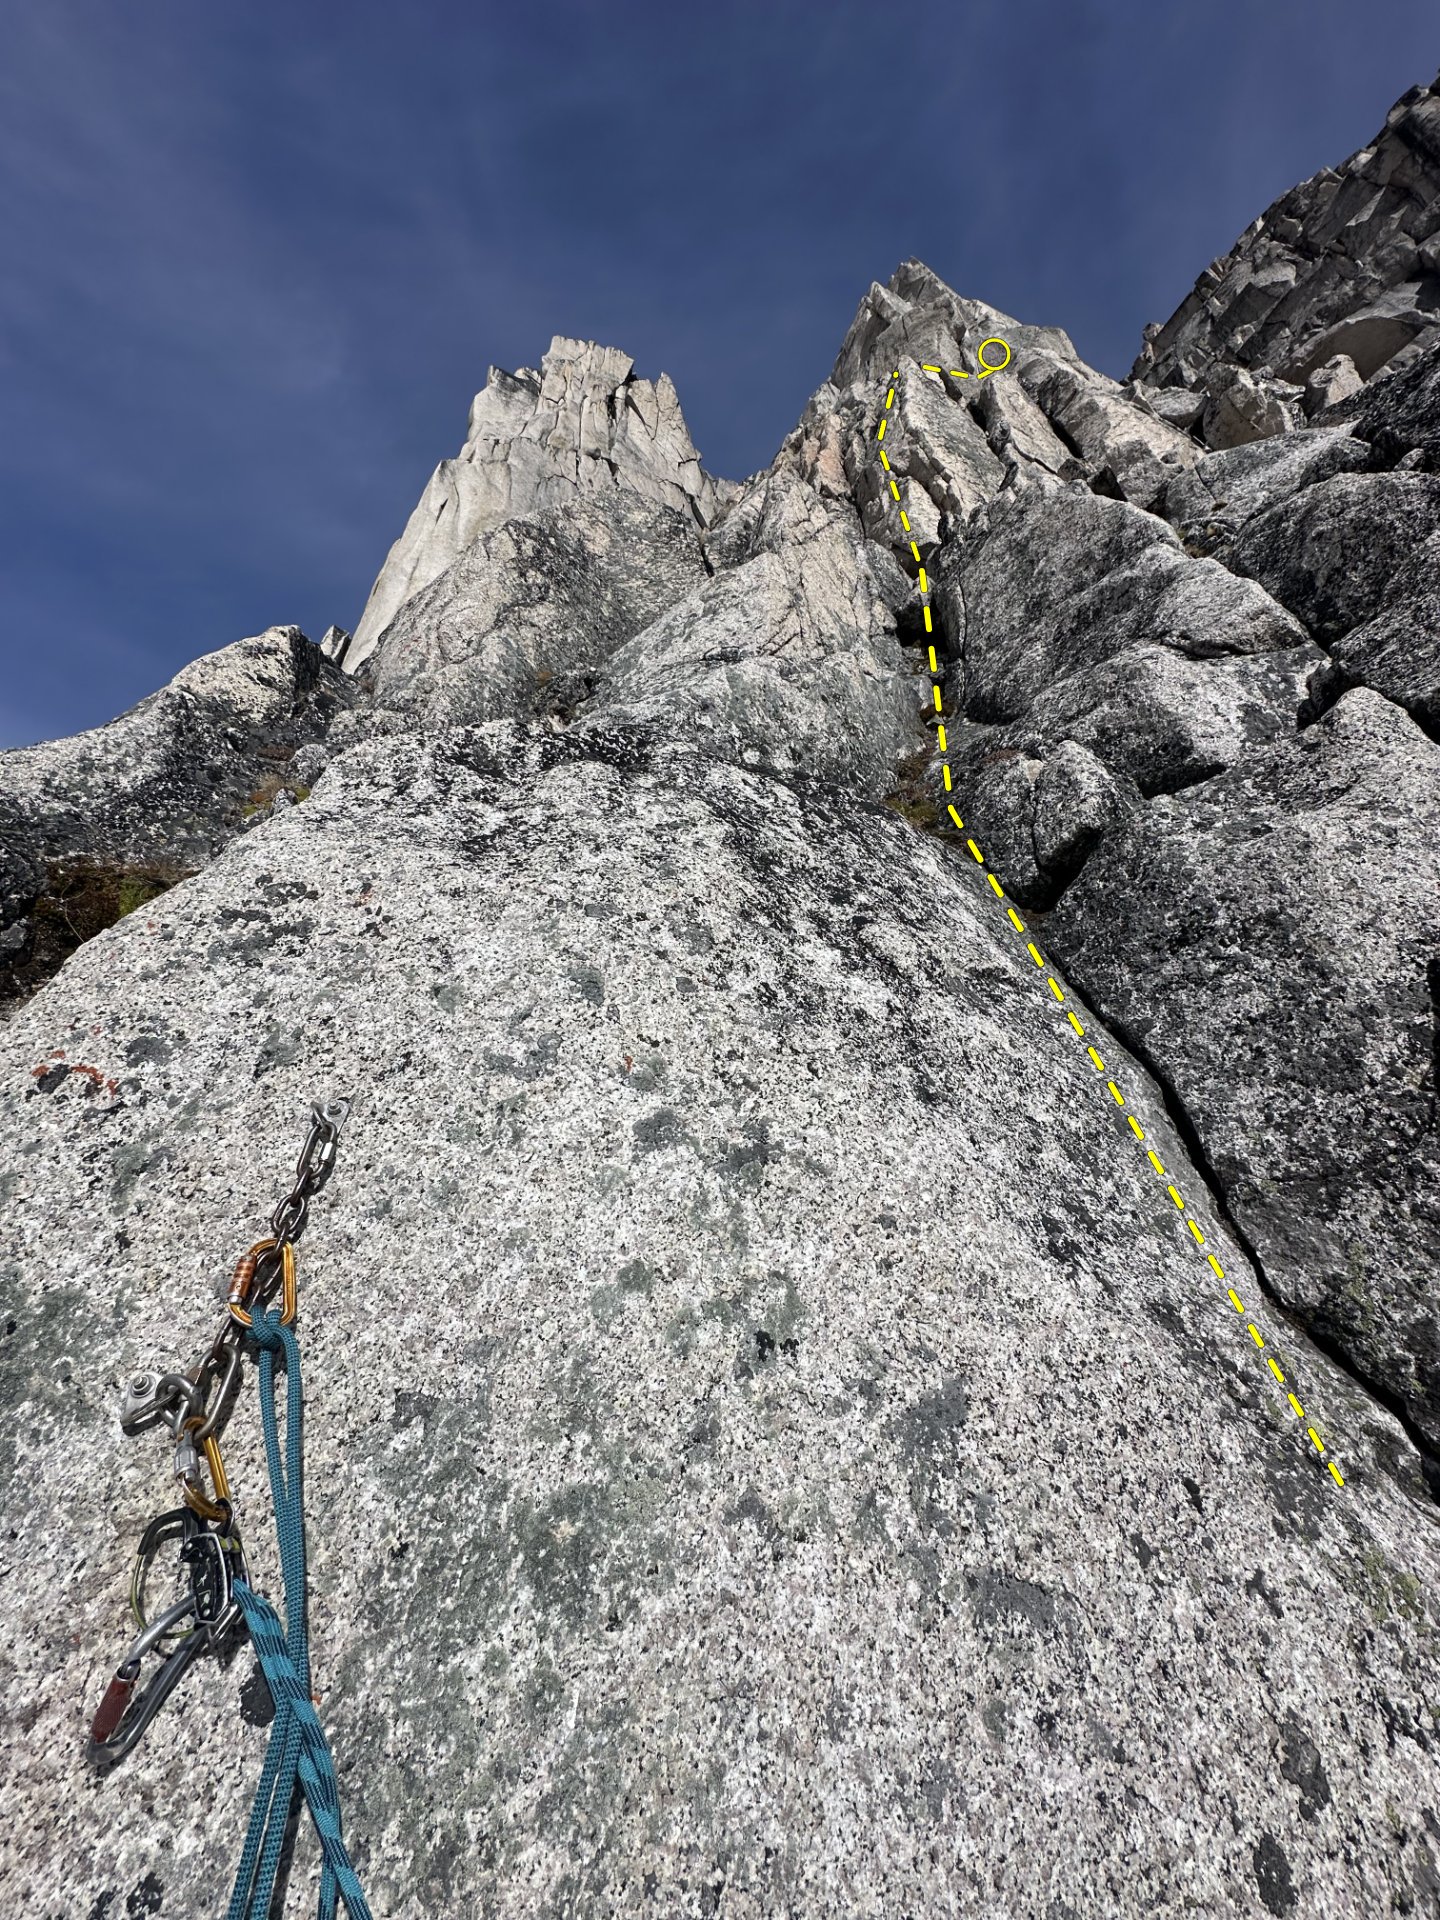
Belay at the chains. Make sure to head right if in doubt, do NOT go over to a set of chains that trend left. Look at the pictures of P4 to help know what to look for at the next pitch.

Anchor
boltsChains
P4

5.9

131 ft

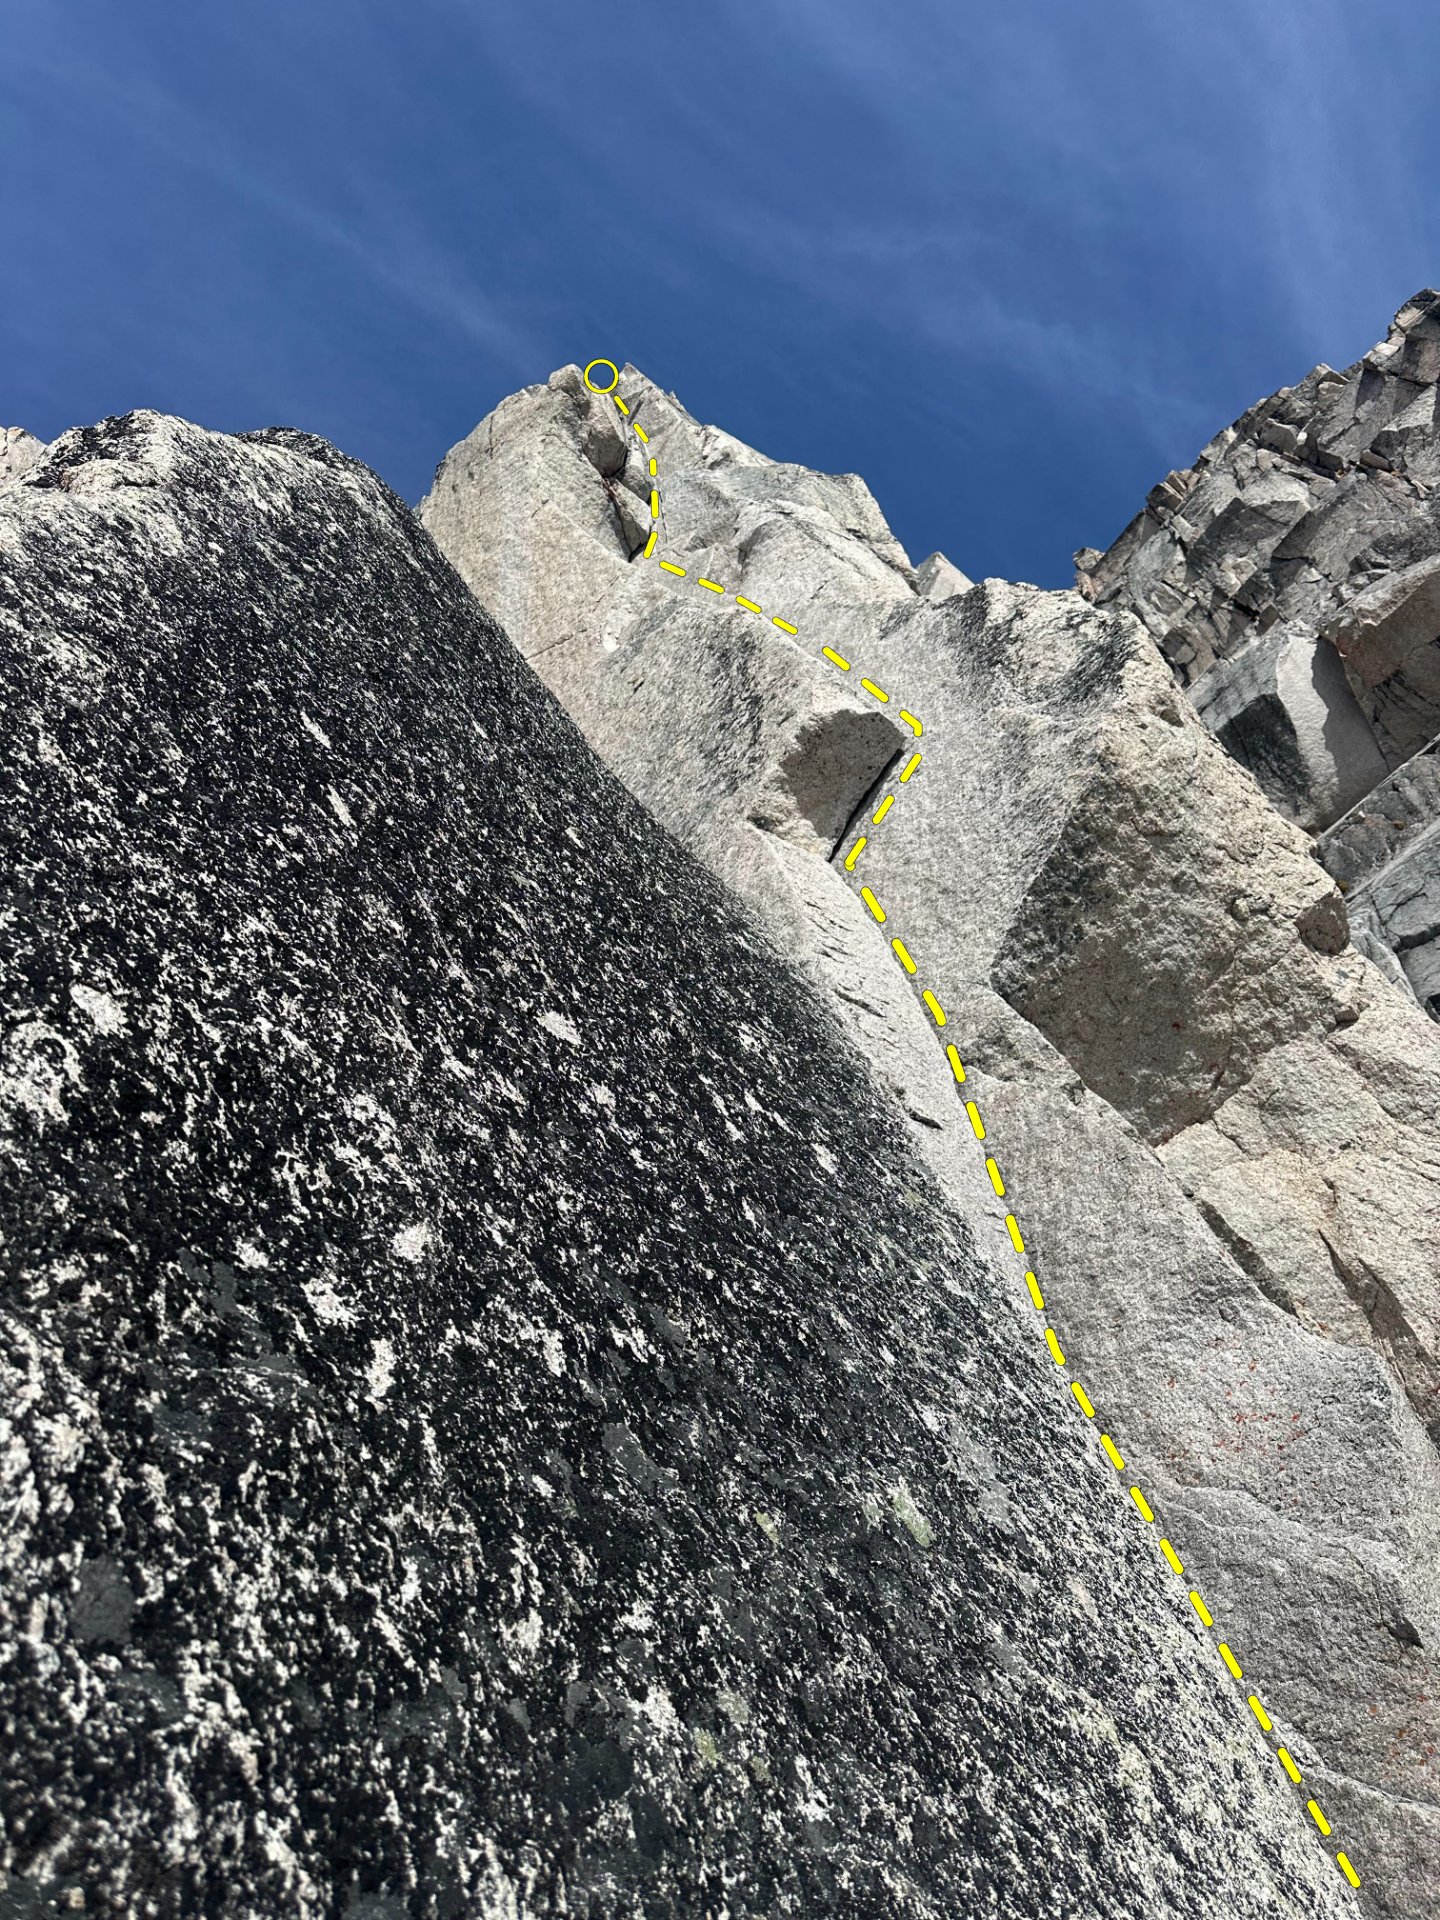
Step right from the anchor, go behind a flake, then climb a beautiful corner to a roof. Traverse right under the roof into another corner, pull the second roof, and finish at a belay ledge on the left with chains.

This pitch is pretty enjoyable if you like corner hand cracks! Expect excellent hand crack and corner climbing, with a memorable but challenging roof sequence. A few climbers felt it climbed a bit stiffer than 5.9.

Anchor
boltsChains on a ledge to the left
P5

5.8

102 ft

From the anchor, step all the way around to the right again, and climb fun face hand cracks, then gain a corner leading to another ledge with chains. This pitch is pretty enjoyable!

Anchor
boltsChains on a ledge
P6

5.7

115 ft

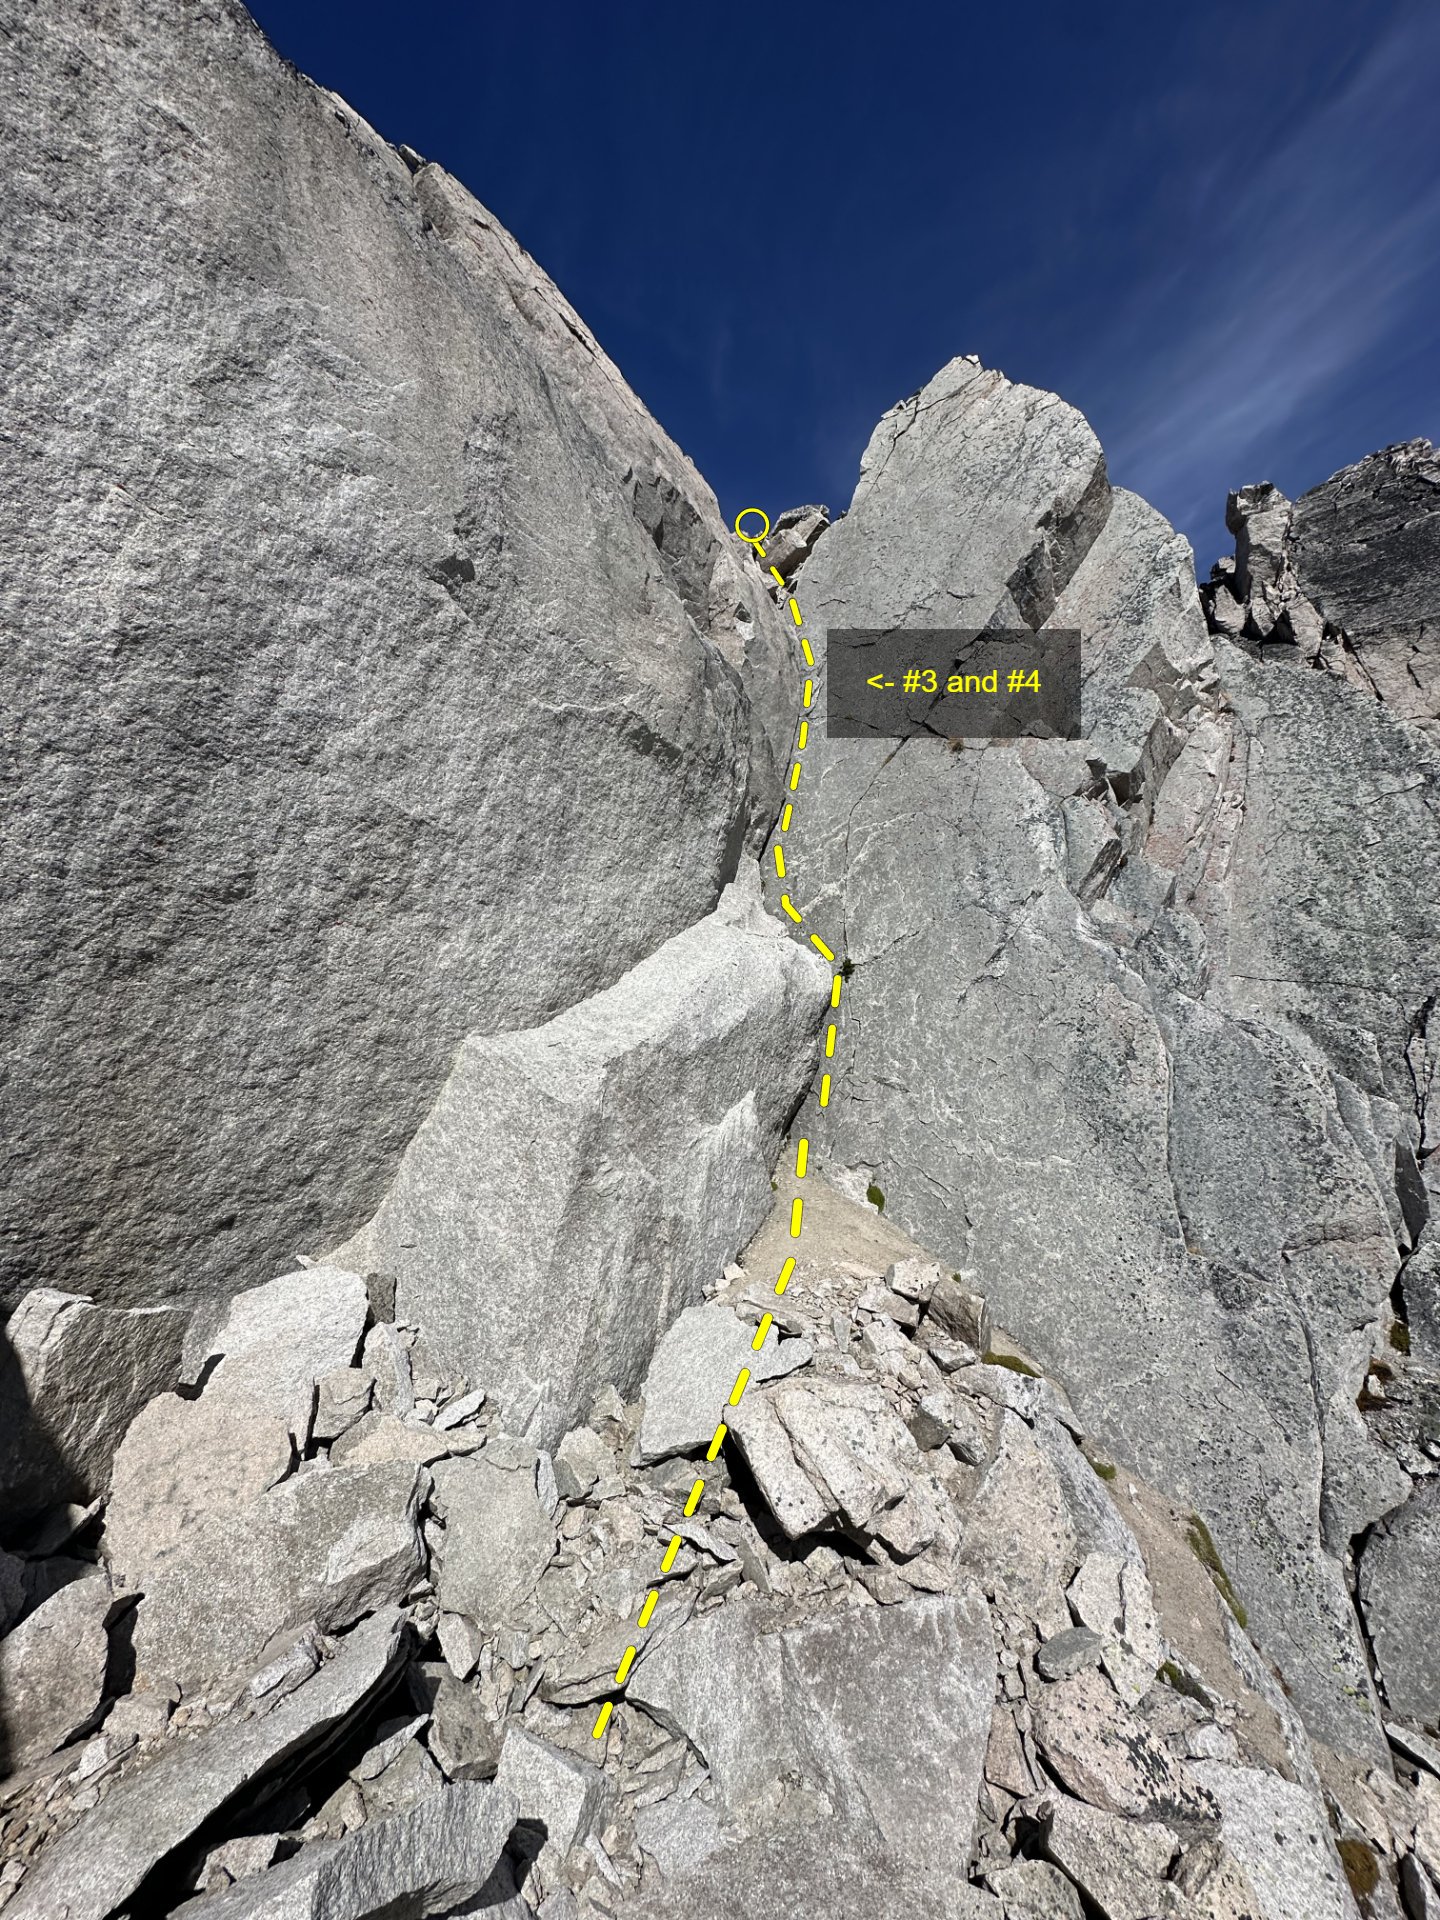
Climb easy terrain toward the right, then climb a steep corner to the top of the ridge crest and belay off a large block with your own sling.

This pitch requires a #3 and #4 to protect it well. The climbing isn't that interesting, but the view from the top is well worth it.

Anchor
gearLarge block, bring your own sling
7 rappels with a single 60 m rope, about 1 hour, plus 30 minutes back to camp

Rappel the route using bolted anchors and a single 60 m rope. The rappel route sometimes diverges from the climbing route. Allow about 1 hour for the rappels and roughly 30 minutes to walk back to camp.

  • R1 (20 m): From the very top of the ridge, find the bolted anchor with chains around the edge. A big cairn helps indicate it, but you need to peer over the sheer edge to see the anchor. When rappelling, traverse far climber's right. Ignore the rap anchor straight down.
  • R2 (30 m): Straight down, with no reason to traverse right. Watch for the rope getting stuck here.
  • R3 (29 m): Straight down again, to a non-route rappel anchor.
  • R4 (28 m): Straight down to bolted chains on a clean vertical face.
  • R5 (28 m): Down and then to the right. Ignore the anchor climber's left toward the corner gully.
  • R6 (21 m): Down and right.
  • R7 (22 m): Straight down to the ground.

Bonus rappels

Two additional bolted rappels go straight down from the start of the climb, letting you skip the steep ascent trail entirely:

  • First rappel: short, about 20 m at most.
  • Second rappel: a full 30 m, ending at the bottom edge of the snowfield where it's less steep.
Climb informed.

Climbing is dangerous and can result in injury or death. This guide is an informal reference that may be inaccurate or out of date. Route conditions, anchors, fixed gear, trails, and access change, and maps and GPX files are approximate. It is not a substitute for experience, current local information, or sound judgment, and you use it entirely at your own risk. Roam Climbs accepts no liability for any harm arising from its use. See the full disclaimer and terms of use.