5.7
Climb the corner cracks straight up. A bit sustained, but reasonably protected.
- Anchor
- treeSecond tree on the ledge
trad · Whiskey Peak
A classic 4-star Red Rock Canyon route with an easy approach, fun climbing, good belay ledges and a nice descent, but the runout keeps you on edge.
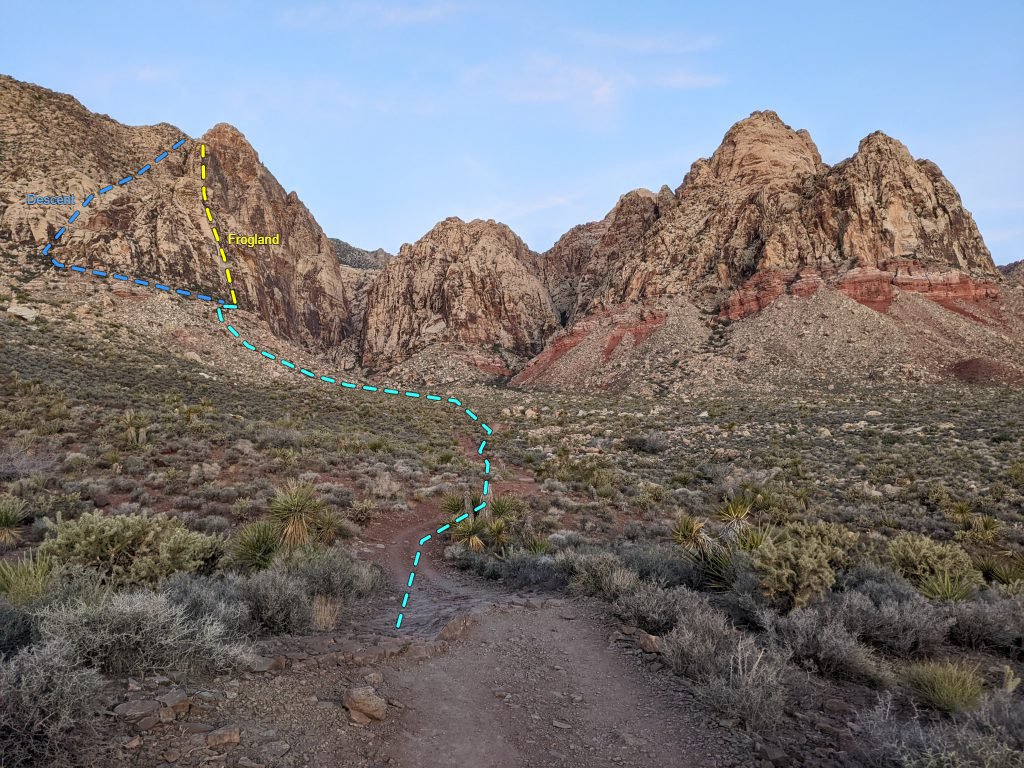
Super easy! It takes about 40 minutes at a casual pace on a nice trail.
Getting to the base of pitch 1 requires one non-exposed 5th class move to get up onto the base ledge.
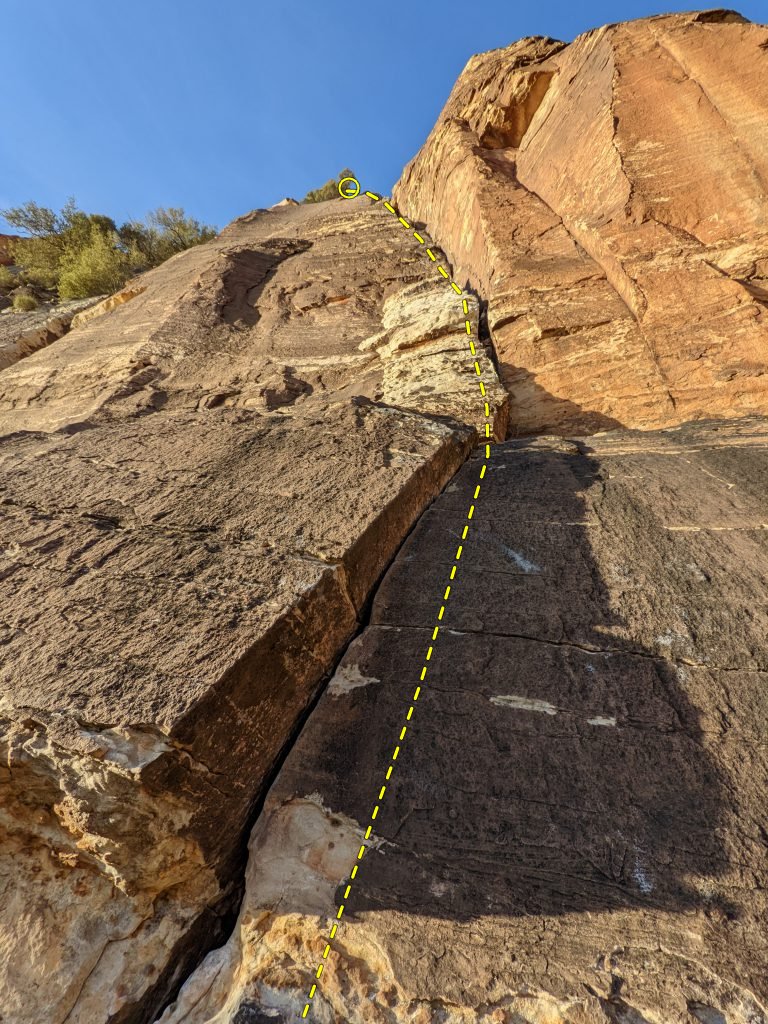
Climb the corner cracks straight up. A bit sustained, but reasonably protected.
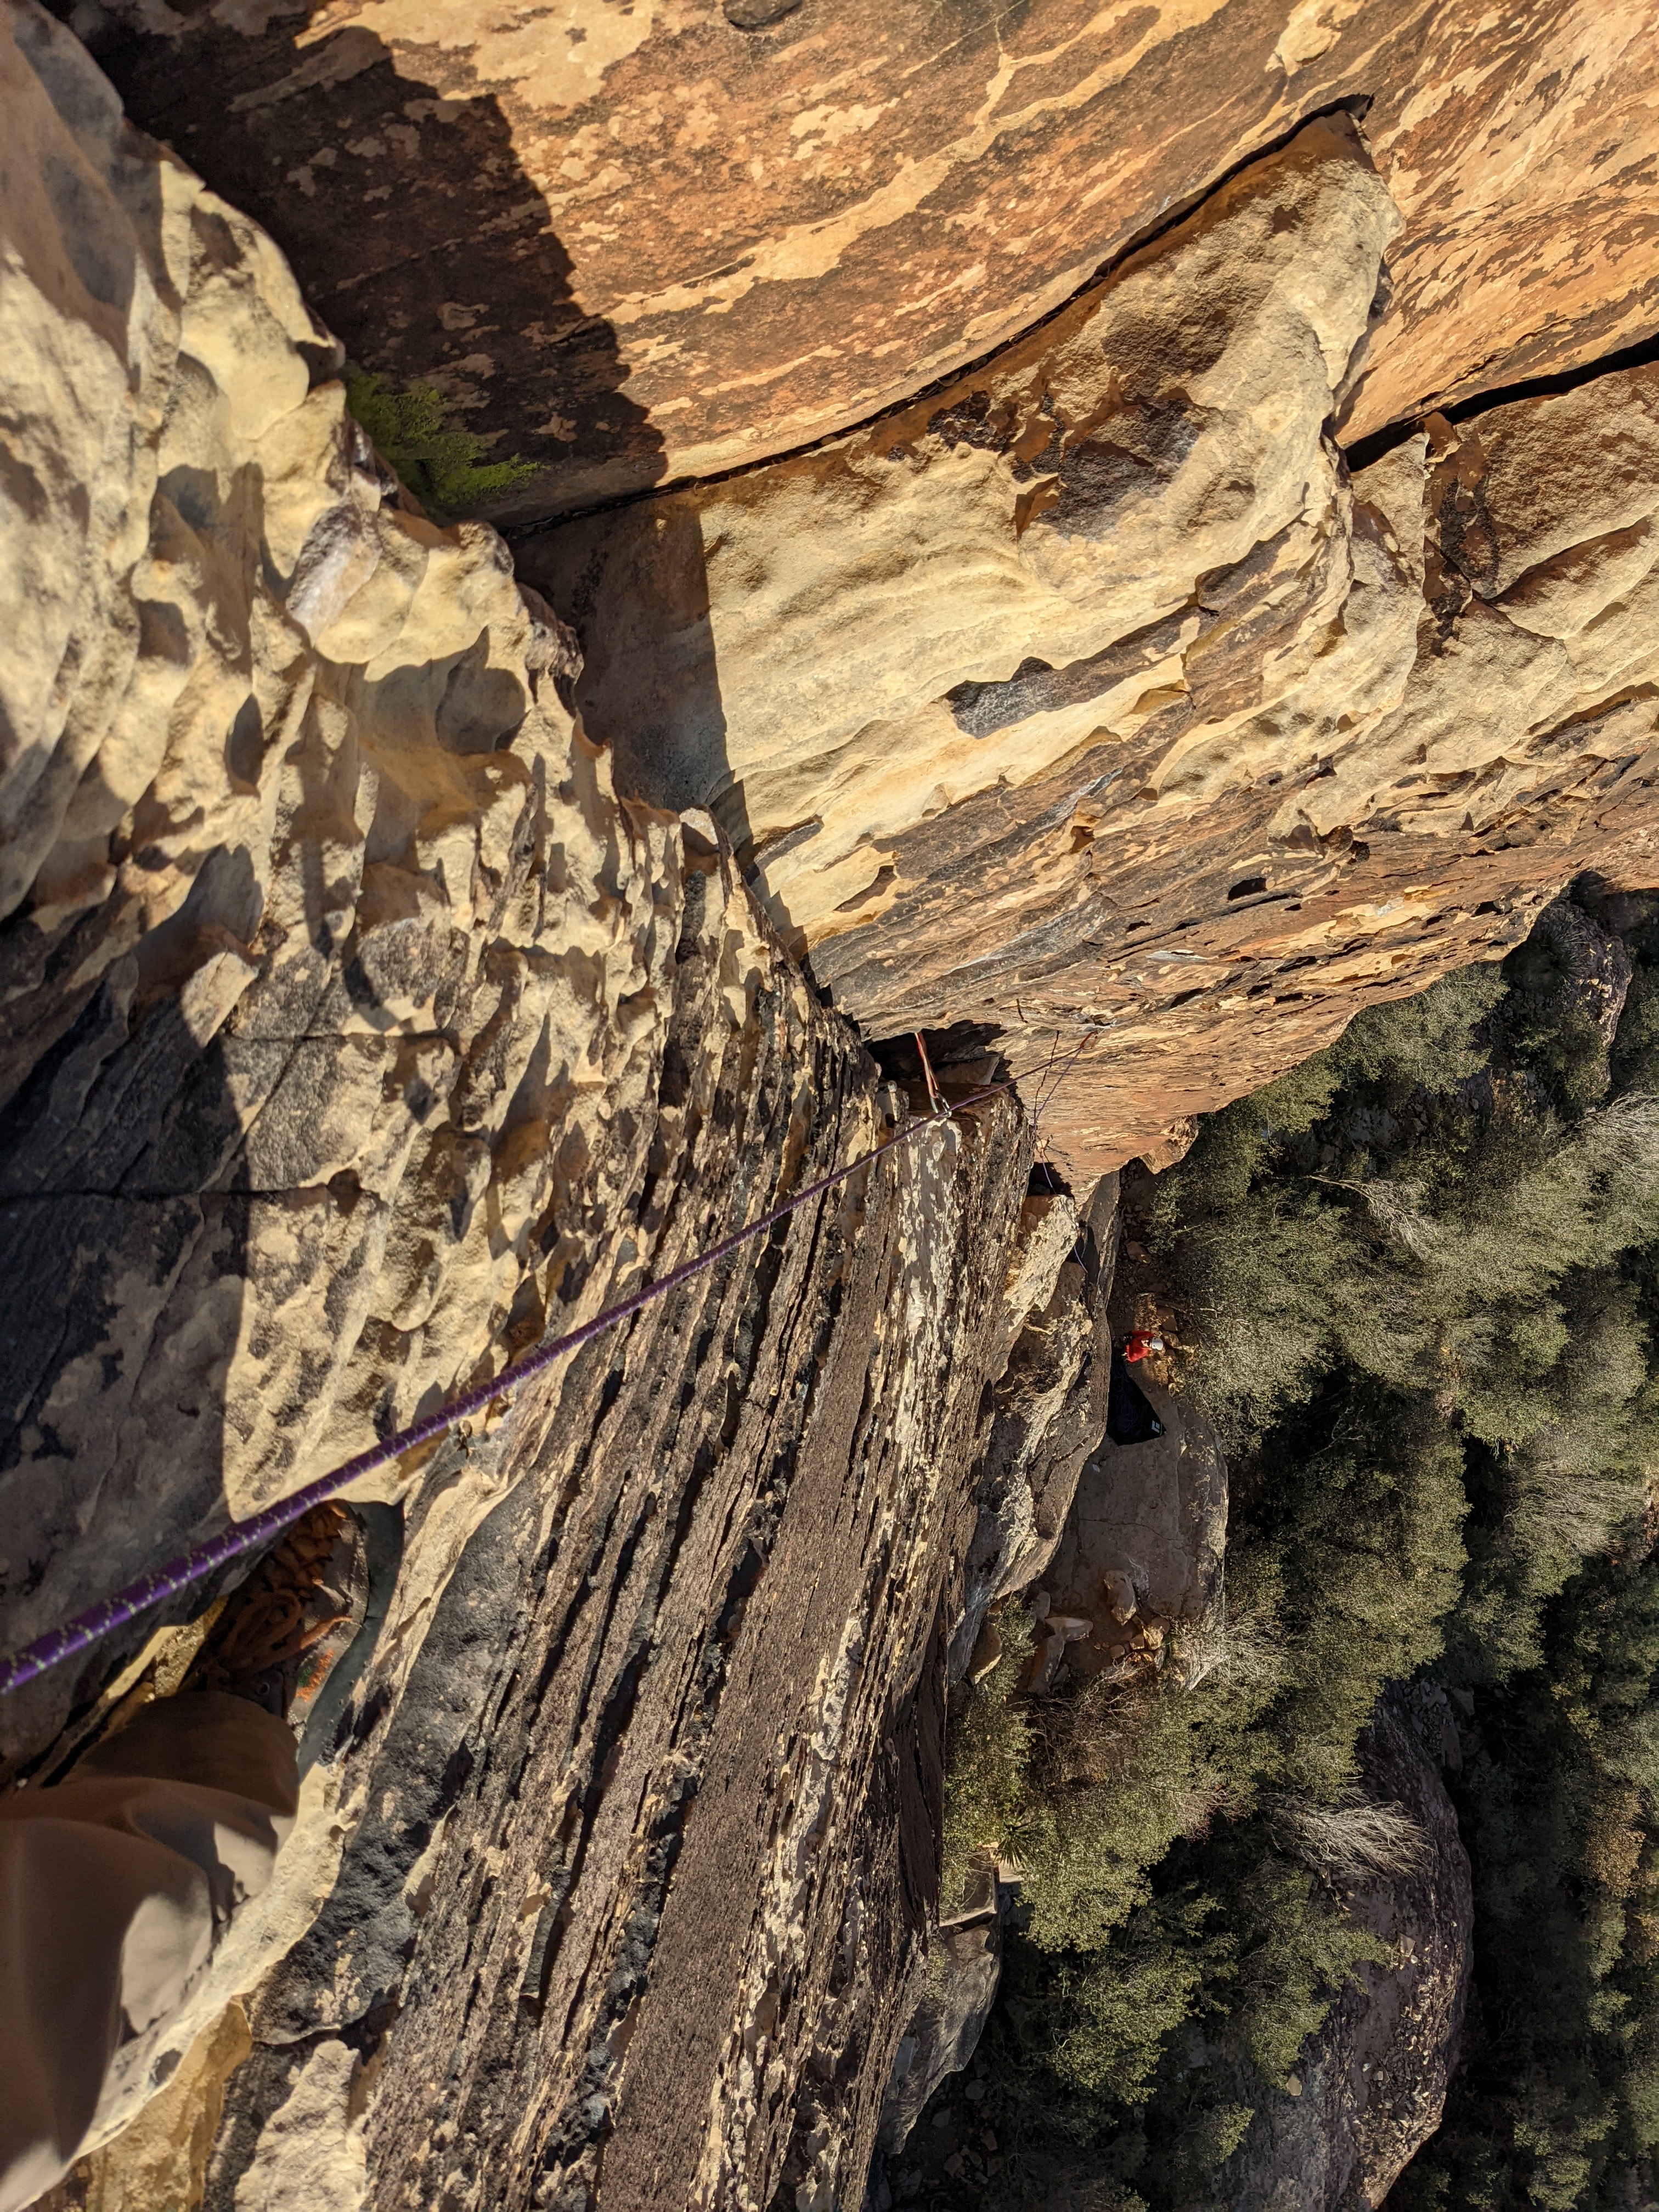
Follow the corner system up to a nice ledge, about 15 ft below the next big tree, and belay.
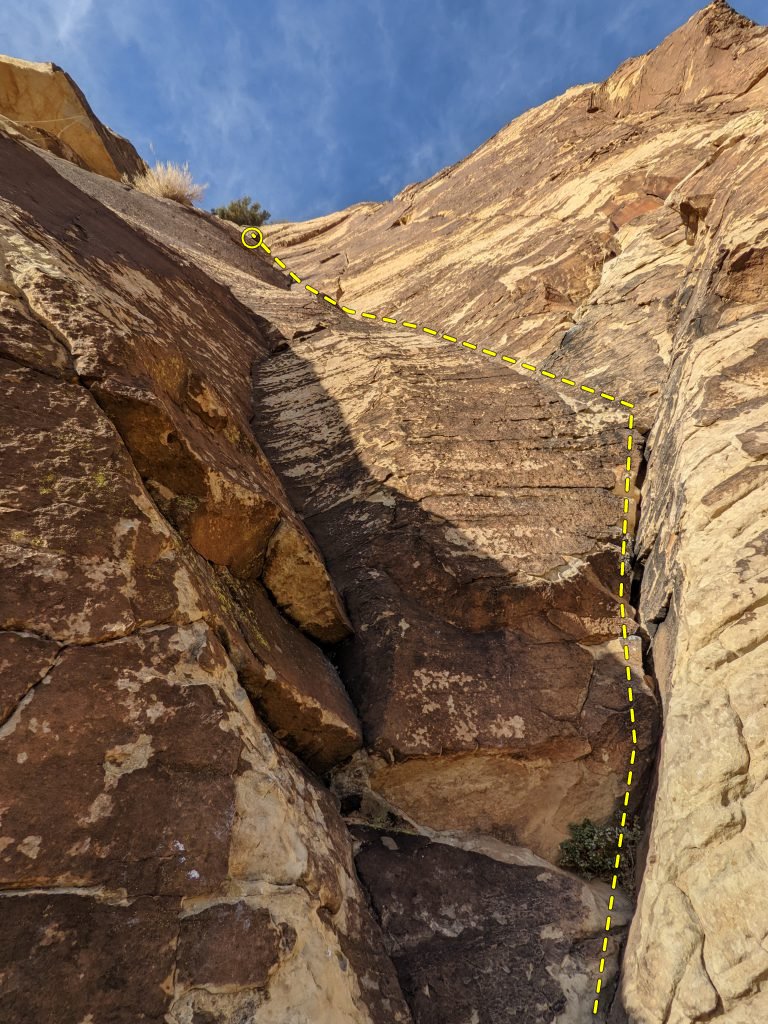
From the belay, go up 10 ft and then traverse left 10 ft (an easy traverse with big hands and good feet), then follow the corner up.
Use the photos of pitch 4 to determine where to end pitch 3.
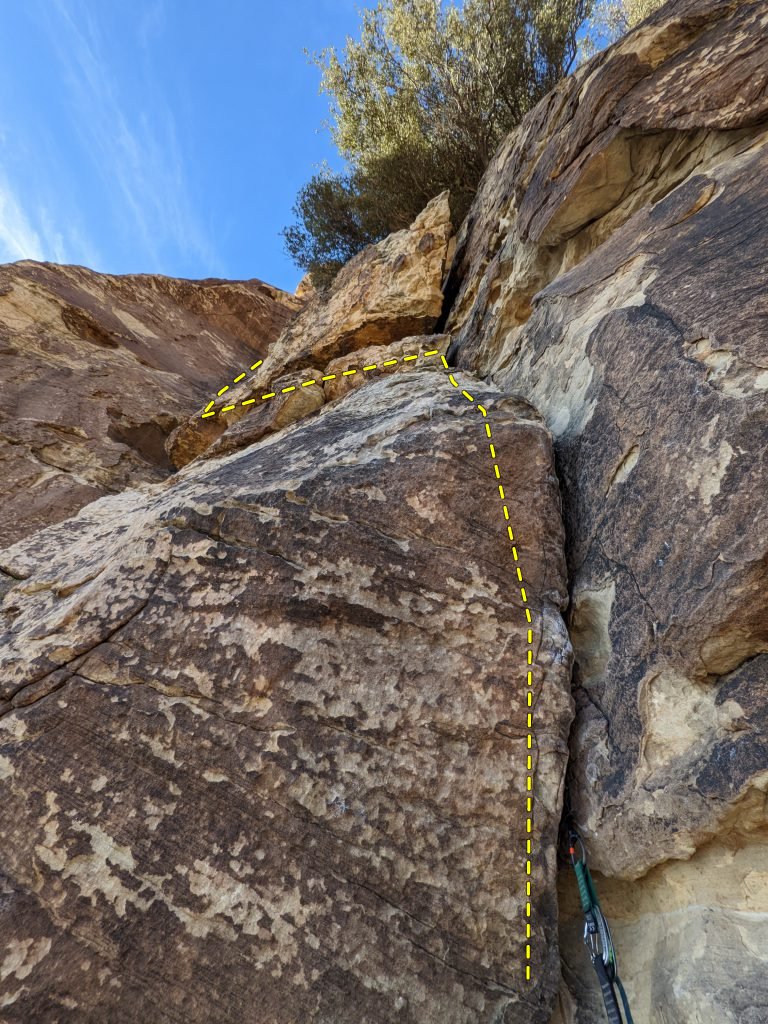
Graded 5.8, but I would say it feels 5.9.
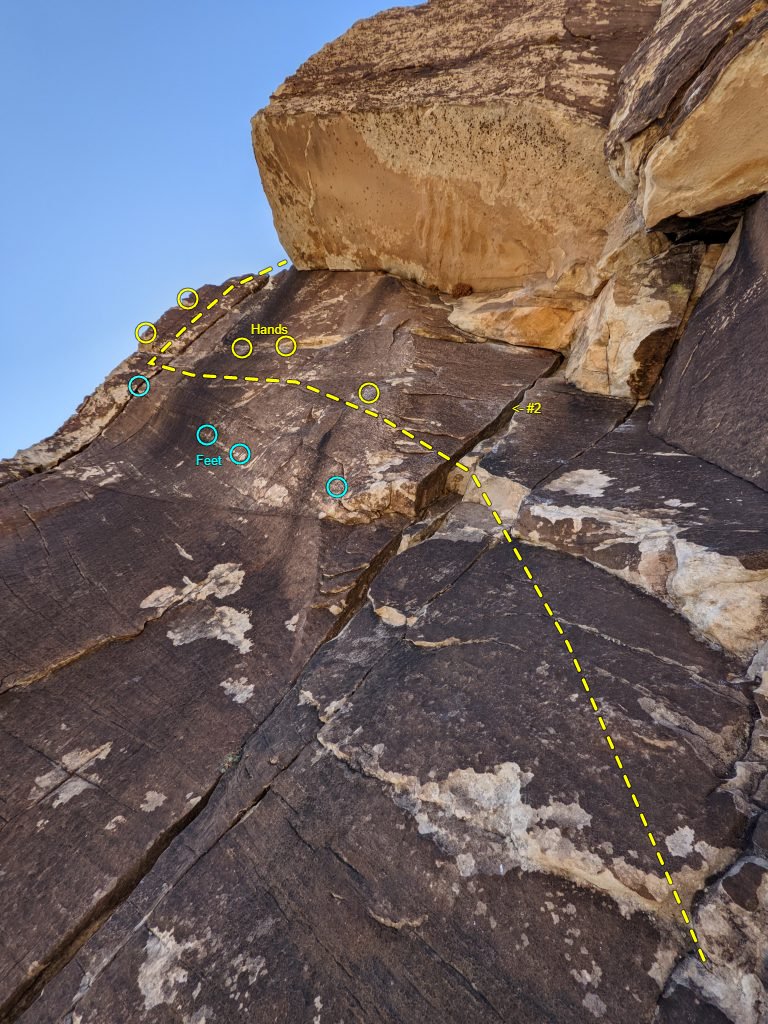
The start is immediately runout. You climb tiny face moves to the left of the corner with no gear until about 15 feet up, and then you reach a bolt at about 30 feet up. It looks absolutely impossible, but it goes. Start far left, even though it feels safer to be closer to the corner.
Then comes the actual traverse, which is also runout. The key: Do NOT go too high. Place a #2 in the crack with an alpine draw, and with your hands just below the #2, keep traversing left. The final step to the left edge is a big leg reach and quite committing.
Once on the arete you can't place much gear until you are higher up, so keep climbing to the belay ledge just above the roof. You can still see your follower from there.
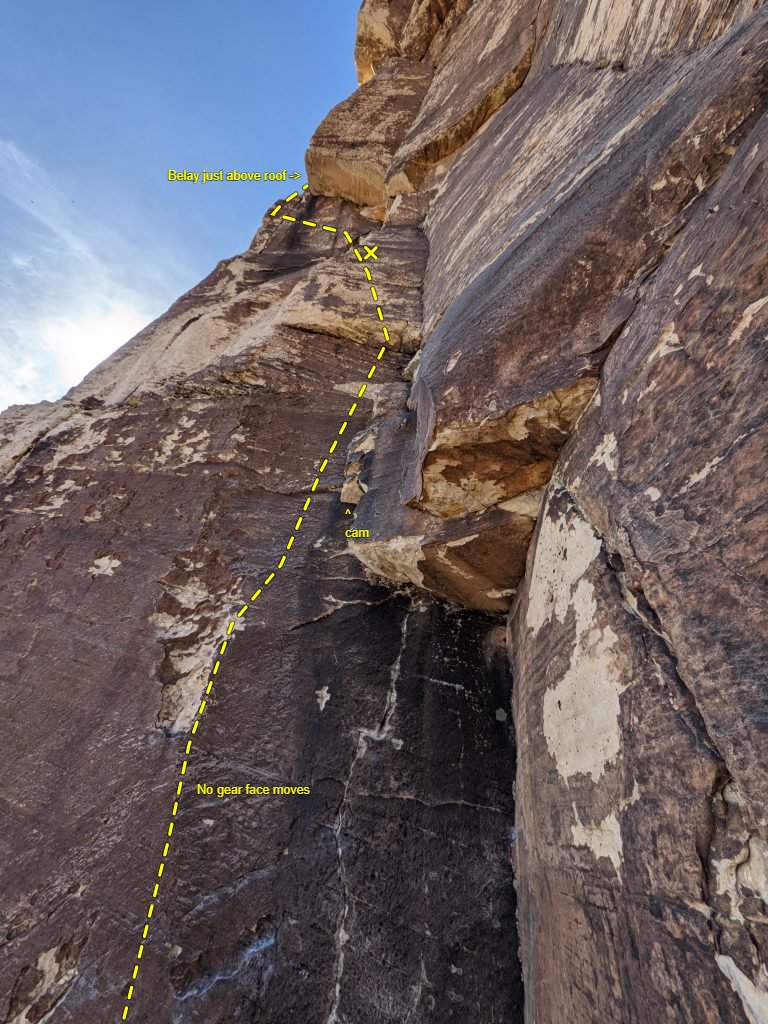
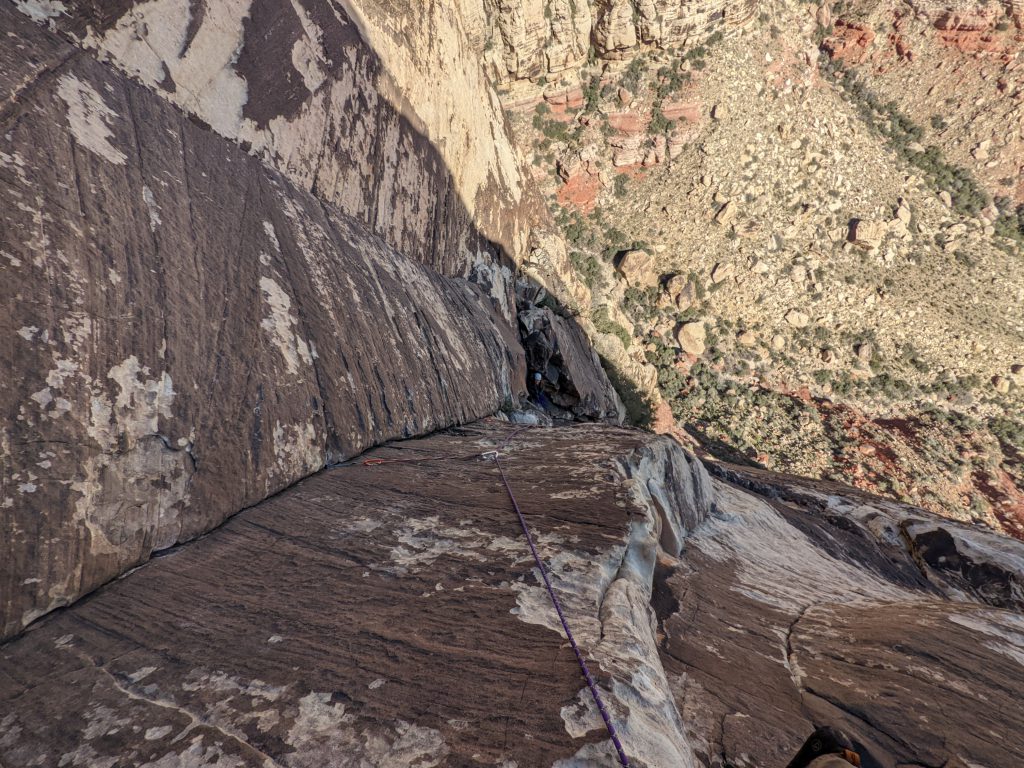
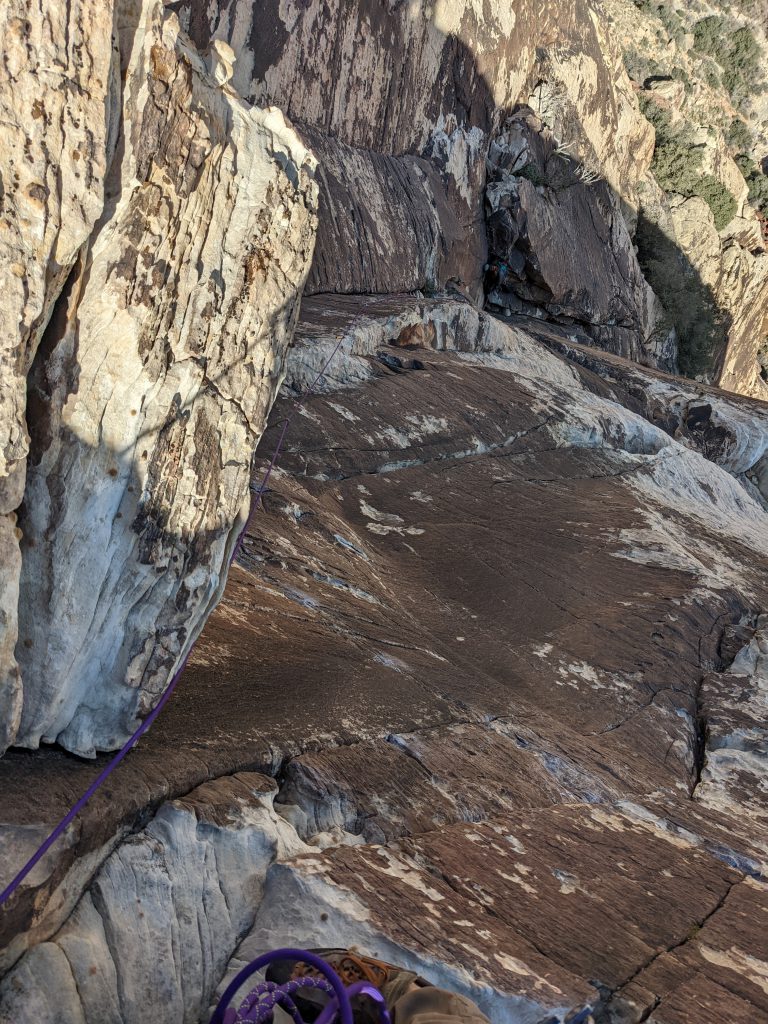
More runout slabby face, though not nearly as bad as pitch 4. The bolt on the face is a little difficult to reach, even at 5'10".
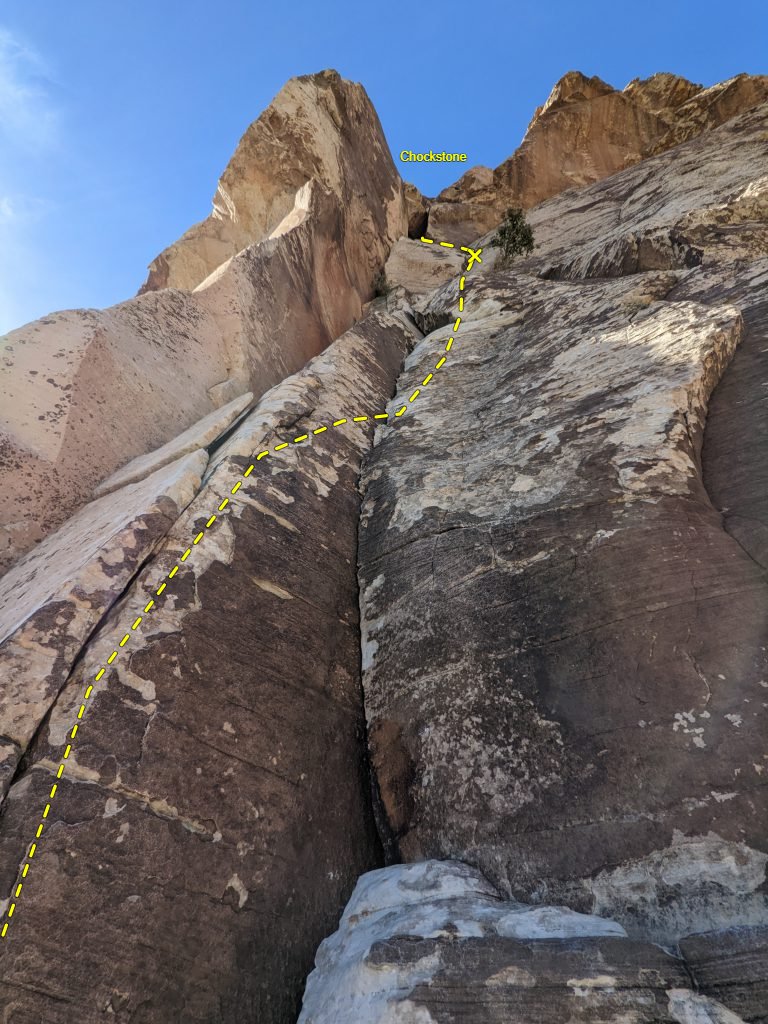
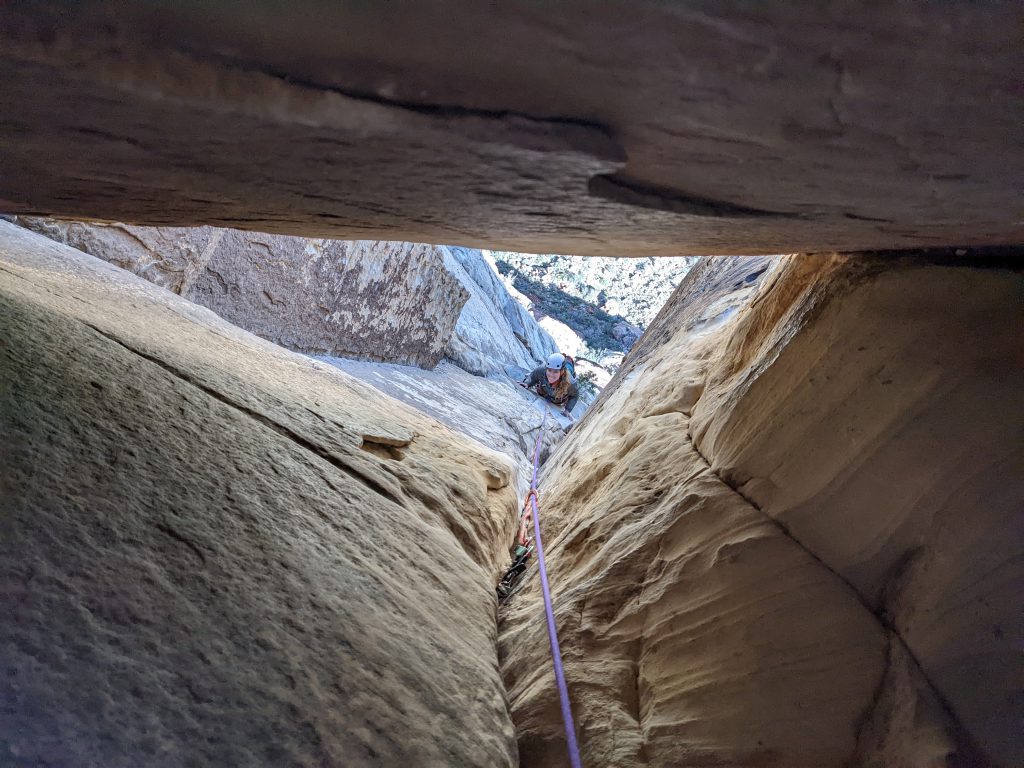
The pitch then goes under the chockstone. Both climbers kept small backpacks on through it, but it is still somewhat of a squeeze. The chockstone section protects well.
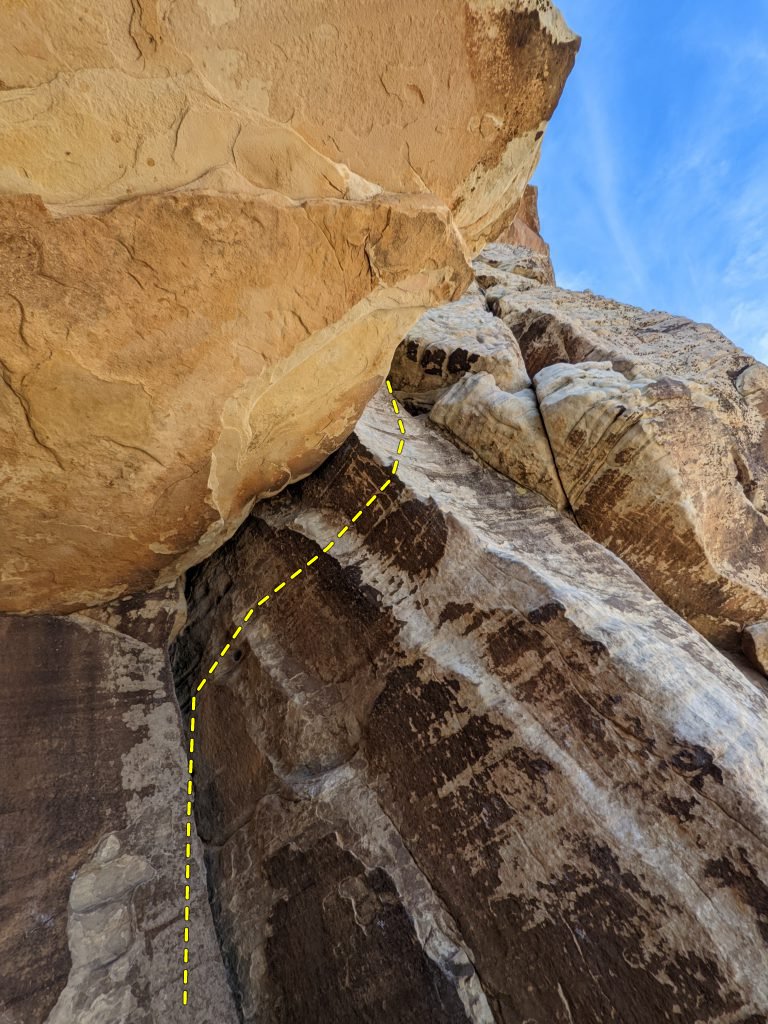
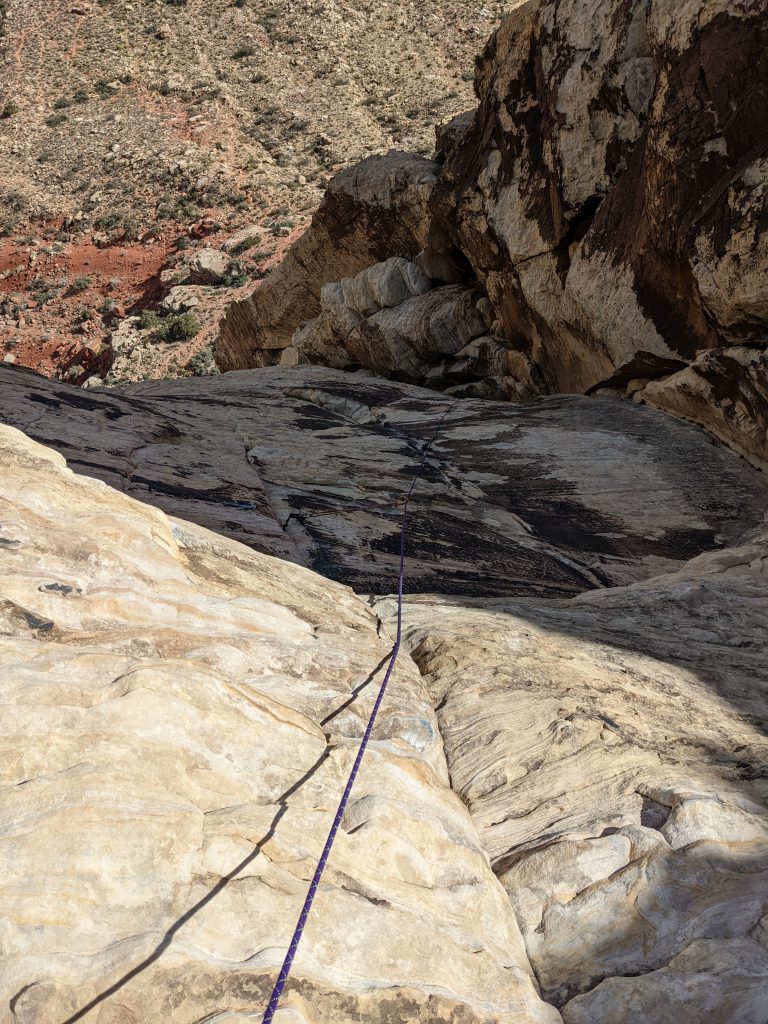
The start of the last pitch is a little confusing. The best way is to climb up the corner and follow it under the roof. It looks difficult and impossible, but there are good hands and feet, and a huge jug on the other side of the roof.
Then there is some easy slabby face, where you can place a decent amount of gear right up to the crux bulge. The bulge itself is pretty easy, and easy 5th class terrain leads to the top.
The summit is really nice, with plenty of space to lounge and a good view of Epinephrine's peak.
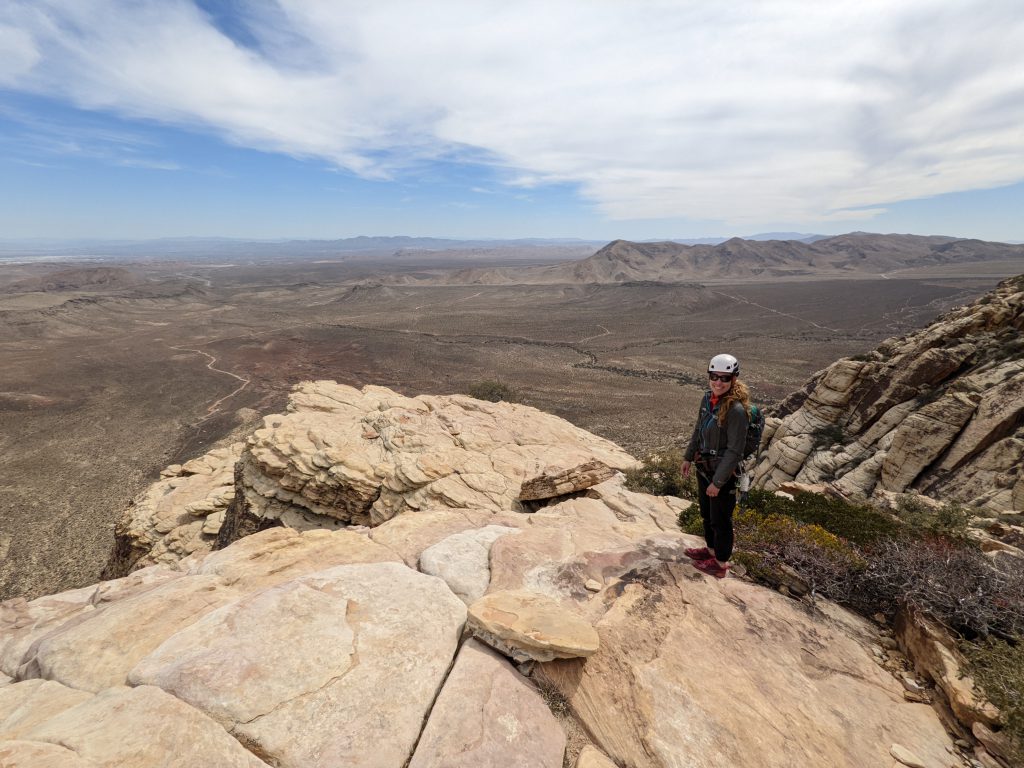
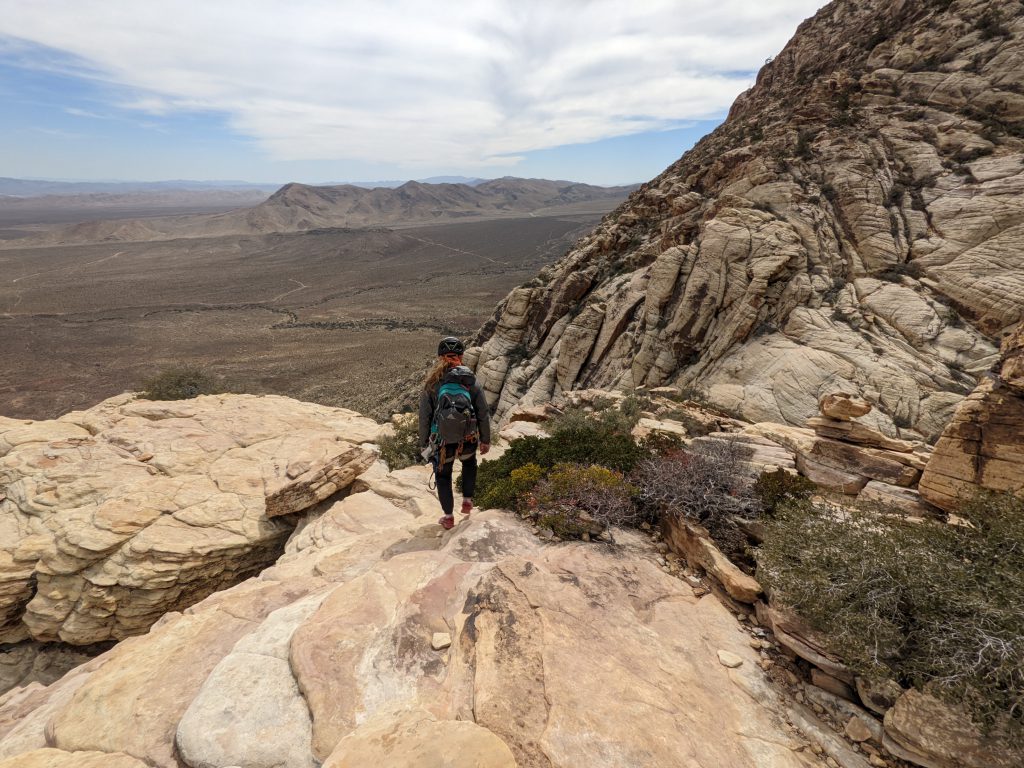
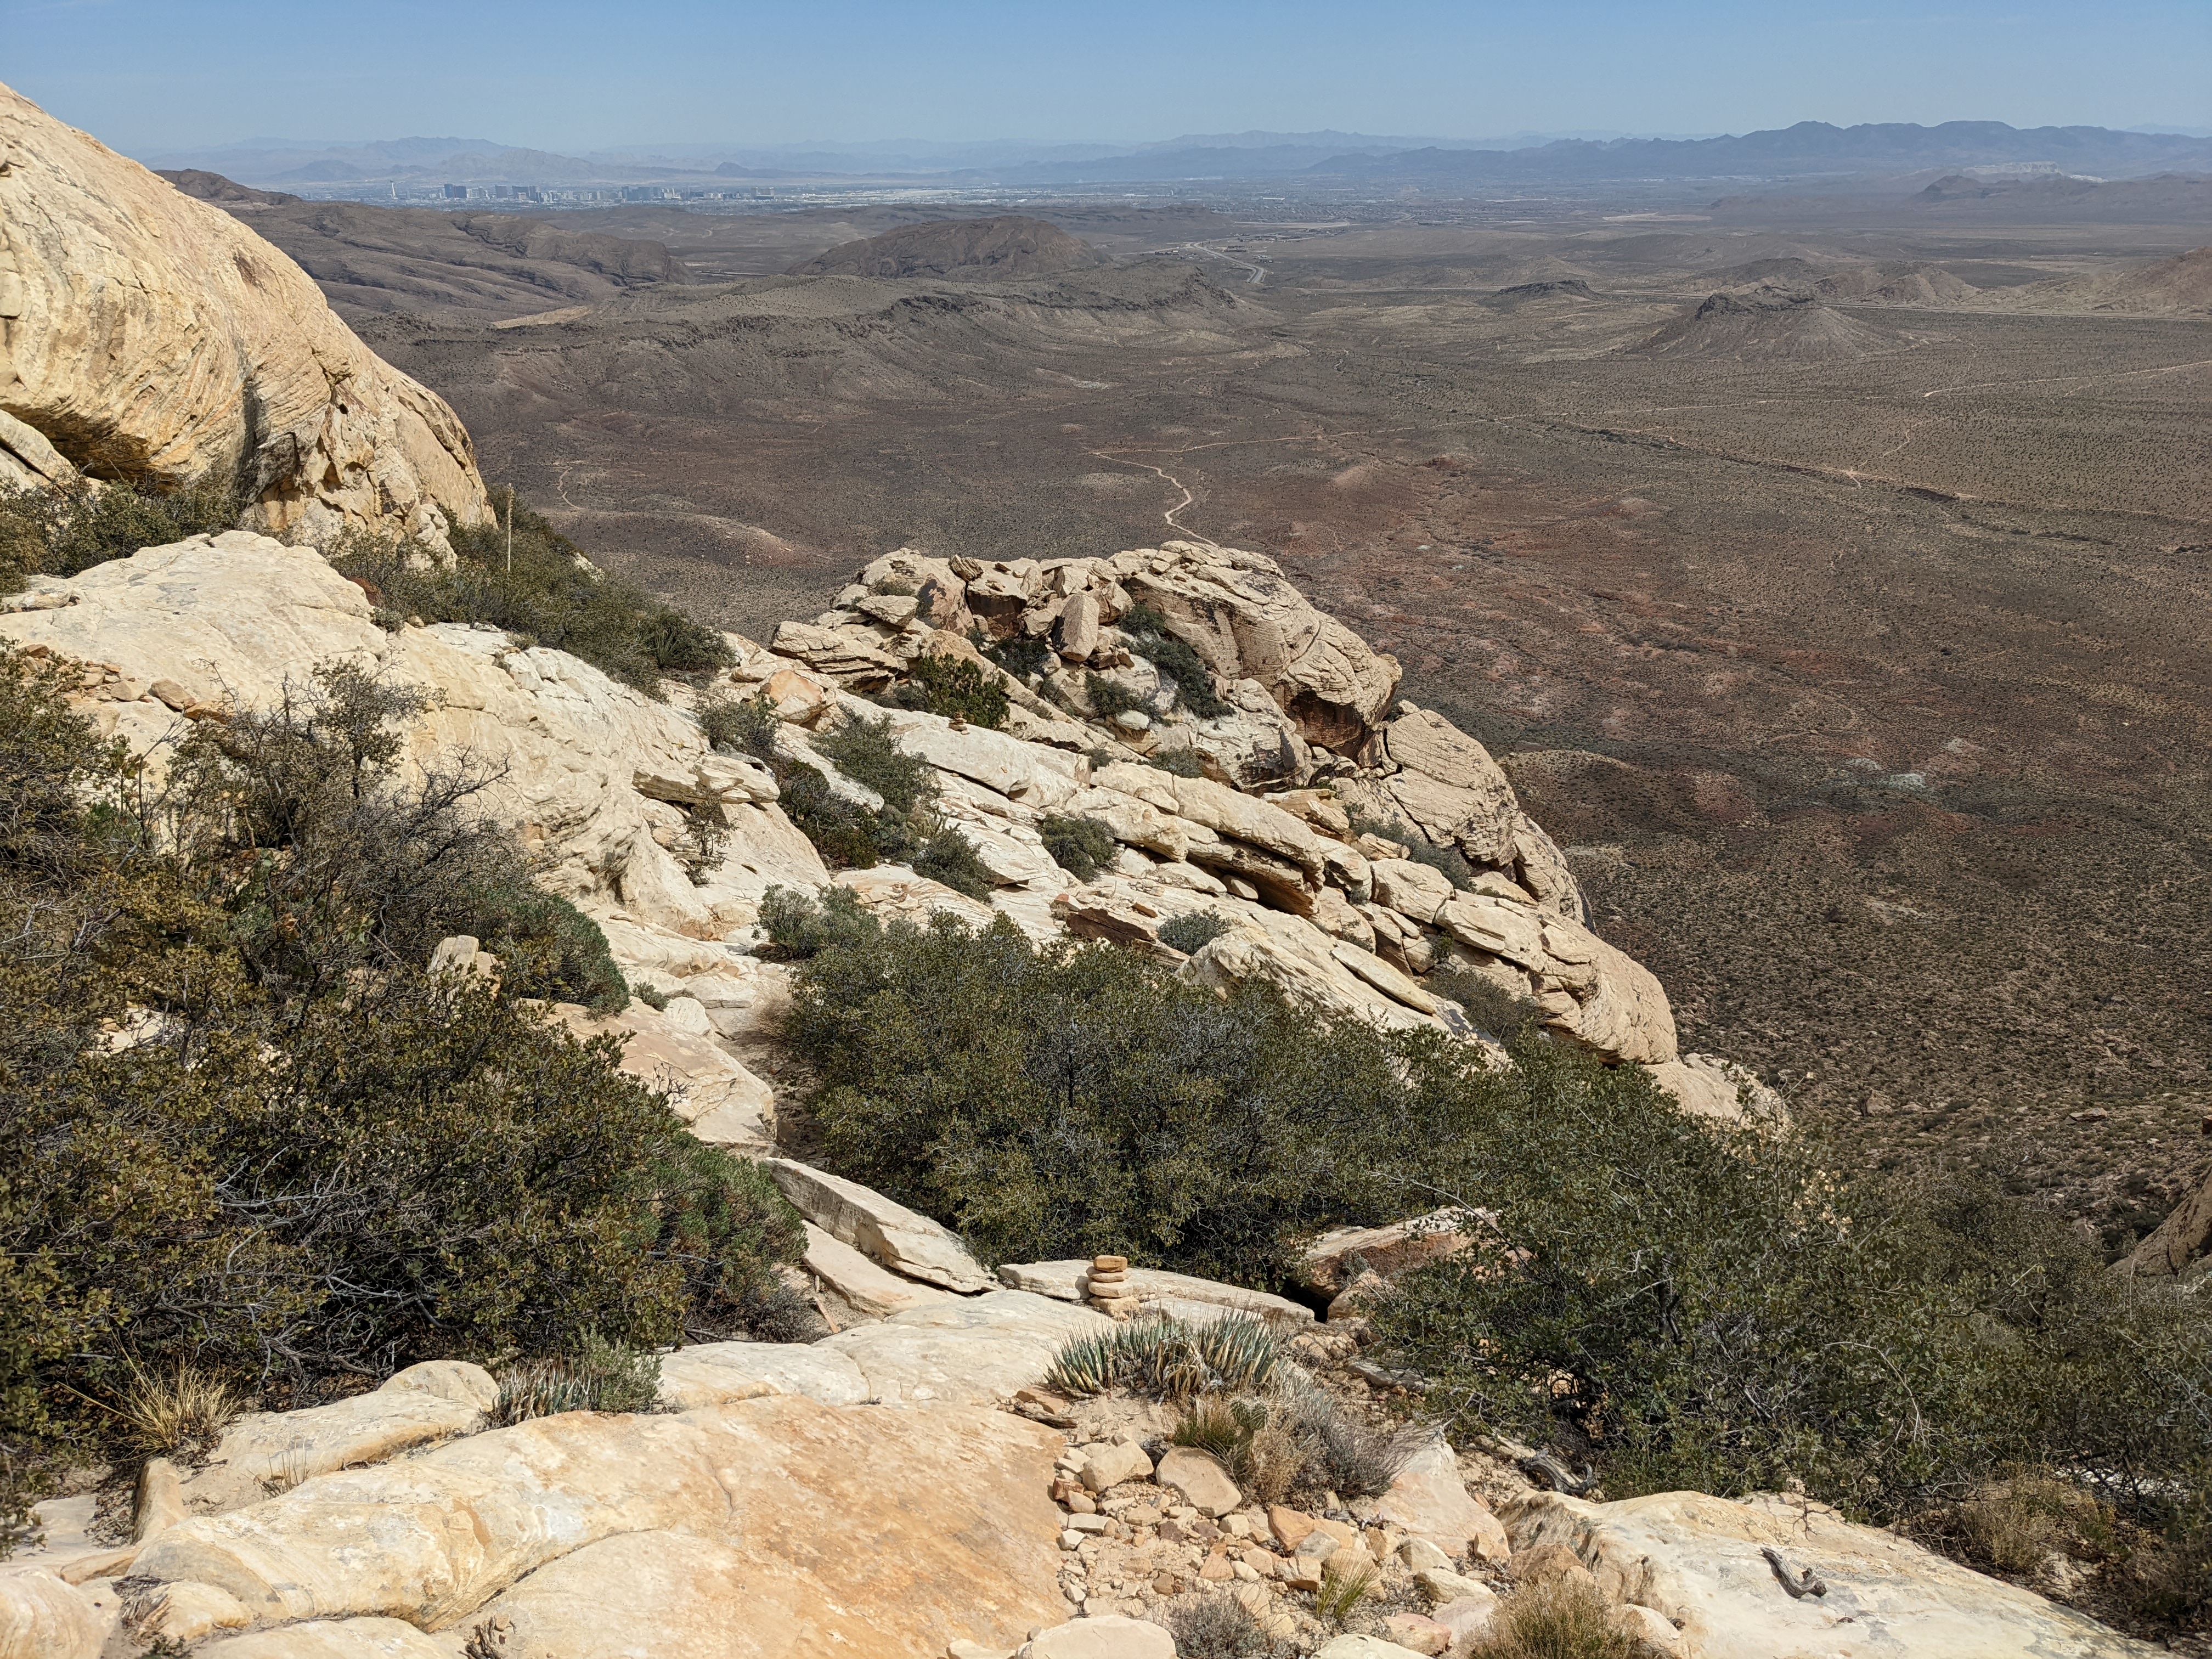
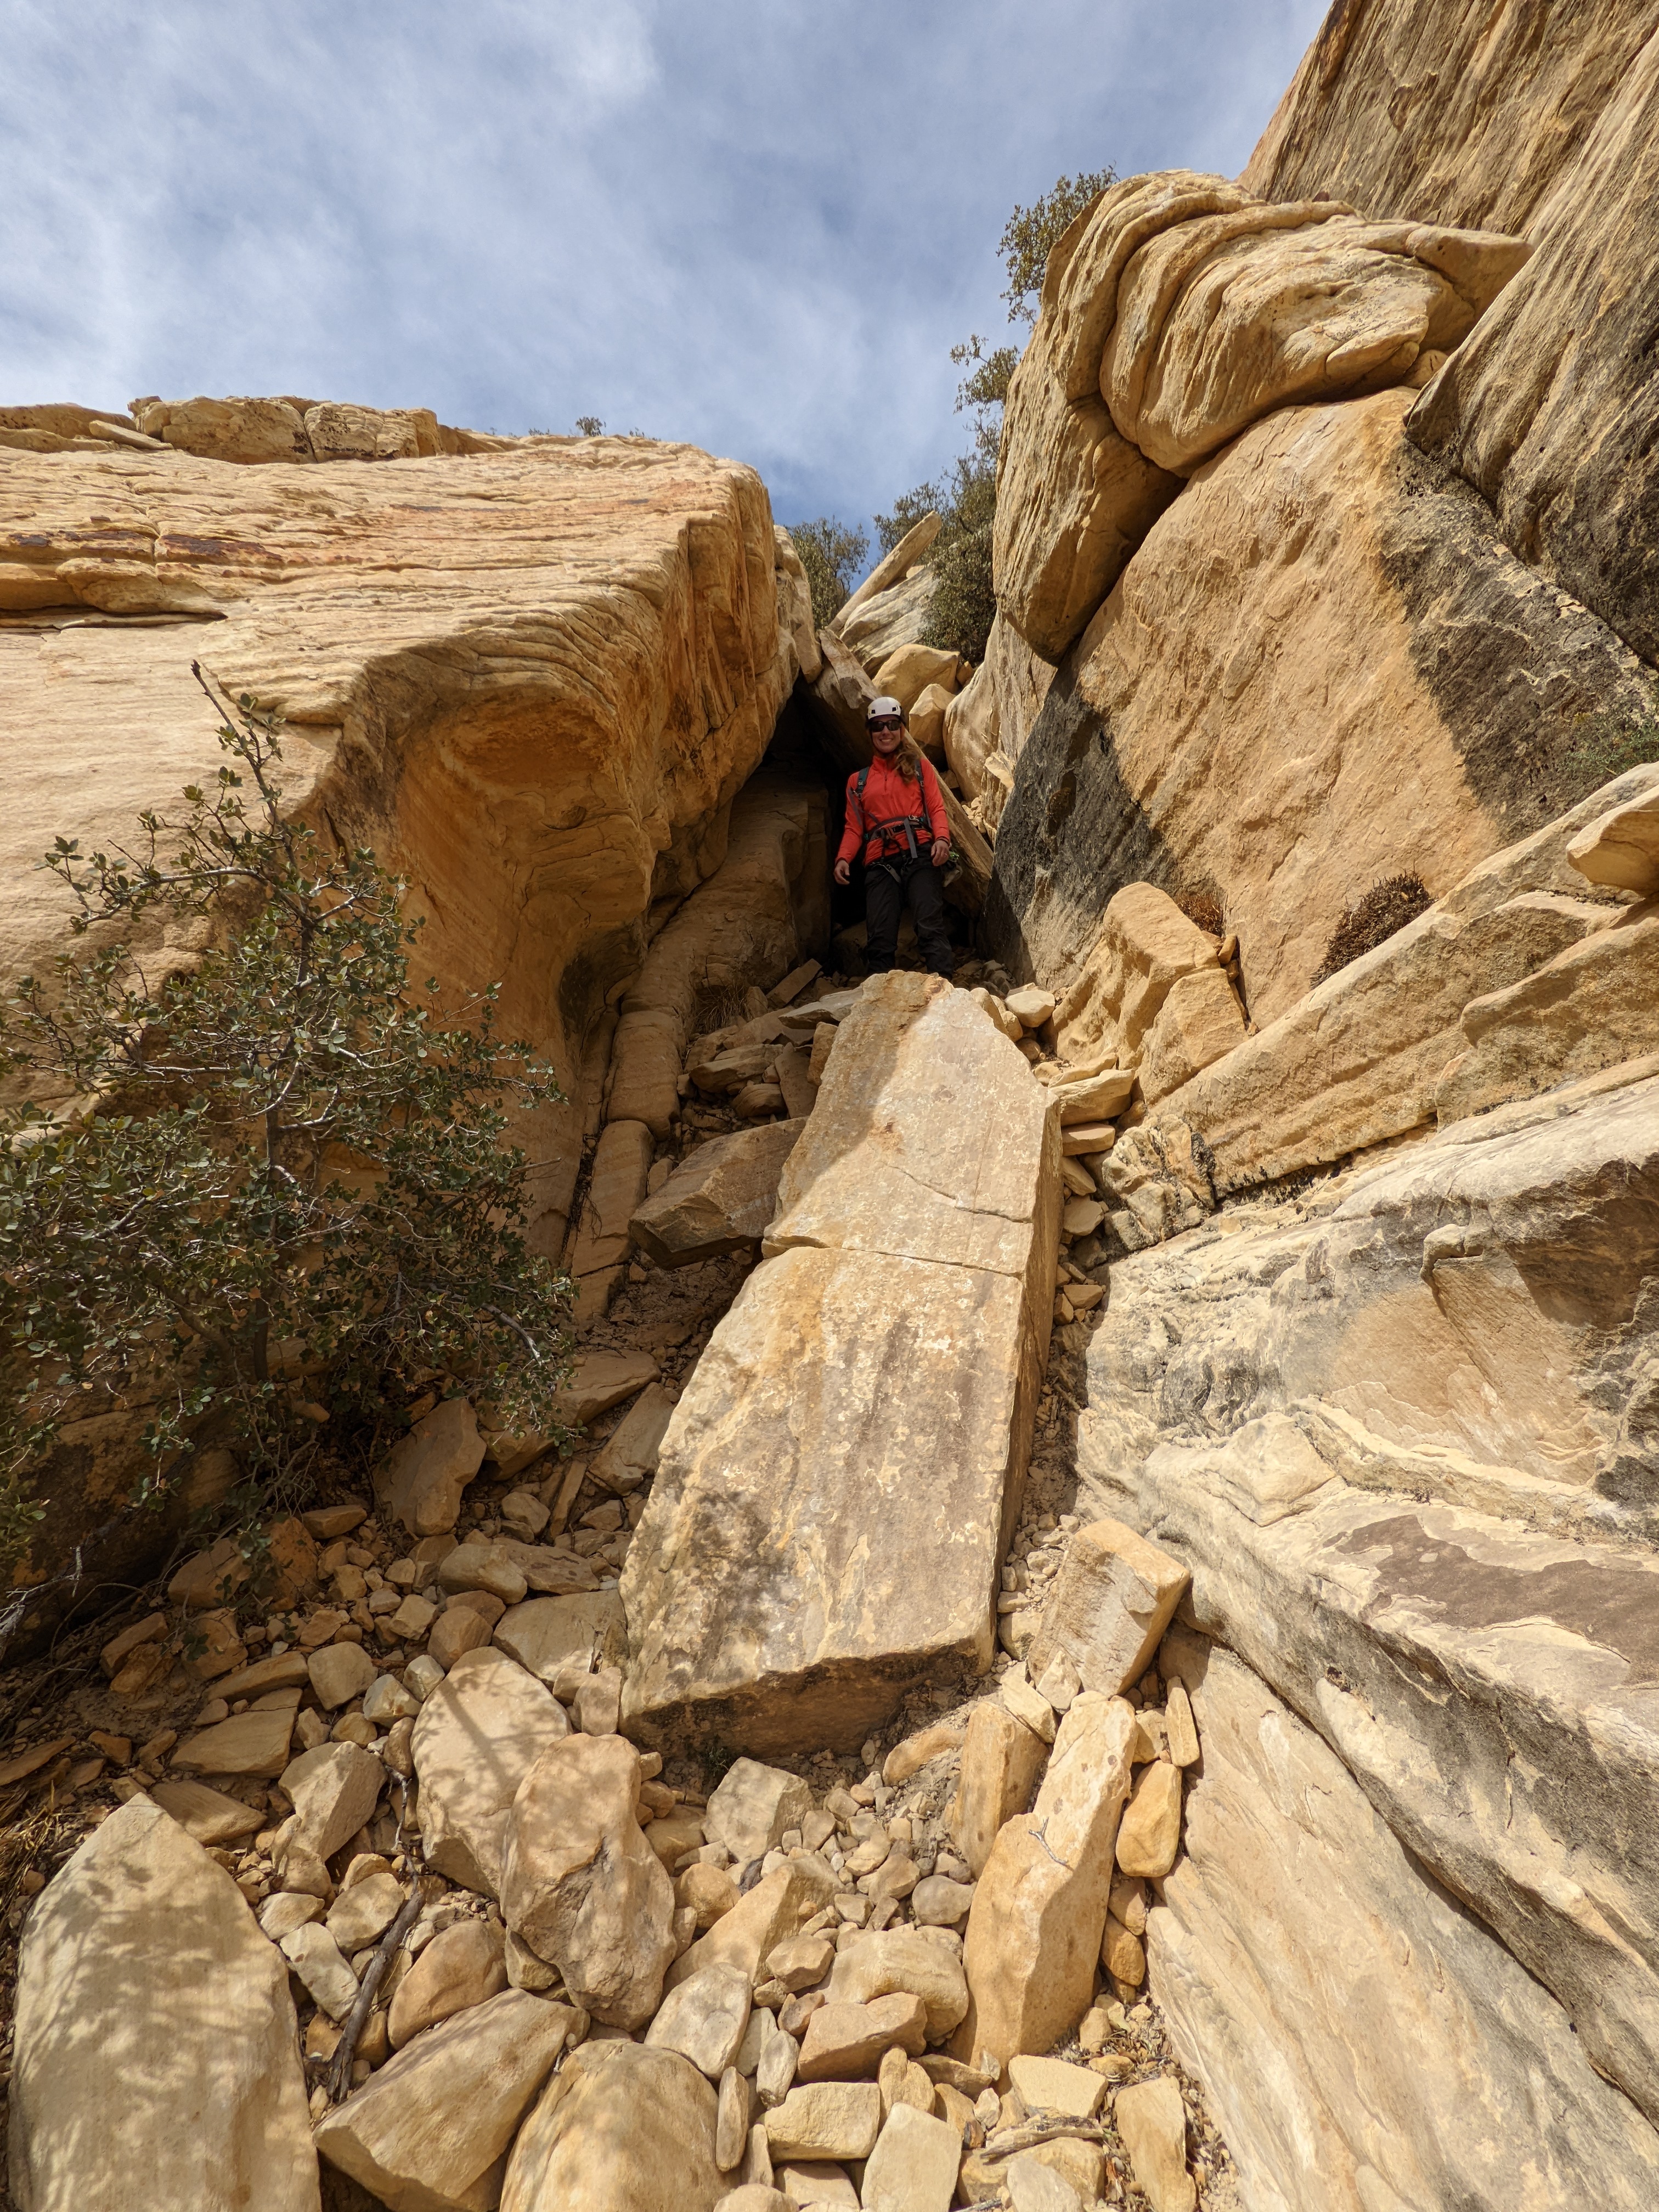
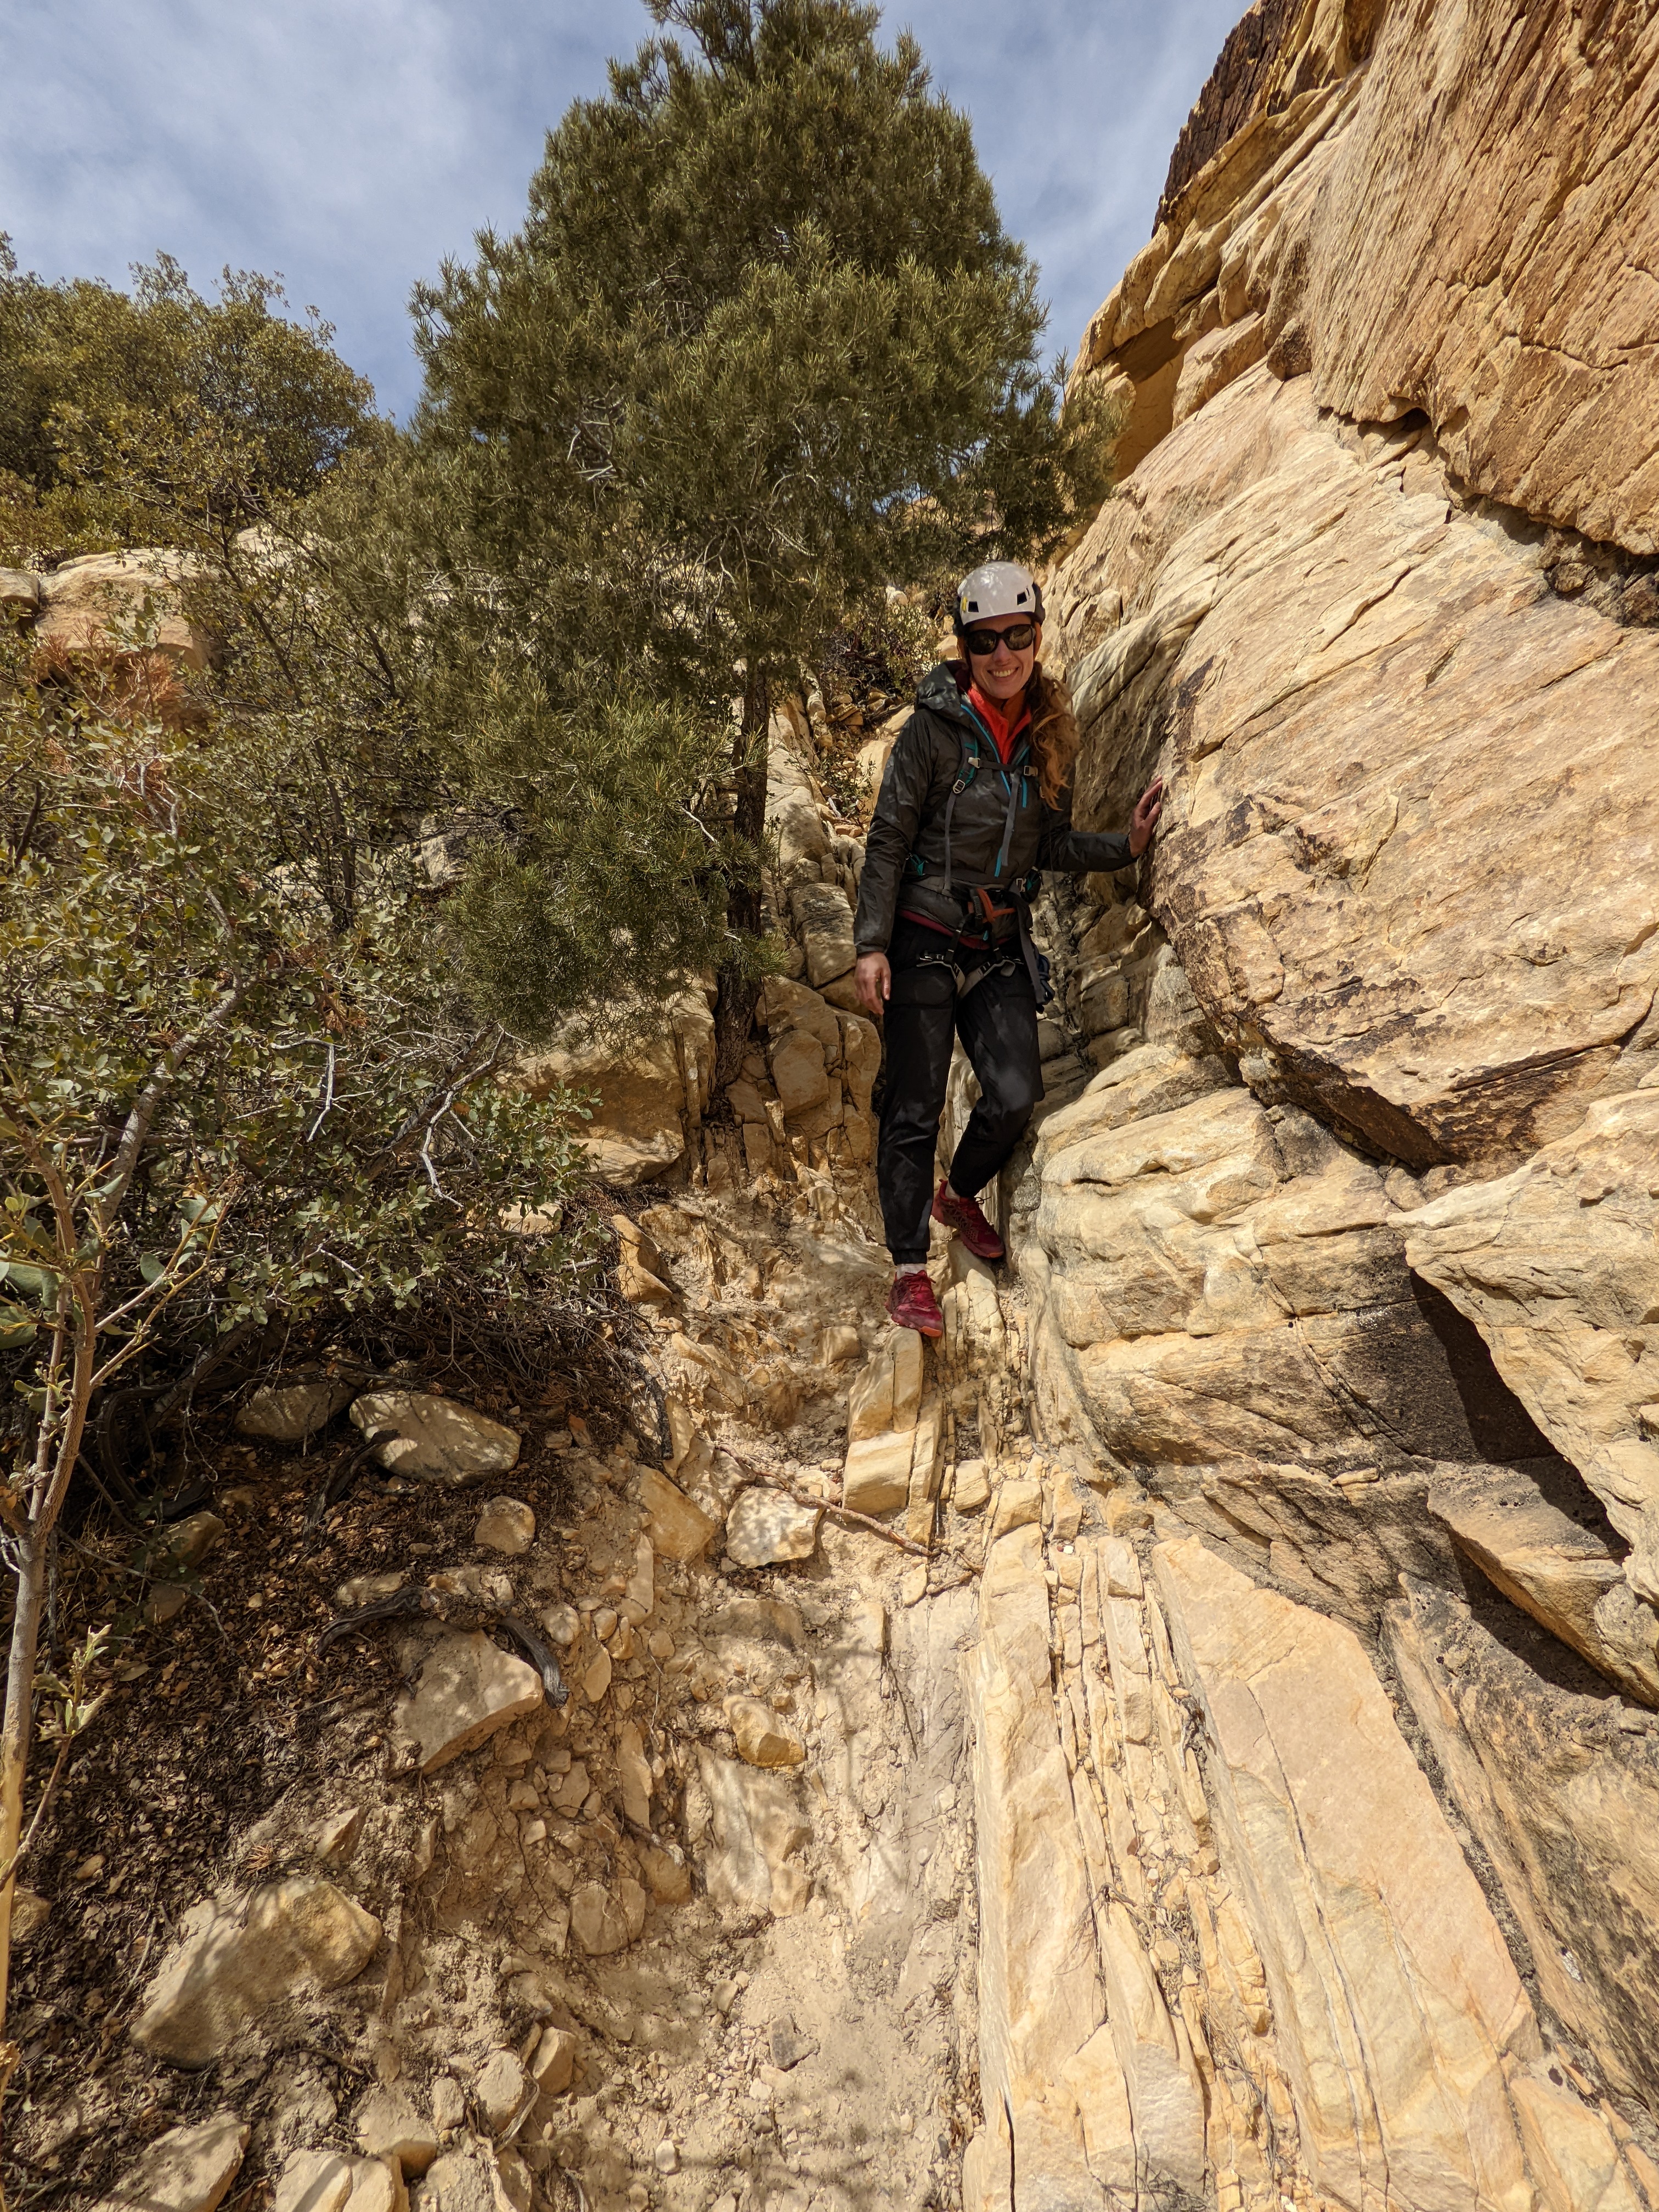
A really good descent. There are one or two class 3/4 moves, but none are exposed. The trail is obvious and usually easy walking, with cairns marking the way.
Alternatively, you can return back to the base of the climb, which takes about 50 minutes at a casual pace.
Climbing is dangerous and can result in injury or death. This guide is an informal reference that may be inaccurate or out of date. Route conditions, anchors, fixed gear, trails, and access change, and maps and GPX files are approximate. It is not a substitute for experience, current local information, or sound judgment, and you use it entirely at your own risk. Roam Climbs accepts no liability for any harm arising from its use. See the full disclaimer and terms of use.